Give your kitchen cabinets a facelift without the cost of replacement. Learn how to reface cabinets using budget-friendly materials and simple DIY steps—even if you’re a beginner.
Why I Didn’t Replace My Cabinets (And You Probably Don’t Need To Either)
I looked at my kitchen and thought, “This place needs help.” But when I saw the cost of replacing cabinets—materials, labor, plumbing headaches—I backed off real quick.
So I started digging into refacing. Turns out, you can keep the cabinet boxes and just update the doors, drawer fronts, and finish. Way cheaper. Way faster. And yes, totally doable on your own.
Step 1: I Checked What I Was Working With 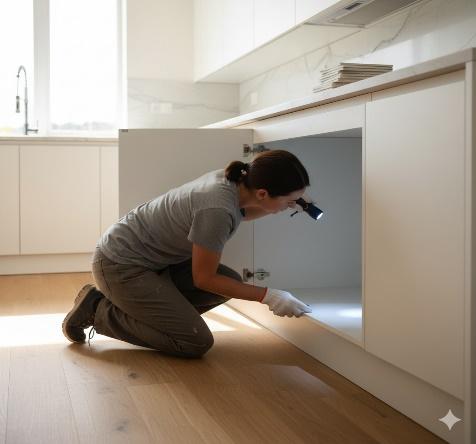
First thing I did was open every cabinet and check the structure. Are they solid? No water damage? Doors hanging straight? If the bones are good, you’re golden.
Mine were fine—just ugly. So I moved on. How to Install a DIY Backsplash That Transforms Your Kitchen
Step 2: Picking the Right Finish (Without Going Overboard)
I went back and forth between paint and vinyl wraps. Paint felt more personal, but wraps looked cleaner. In the end, I chose paint—matte white with brass handles. Classic and easy to match, and it brightened up the whole space. 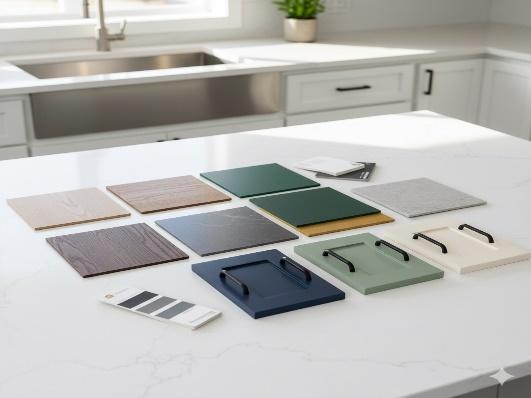
If you’re not into painting, vinyl wraps are great too. They come in wood grain, matte black, and even marble textures.
Choosing the Best Grout for Wet Areas
Step 3: Cleaning Was… Not Fun, But Crucial
This part took longer than I expected. I used vinegar and dish soap to scrub off years of grease. Then I sanded everything lightly with fine-grit paper. My arms hated me, but it made a huge difference. 
Don’t skip this. If the surface isn’t clean, nothing sticks right
Step 4: Painting (aka My Weekend Workout)
I removed all the doors, labeled them with sticky notes, and laid them out on a tarp. Primer first, then two coats of cabinet-grade paint. I used a foam roller for smooth coverage and a small brush for corners. 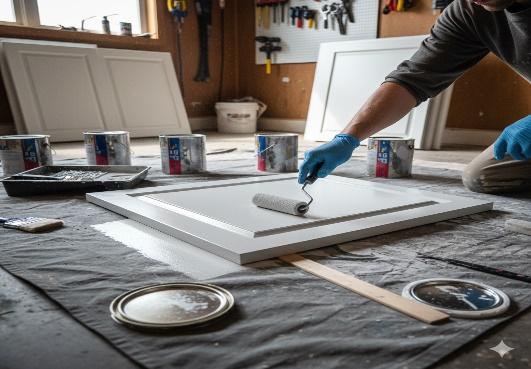
It took me two days, and I definitely made a mess. But when I saw the final result? Totally worth it.
Step-by-Step DIY Bathroom Renovation
Step 5: New Handles = Instant Upgrade
I found matte brass handles online for cheap. Swapped out the old knobs, and suddenly the cabinets looked expensive. Just make sure to measure the hole spacing before ordering—learned that the hard way. 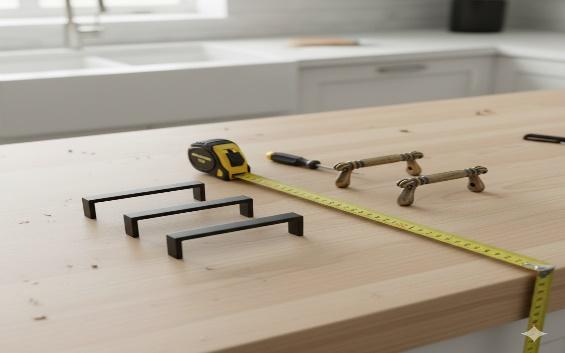
Mistakes I Made (So You Don’t Have To)
- I didn’t clean deep enough the first time—had to redo one door
- Used wall paint instead of cabinet-grade on a test piece (it chipped fast)
- Forgot to label two doors and mixed them up
- Rushed the second coat—ended up with streaks
- Didn’t check handle spacing before buying new ones
Little Tricks That Helped Big Time
- Painter’s tape saved my hinges from getting painted
- Removing the doors made painting way easier
- Letting the paint cure overnight gave a smoother finish
- Soft-close hinges? Game changer. Quiet and classy.
What This Project Meant to Me
This wasn’t just about saving money. It was about taking control of my space. Every brushstroke felt like progress. I didn’t need a contractor or a big budget—I just needed a plan and a bit of patience.
And now? I walk into my kitchen and smile. Because I did that.
Final Thoughts
If your cabinets are solid but tired, refacing is 100% worth it. You’ll save money, learn something new, and end up with a kitchen that feels fresh and personal. Don’t worry about perfection—just start.
Because sometimes, the best upgrades come from your own two hands.