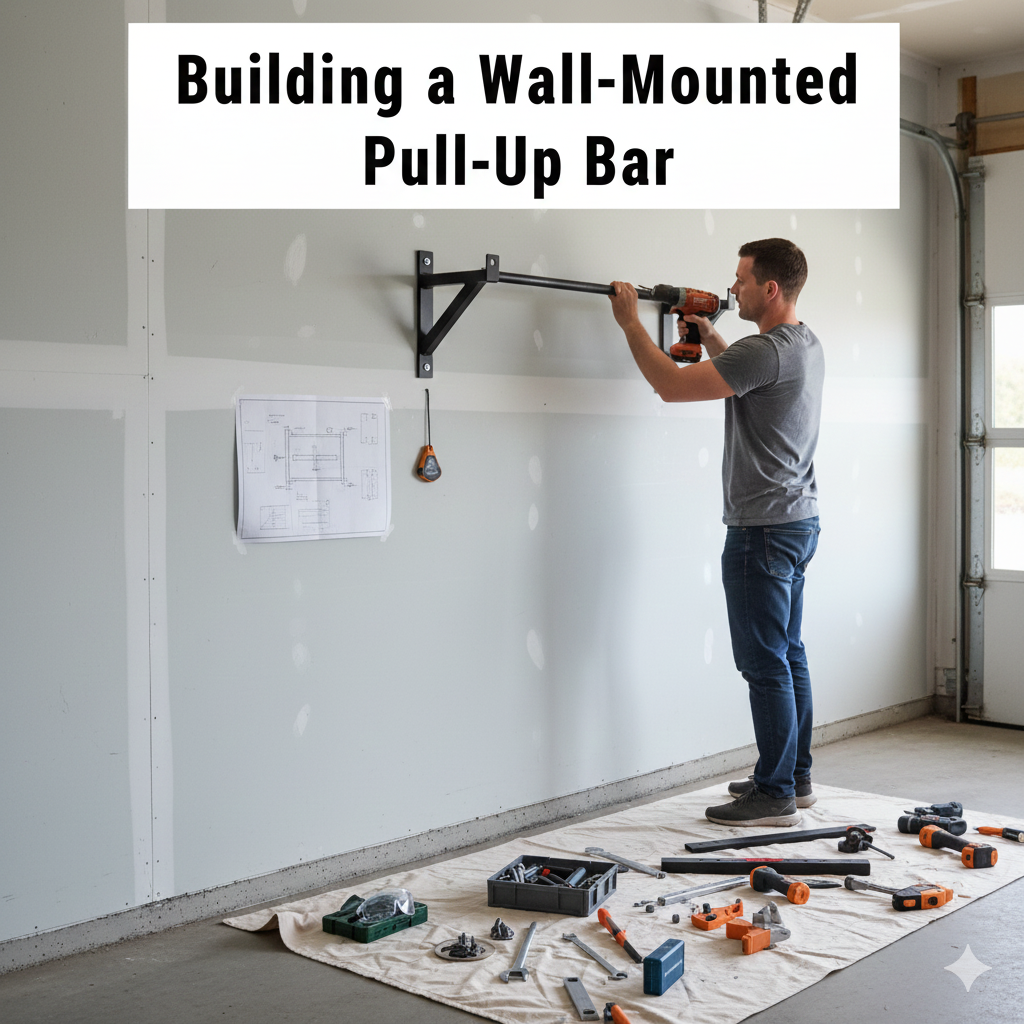
Pull-ups are one of the most effective exercises for building upper-body strength. But in small homes, finding space for bulky gym equipment can be tricky. A wall‑mounted pull‑up bar is the perfect solution: it’s compact, versatile, and can be installed in a corner without taking up floor space. With the right tools and planning, you can build your own pull‑up bar that’s safe, stylish, and tailored to your home.
 Step 1: Choose the Right Location
Pick a sturdy wall that can handle weight. Avoid drywall alone—aim for brick, concrete, or reinforced studs. Make sure there’s enough clearance above and around the bar for safe movement.
For guidance, see Room Design Mistakes to Avoid in Every Home.
 Step 2: Gather Materials and Tools
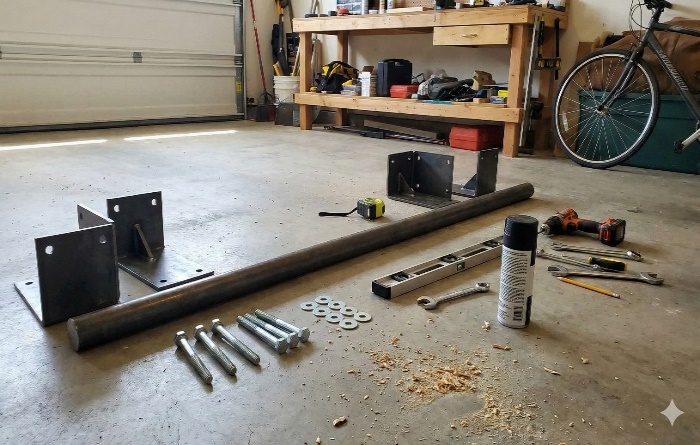
You’ll need:
- Steel or iron bar (around 1–1.5 inches in diameter).
- Heavy‑duty wall brackets.
- Screws and anchors suitable for your wall type.
- Drill, wrench, and measuring tape.
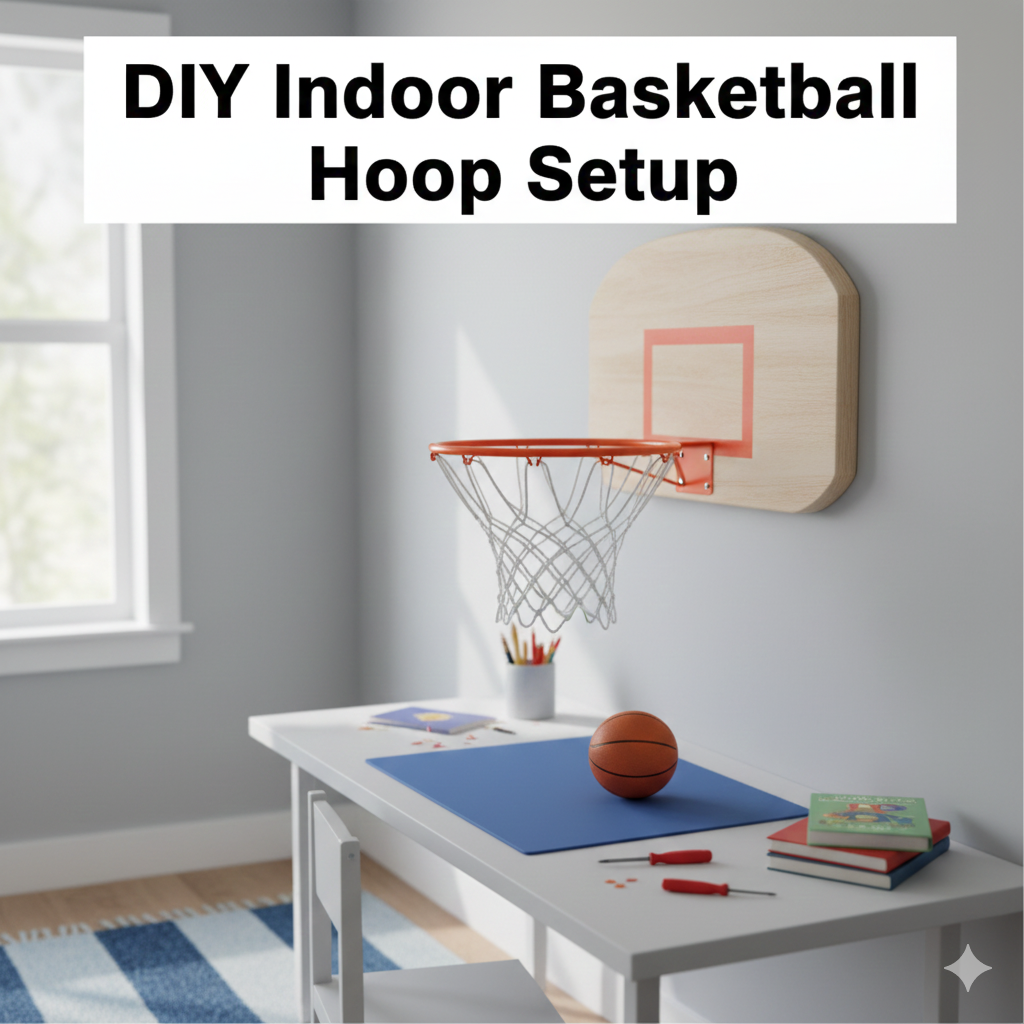
For inspiration, DIY Decor Projects That Make a Big Impact.
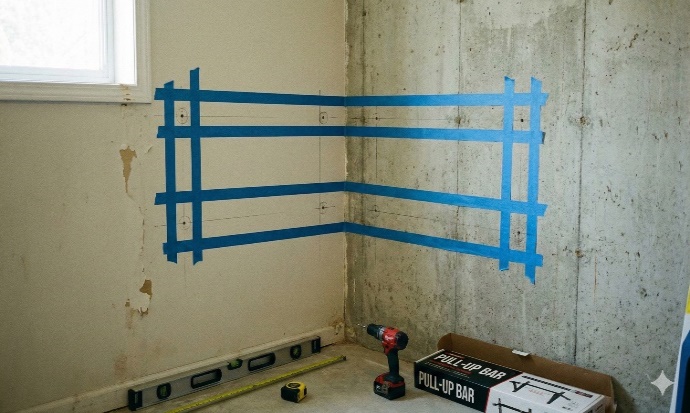
 Step 3: Measure and Mark
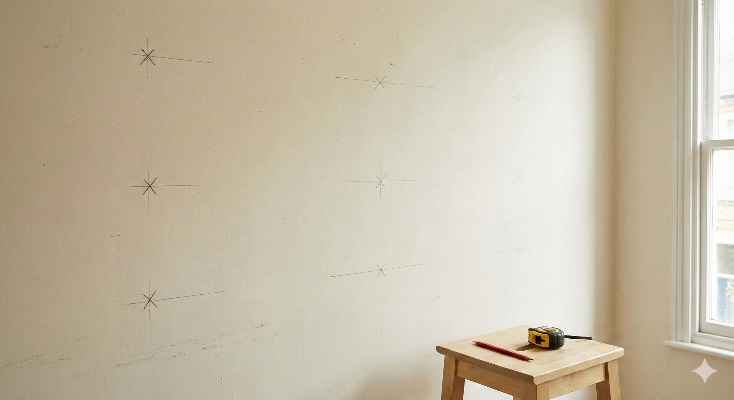
Measure shoulder‑width plus extra clearance. Mark the wall for bracket placement, ensuring symmetry and stability. Precision here prevents wobbling later.
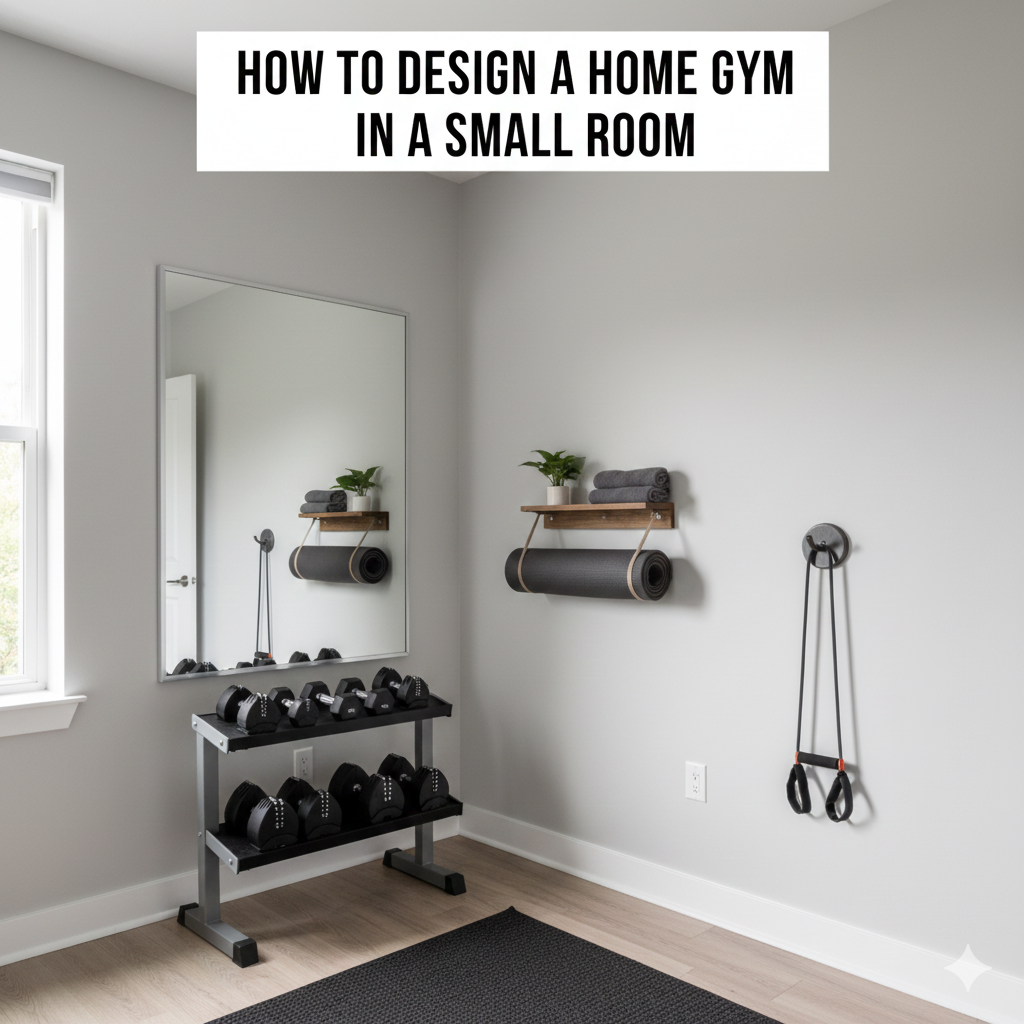
For guidance, see Small Room Design Hacks That Actually Work.
Step 4: Install the Brackets
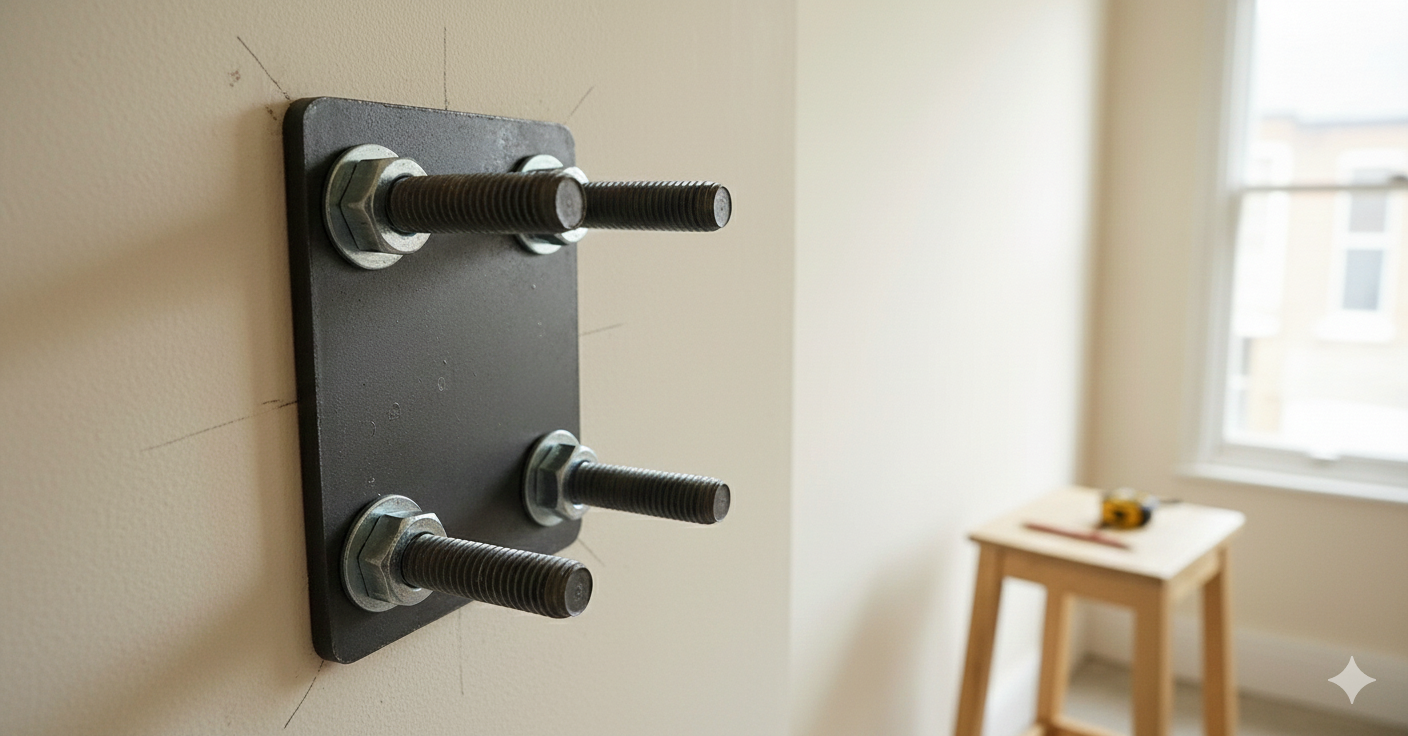
Drill holes into the wall, insert anchors, and secure brackets tightly. Test each bracket before attaching the bar. Stability is key for safety.
Step 5: Attach the Bar
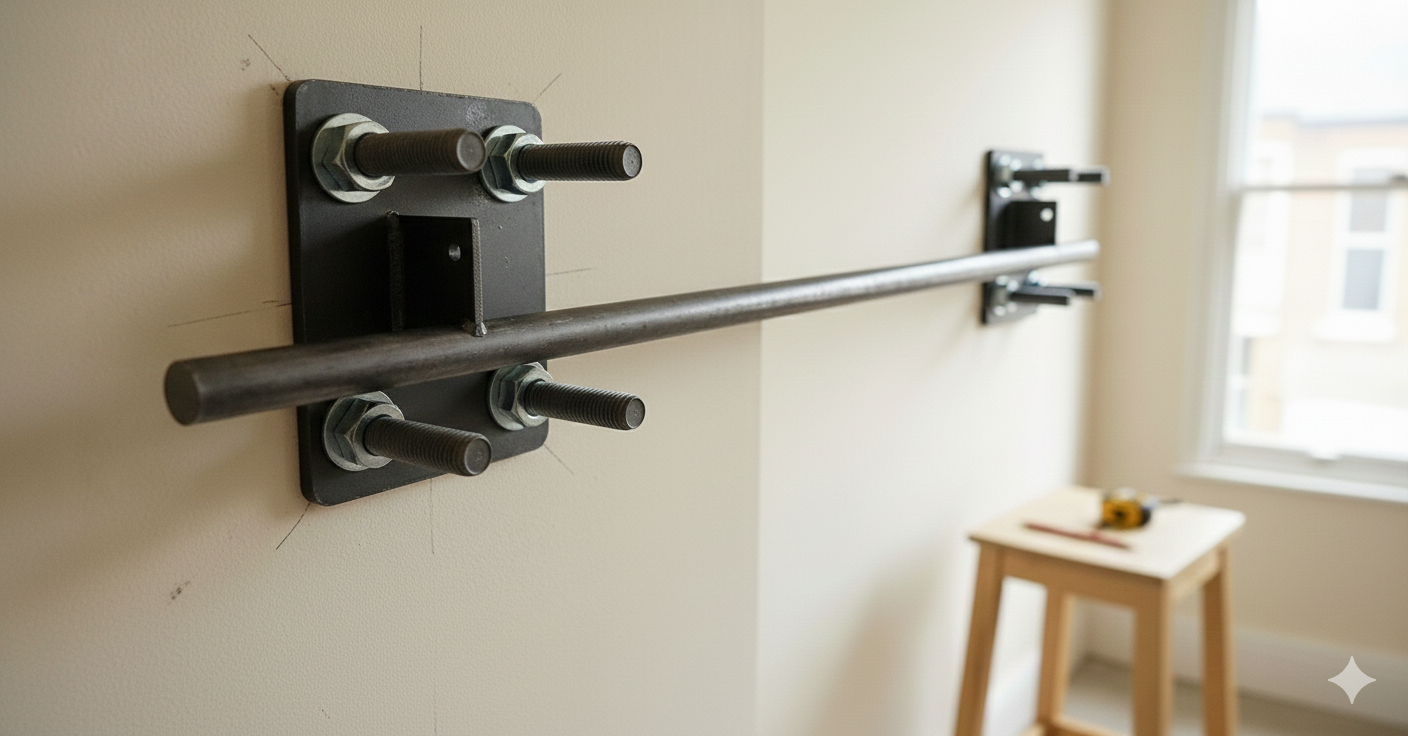
Slide the steel bar into the brackets and secure with bolts. Ensure it’s level and tightly fastened. Test by applying pressure before attempting pull‑ups.
For guidance, see Smart Furniture Choices for Tiny Homes.
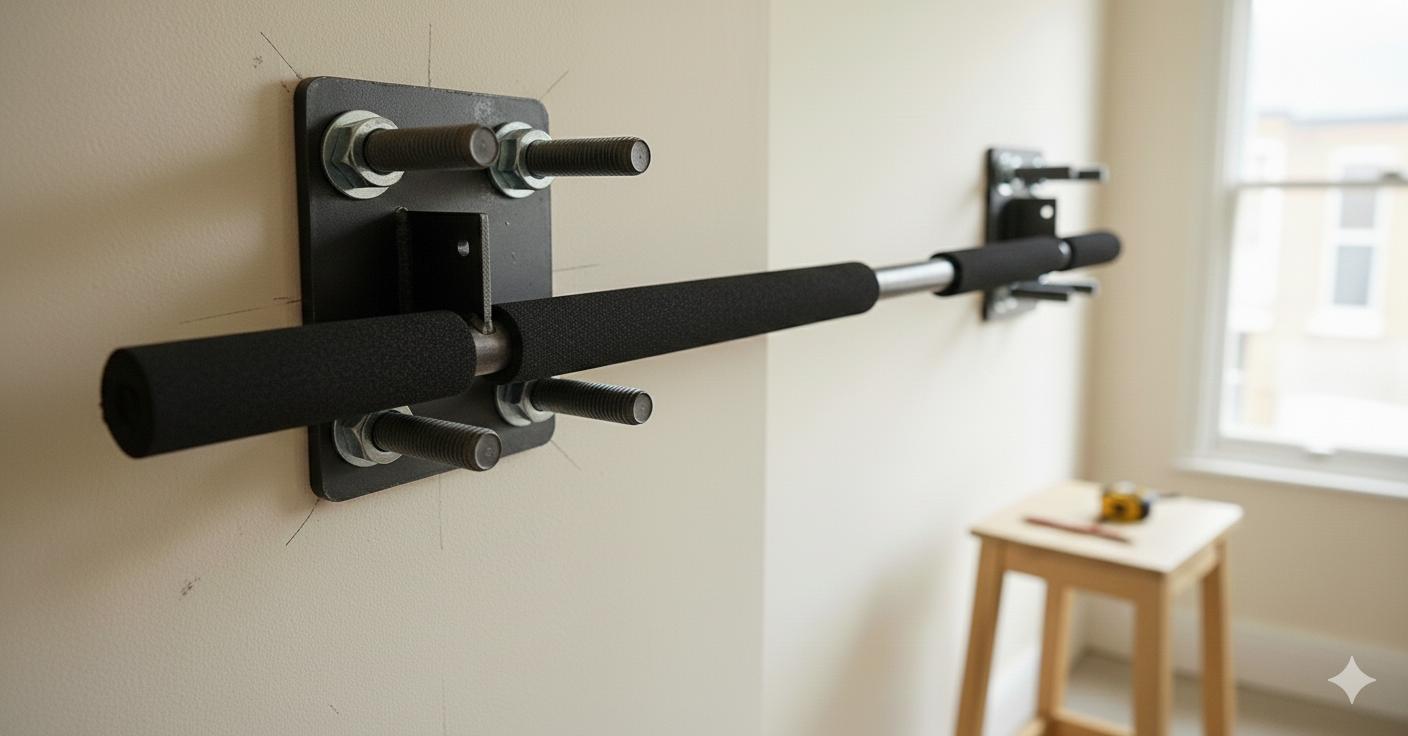
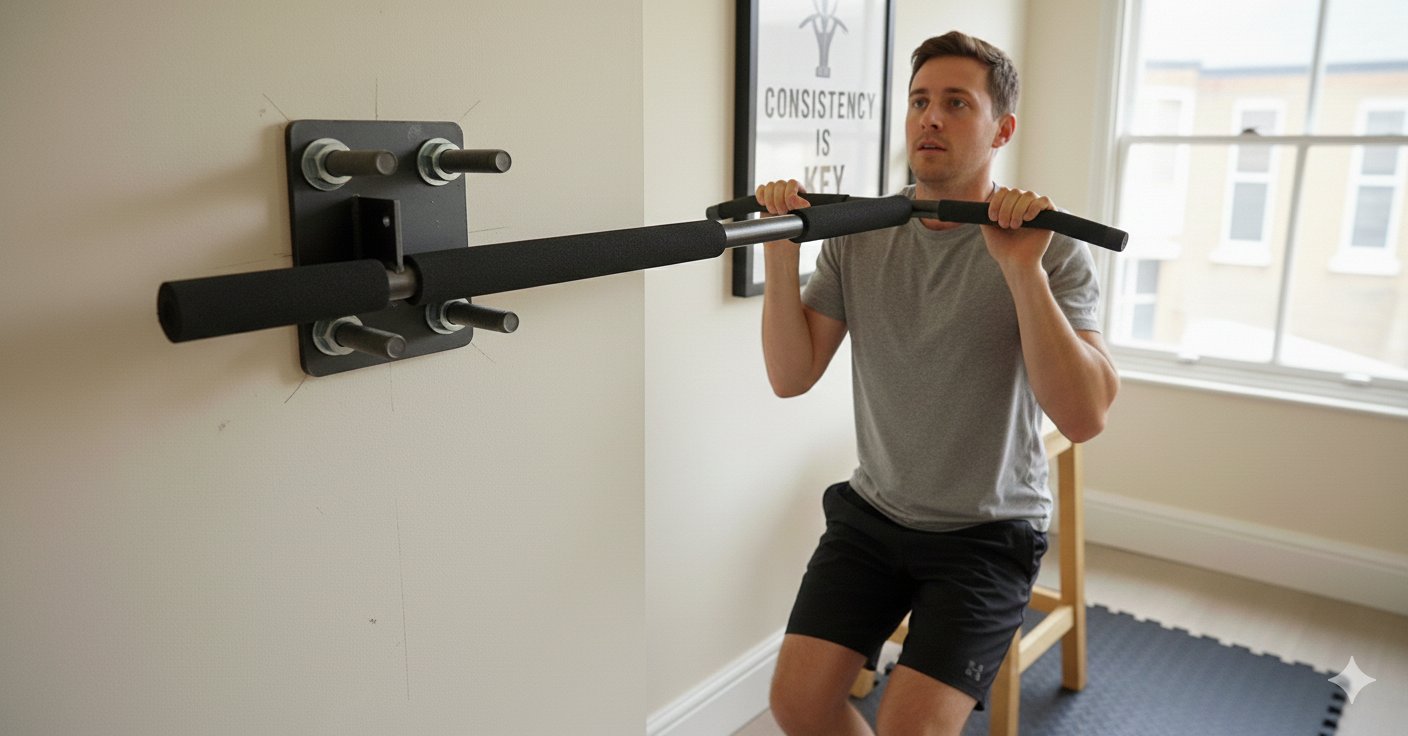
Step 6: Add Grip and Comfort
Wrap the bar with athletic tape or foam grips to prevent slipping and improve comfort. This small detail makes workouts safer and more enjoyable.
Step 7: Personalize the Setup
Paint the brackets, add motivational wall art, or place a mat underneath for style and safety. Personal touches make the space feel like your own mini gym.
For inspiration, check Wall Art Placement Rules Designers Swear By.
 Step 8: Ensure Safety
Test the bar regularly. Check screws and brackets for wear. Encourage family members to use proper form to avoid injury. Safety is non‑negotiable.
For guidance, see Organizing Small Spaces Without Sacrificing Style.
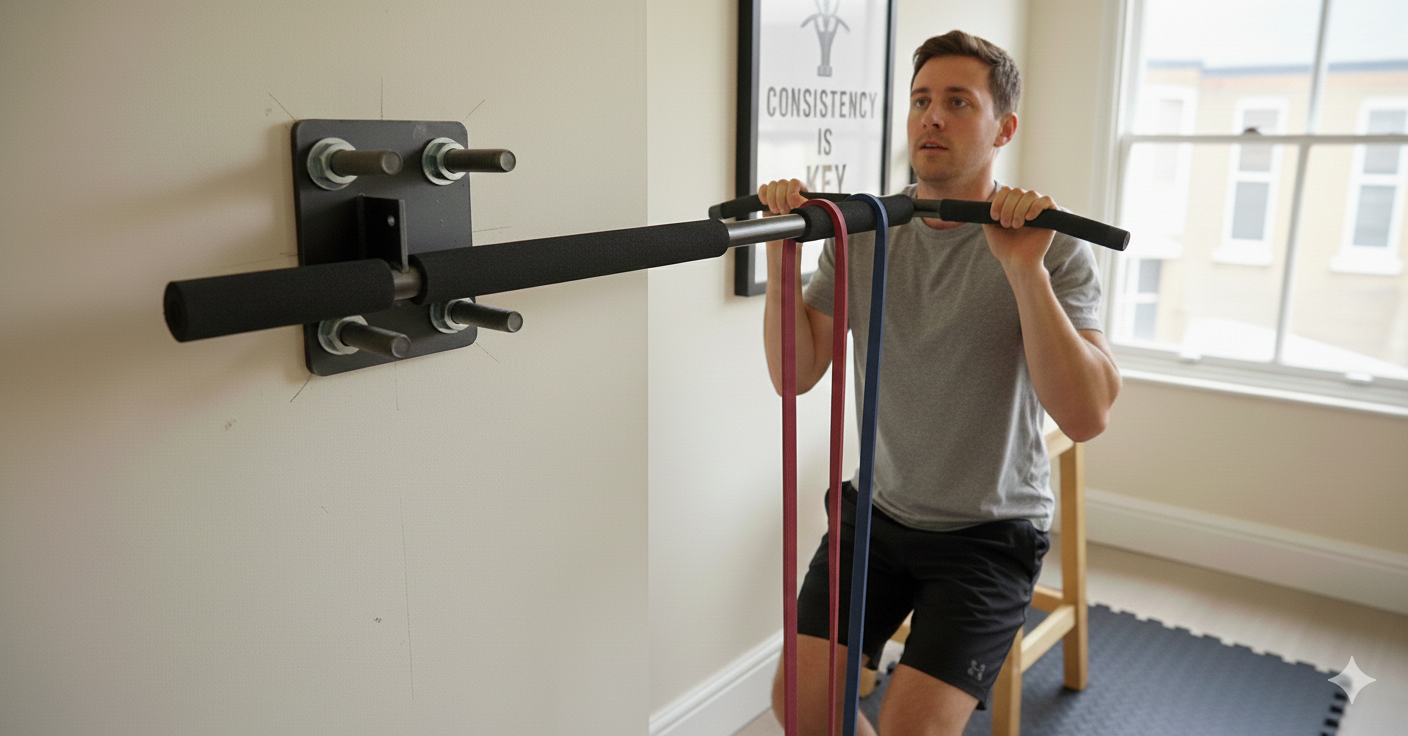
Step 9: Expand Functionality
A pull‑up bar isn’t just for pull‑ups. Use it for resistance bands, TRX straps, or even hanging a punching bag. This maximizes the value of your setup.
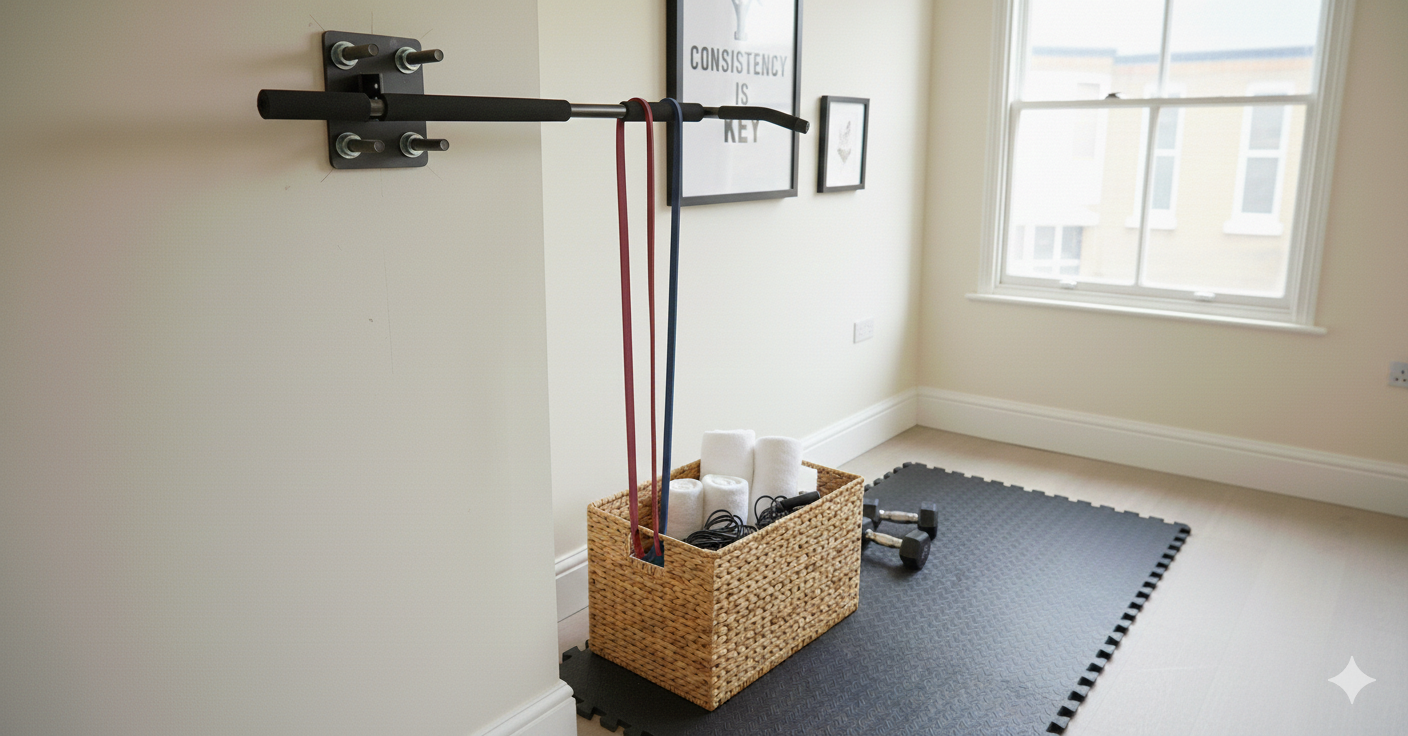 Step 10: Keep It Tidy
Store accessories like bands or gloves in baskets or hooks nearby. A tidy workout corner feels motivating and blends with your home decor.
For inspiration, check Seasonal Decorating Ideas for Every Room.
Final Thoughts
A wall‑mounted pull‑up bar is a smart, stylish solution for small homes. With careful planning, sturdy materials, and personal touches, you can build a setup that’s safe, versatile, and motivating. Done right, it transforms a simple wall into a powerful fitness station.