How to Get a Durable, Mold-Free Finish That Actually Lasts
Painting a bathroom isn’t like painting any other room — I learned that the hard way. Between the steam from hot showers, water splashes near the sink, and constant humidity, bathroom walls take a beating. I’ve seen paint peel in corners, mildew creep along the edges, and finishes that looked great for a week… then started bubbling.
That’s why choosing the right paint — and prepping the walls properly — makes all the difference. When done right, bathroom walls don’t just look fresh — they hold up. Even with daily steam, splashes, and humidity, the finish stays solid. No peeling. No bubbling. No mildew creeping in after a few weeks.
Step 1: Choose the Right Type of Paint
Let me be real — bathroom walls take a beating. Hot showers fog up the room, water splashes everywhere, and the humidity just hangs around. I tried using regular wall paint once, thinking it would be “good enough.” It wasn’t. Within weeks, the corners started peeling, and I spotted mildew near the sink.
If you want your paint job to last, you’ve got to start with the right kind of paint. Here’s what actually works in moisture-heavy spaces:
- Acrylic latex — flexible, easy to clean, and holds up well against humidity
- Epoxy — super tough and ideal for areas that stay damp
- Mildew-resistant bathroom paint — specially made to fight mold and moisture
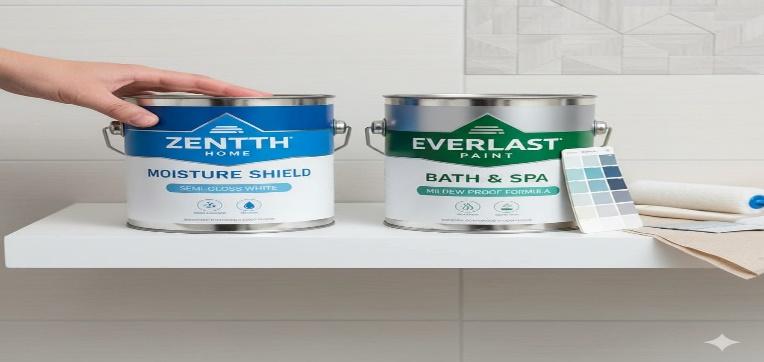
Don’t just pick a color and call it a day. Look for labels like “Water-Resistant,” “Mold-Resistant,” or “Bathroom-Safe.” Those little words on the can? They’ll save you from repainting in two months.Best Paint Brushes and Rollers for Beginners
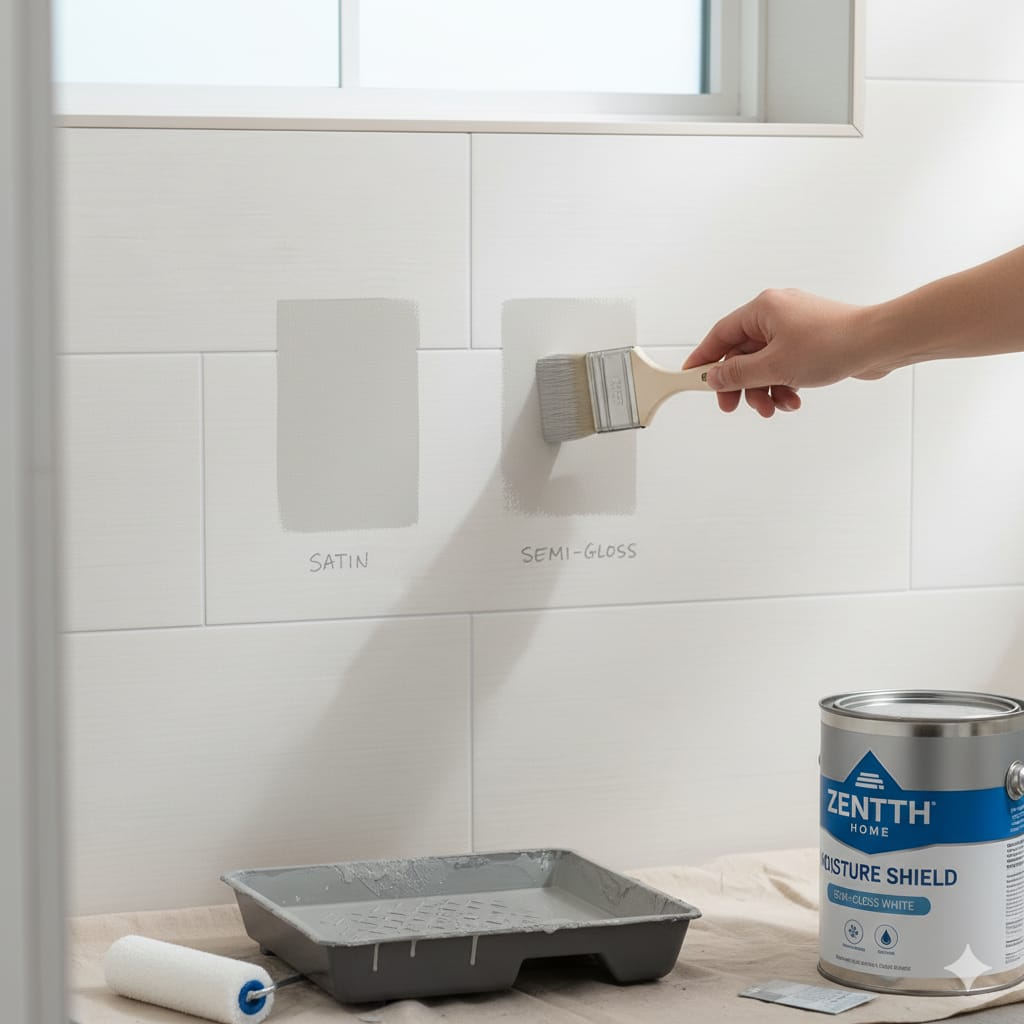
Step 2: Pick the Right Finish
Choosing the right paint is half the battle — but the finish? That’s what really decides how well your walls hold up.
I used to go for matte finishes because they looked soft and modern, but in a bathroom, they’re a trap. They soak up moisture, stain easily, and start looking tired way too soon.
Here’s what actually works in a humid space:
- Semi-gloss: Bounces light around, resists moisture, and wipes clean without fuss

- Satin: A bit more subtle than semi-gloss, but still holds up well against steam and splashes
- High-gloss: Super shiny and ideal for spots that get hit with water often — like behind the sink or near the tub
Unless you’re painting the ceiling with a moisture-resistant formula, skip the flat finish. It might look nice on day one, but it won’t stay that way for long.Ultimate Guide to DIY Kitchen Remodeling
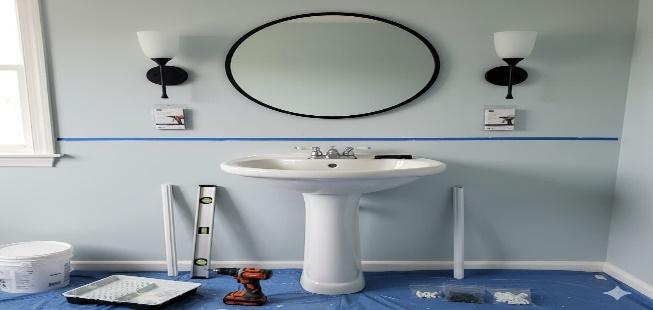
Step 3: Prep the Walls Properly
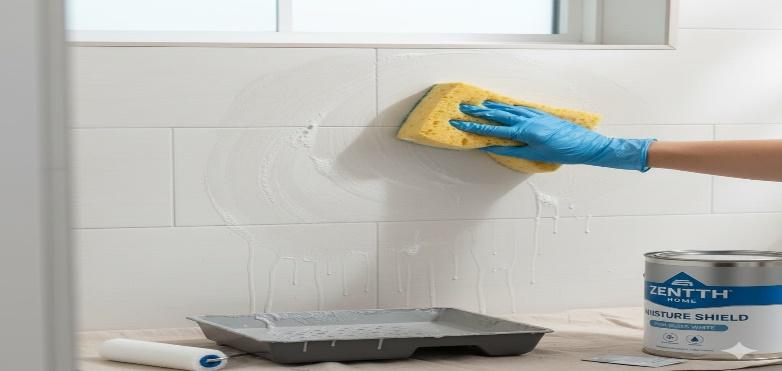
Before I even thought about opening the paint can, I had to deal with what was already on the walls — and honestly, it wasn’t great. There were patches of peeling paint, cracked caulk along the edges, and a few rough spots that had clearly been ignored for too long. I knew if I skipped the prep, I’d be repainting again in a few months. No thanks.
So I rolled up my sleeves and got to work. First, I gave the walls a full wipe-down using warm water and a mild soap — nothing fancy, just enough to cut through the grime and old residue. Then I scraped off anything that looked loose: flaking paint, brittle caulk, even a few stubborn bits near the baseboard that didn’t want to budge. Once that was done, I sanded down the rough areas until everything felt smooth to the touch. And I didn’t rush it — I let the walls dry out completely before moving on. That part’s easy to overlook, but it makes a huge difference.
I also spotted a small patch of mold near the corner. Instead of painting over it (which I’ve done before and regretted), I treated it with a mold-killing spray and waited until it was completely gone. No shortcuts this time. That extra hour of prep saved me months of frustration later.
Here’s the checklist I followed:
- Washed the walls with warm water and mild soap
- Scraped off any peeling paint or cracked caulk
- Sanded uneven spots for a smooth, even surface
- Let everything dry out fully — no damp patches left behind
- Treated any mold with a proper cleaner and waited until it cleared completely
Step 4: Apply Primer (Optional but Smart)
I used to skip primer thinking it was just an extra step — until I saw my bathroom paint start peeling after a few months. In humid spaces like bathrooms, primer isn’t just helpful… it’s smart insurance. 
If your walls have had issues before — like flaking, bubbling, or mold — go for a moisture-resistant primer. It helps the paint grip better, evens out the surface, and adds an extra layer of protection.
I applied one thin coat, let it dry completely, and only then moved on to paint. It made the finish smoother and way more durable.
Step 5: Paint in Thin, Even Coats
Now comes the part that actually transforms the space. I grabbed a roller for the wide sections and a small angled brush for the corners and edges — no shortcuts here.
didn’t rush the painting — and I’m glad I didn’t. Instead of piling on thick layers, I took my time and worked in thin, even coats. It took longer than I thought, but the payoff was clear: the finish looked smooth, clean, and solid. No streaks. No blotches. No weird texture that catches the light in all the wrong ways. 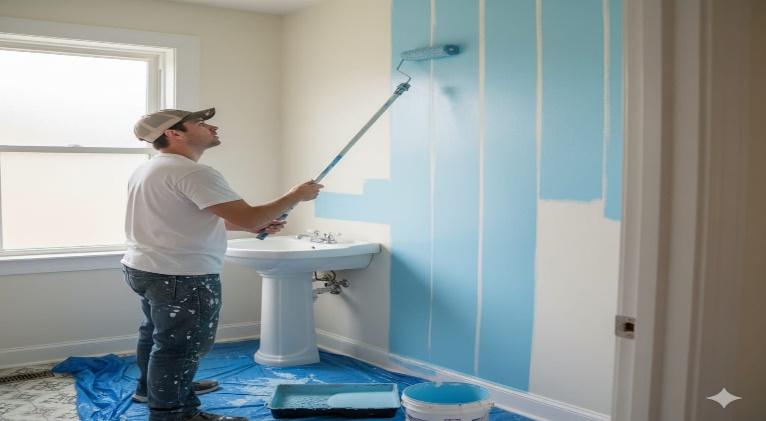
Two coats were all it took to get full coverage. No patchiness, no need for a third round — just a consistent look across the whole wall.
A few things I figured out along the way:
- Don’t overload the roller. I did once, and it left messy drips I had to fix.
- Vertical strokes work best — they help keep the texture even and the lines clean.
- Let the first coat dry fully before adding the second. It’s tempting to rush, but don’t.
- Keep the space ventilated. I cracked the window and ran the fan — it helped the paint cure properly and kept the humidity from messing with the finish
Bonus Tips for Long-Term Protection
A good paint job isn’t just about how it looks on day one — it’s about how it holds up over time. I’ve had walls look perfect at first, only to bubble and peel a few months later. So I started building a few habits that actually help the finish last:
- I turn on the exhaust fan after every shower — it clears out steam before it settles
- Every couple of weeks, I wipe down the walls with a dry cloth — just to keep moisture from building up
- Once a year, I do a quick touch-up in high-use areas — corners, near the sink, around the baseboards
- I always keep a small container of leftover paint sealed and stored — it’s a lifesaver for fast fixes
These little habits don’t take much effort, but they make a big difference. Instead of repainting the whole room every year, I just maintain what’s already working.
Final Touches That Actually Last
Painting a bathroom isn’t just about picking a pretty color — it’s about making sure that color doesn’t fade, peel, or bubble after a few weeks. Bathrooms are tough environments. The steam from daily showers, water splashes near the sink, and constant humidity all work against your walls. And if the paint isn’t up to the challenge, it shows — fast.
I’ve seen fresh paint jobs start to fail within days because the prep wasn’t done right or the wrong finish was used. But when you take the time to clean the surface, choose the right paint, and apply it properly, the results hold up. Not just for a season — but for years.
After I finished painting, I stepped back and looked at the walls. They felt clean, smooth, and solid. No peeling in the corners. No mildew creeping along the baseboards. Just a durable finish that looked fresh — and stayed that way.
If you’re planning to paint your bathroom, don’t rush it. Prep well, choose smart, and paint with care. It’s not just a cosmetic upgrade—it’s protection that lasts. How to Fix Bathroom Leaks Without a Plumber