Learn how to paint your kitchen walls like a pro. Step-by-step prep, tools, techniques, and tips for a smooth, mess-free DIY finish.
No Mess, No Stress—Just a Fresh, Confident Finish
I never thought I’d be the kind of person who paints their own kitchen. It felt like one of those jobs you leave to professionals—messy, technical, and full of things that could go wrong. But after months of staring at dull, stained walls and getting quotes I couldn’t afford, I decided to give it a shot.
Spoiler: I didn’t just survive it—I nailed it. Here’s how I painted my kitchen walls like a pro (or close enough), and how you can too.
1. The Power of Prep (Don’t Skip It)
If I could give one piece of advice, it’s this: prep is everything. I used to think painting was just about slapping color on the wall. But the real magic happens before the brush even touches paint.
Here’s what I did: 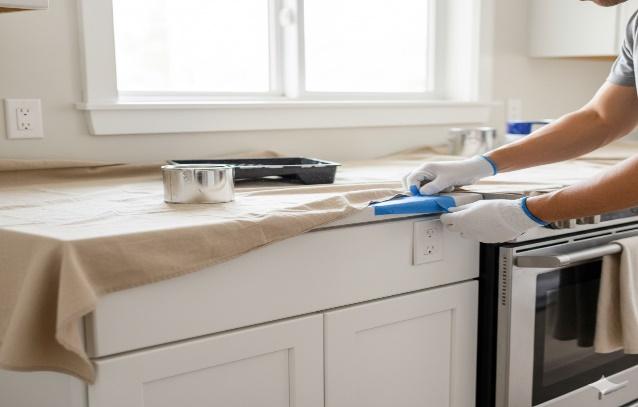
- Cleared the kitchen completely—small appliances, wall art, even the trash can
- Covered countertops and floors with drop cloths
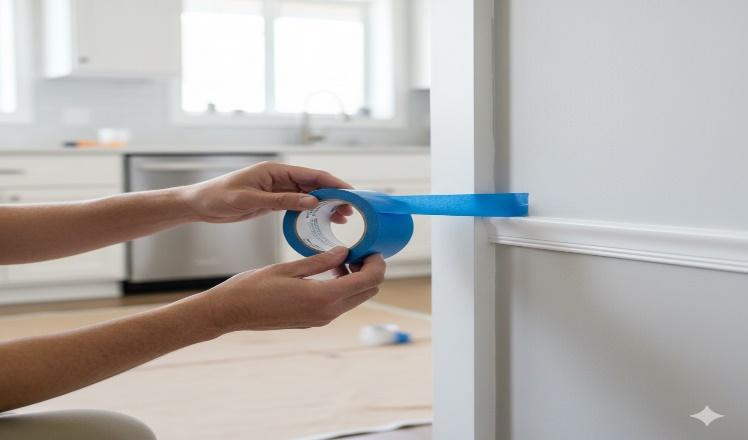
- Removed outlet covers and taped around switches and trim
- Cleaned the walls with warm water and mild soap to remove grease
- Filled small holes with putty and sanded them smooth
- Used painter’s tape around cabinets, windows, and door frames How to Install a DIY Backsplash That Transforms Your Kitchen
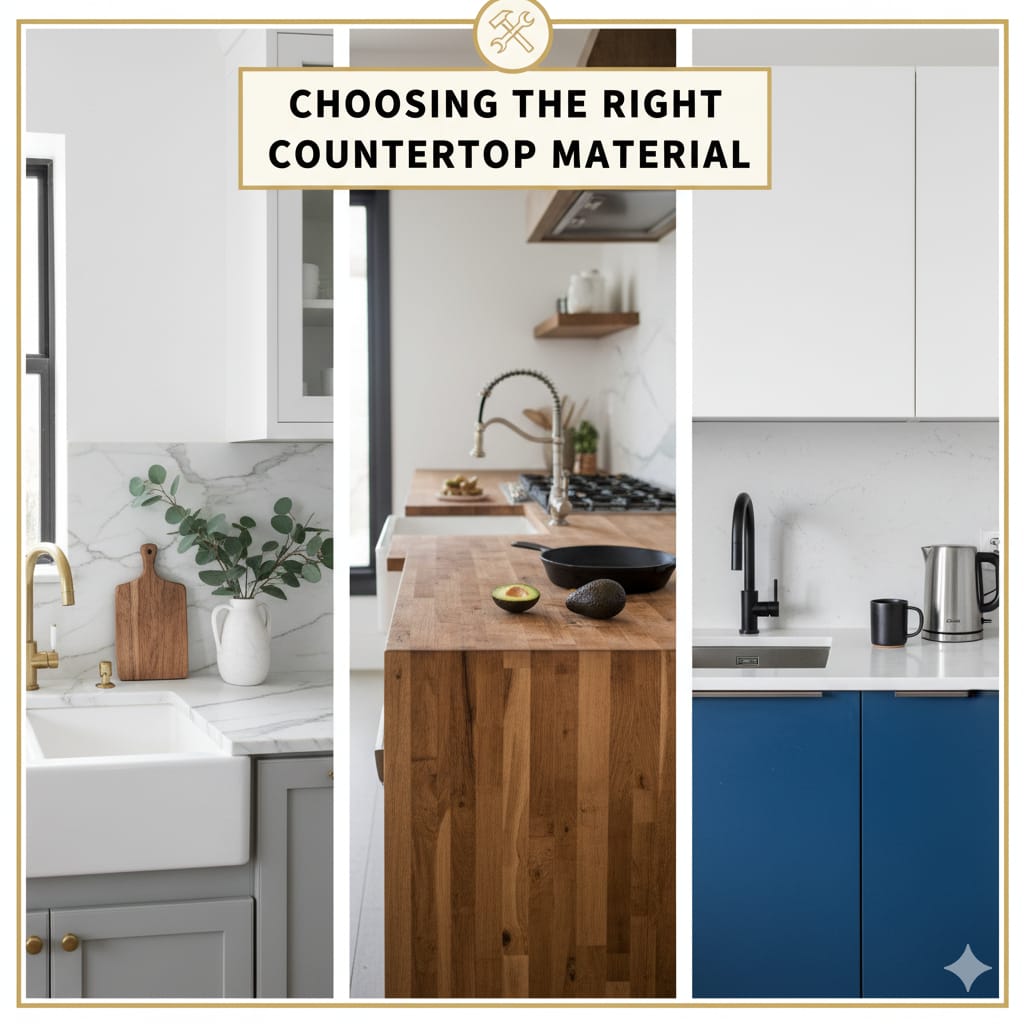
2. Choosing the Right Paint (It’s Not Just About Color)
I spent way too long picking the color—but what really mattered was the finish. Kitchen walls deal with steam, splashes, and constant cleaning. So I went with acrylic latex paint in a satin finish—durable, washable, and not too shiny. 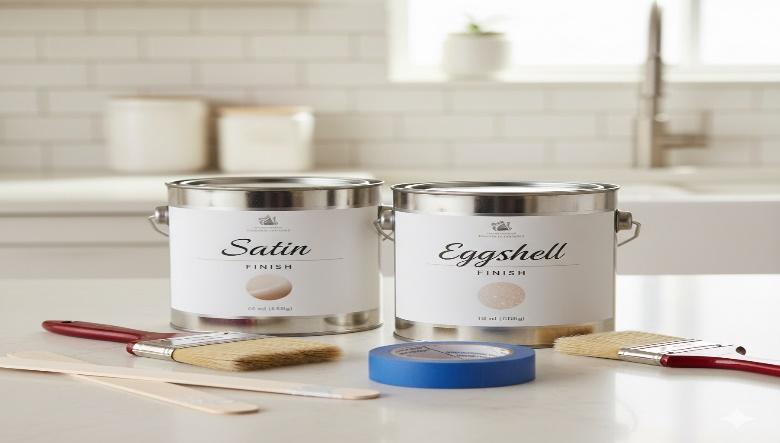
Other finishes I considered:
- Eggshell: softer look, still easy to clean
- Semi-gloss: super durable, but shows every flaw Best Paint Brushes and Rollers for Beginners
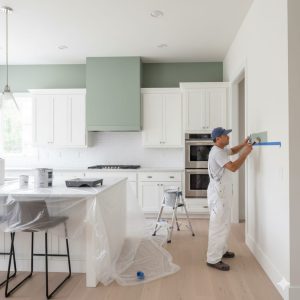
3. Cutting In and Rolling (The Real Technique)
I started by “cutting ”in”—painting the edges and corners with a 2-inch angled brush. Then I used a roller for the big areas. I worked in small sections, always keeping a wet edge so the paint blended smoothly.
Pro tips I learned: 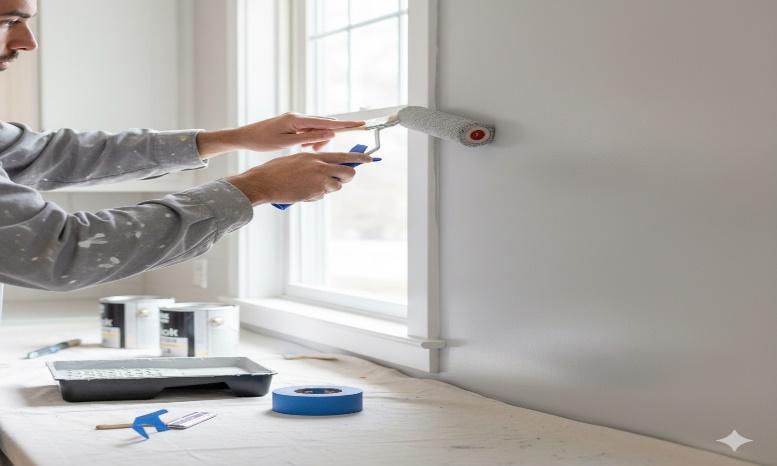
- Don’t overload the roller
- Roll in a “W” shape, then fill in
- Keep a damp cloth nearby for quick cleanups
4. Primer: When You Need It (And When You Don’t)
My walls had grease stains and uneven patches, so I used a stain-blocking primer first. It helped the paint stick better and gave me a smoother finish. 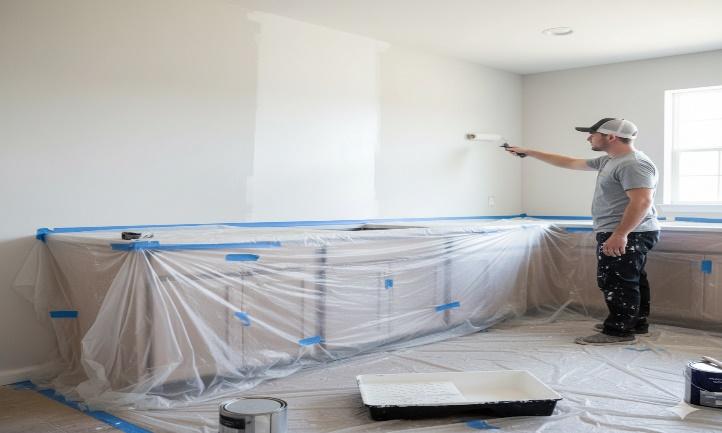
If your walls are clean and you’re using a high-quality paint + primer combo, you might skip this step. But I didn’t want to risk it
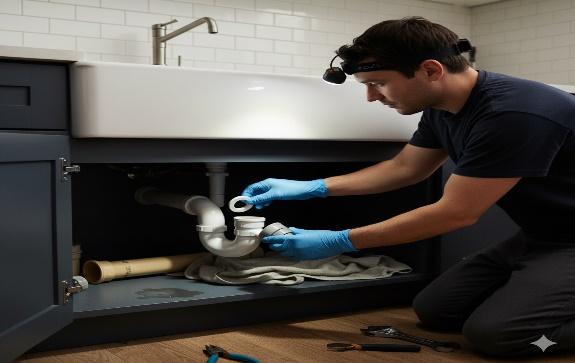
Repairing Minor Electrical Issues Safely
5. Mistakes I Made (So You Don’t Have To)
Let’s be real—I messed up a few things. But every mistake taught me something useful.
Here’s what went wrong: 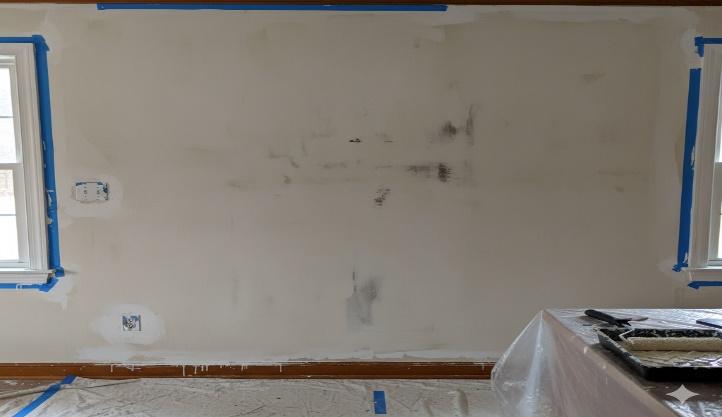
- I didn’t stir the paint enough—the first coat was streaky
- I left the tape on too long—it peeled off some paint
- I painted in poor lighting—missed a few spots
- I used cheap brushes—they shed bristles everywhere
- I rushed the second coat—got uneven texture
6. Clean-Up That Doesn’t Feel Like a Chore
Once the paint dried, I tackled cleanup like a pro:
- Removed all tape slowly at a 45° angle
- Reattached outlet covers
- Wiped down any splashes or drips
- Stored leftover paint for touch-ups
- Cleaned brushes and rollers with warm water and soap
7. Tools That Made Everything Easier
I didn’t buy fancy gear—just the basics that worked:
- 2-inch angled brush
- Medium nap roller
- Paint tray
- Painter’s tape
- Drop cloths
- Putty knife and sandpaper
- Primer and acrylic latex paint
- Stir sticks and gloves Essential DIY Fixes Every Homeowner Should Know
8. How It Felt When I Finished
I stood in the doorway and stared at my kitchen for a full minute. It looked brighter, cleaner, and more “me.” And the best part? I did it myself.
Painting isn’t just about color—it’s about confidence. Every brushstroke reminded me that I’m capable. And now, every time I walk into the kitchen, I feel proud.