A simple, renter-friendly upgrade that instantly makes your bathroom feel brighter, bigger, and more designed—no electrician needed.
When I first started updating my bathroom, I thought the mirror and lighting would be the hardest part. I imagined wires, wall damage, and a budget I didn’t have. But after a bit of research (and a lot of Pinterest scrolling), I realized I could get a high-end look with just a few smart swaps—no rewiring, no stress.
This combo—a clean mirror and two plug-in sconces—completely changed the feel of the room. It made the space feel more open, more balanced, and honestly, more “done.” And the best part? I installed it all in one afternoon, with nothing but basic tools and a bit of patience.
Why This Combo Works So Well
- Side lighting = no more shadows. It’s way more flattering than a single overhead bulb.
- A well-placed mirror adds depth and reflects light, making the room feel bigger.
- Plug-in sconces are renter-friendly and easy to install—no electrician needed.
- It’s a fast win. You can do this in a few hours, and the impact is immediate.
- It works in any size bathroom, especially small ones where lighting makes a huge difference. Budget Bathroom Flooring Ideas—Affordable and Stylish Options
What You’ll Need
Here’s what I used—nothing fancy, just the basics:
- A frameless mirror with wall mounts (mine had matte black brackets)
- Two plug-in wall sconces with warm white bulbs
- Stud finder, level, measuring tape
- Anchors and screws
- Drill and screwdriver
- Adhesive cord covers (paintable)
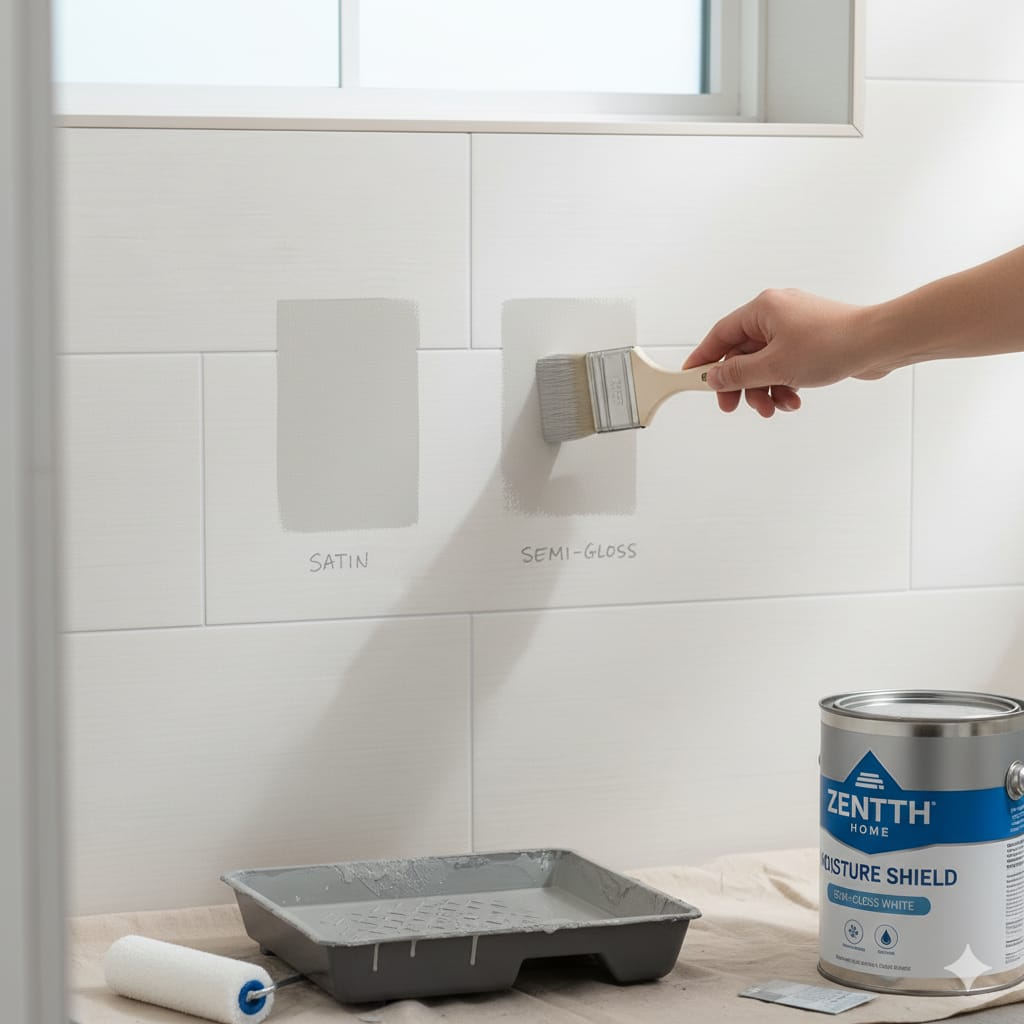
- Optional: wall paint to match the cord covers
Step-by-Step: How I Installed It

1. Measured and Marked Everything
I started by measuring the wall space above the vanity. I centered the mirror first, then marked where the sconces would go—about eye level, and evenly spaced from the mirror edges Choosing the Best Grout for Wet Areas
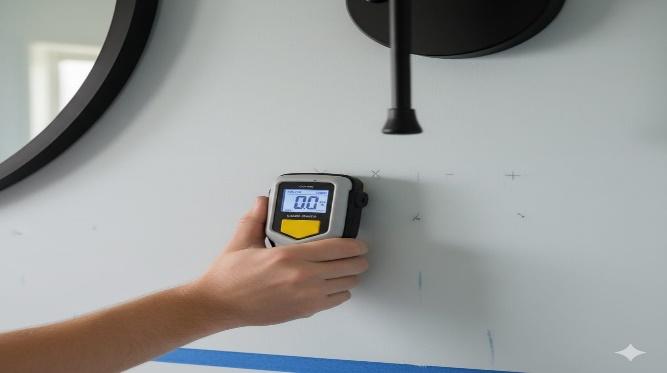
2. Found the Studs (or Used Anchors)
Using a stud finder, I checked for solid mounting points. One side had a stud, the other didn’t—so I used wall anchors to make sure everything was secure.
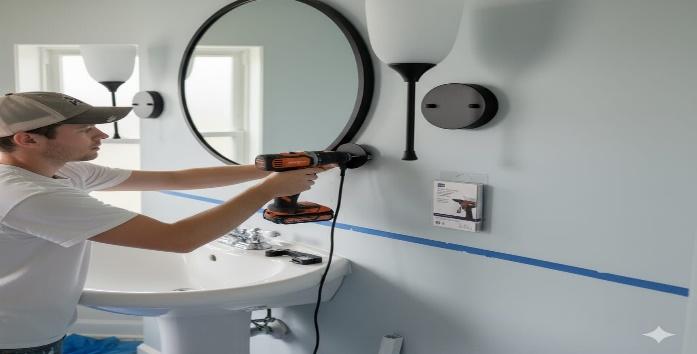
3. Mounted the Mirror
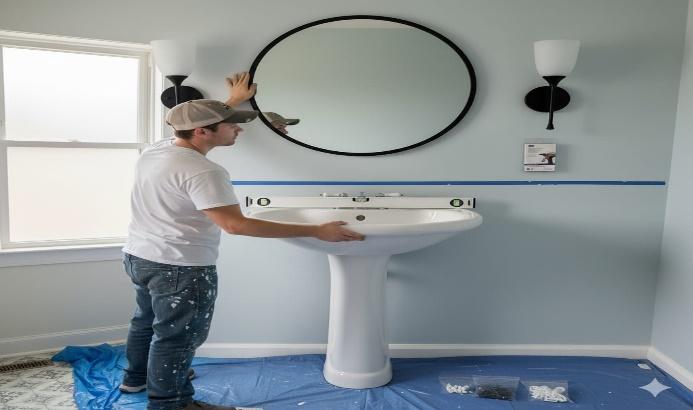
I installed the mirror first. It had two brackets, so I leveled them, drilled them in, and slid the mirror into place. Honestly, this part took the longest—mostly because I kept double-checking the level.

4. Installed the Plug-In Sconces
Next, I mounted the sconces on either side of the mirror. Since they were plug-in, I didn’t have to deal with wires—just drilled them into place and plugged them in.
5. Hid the Cords (and Made It Look Built-In) 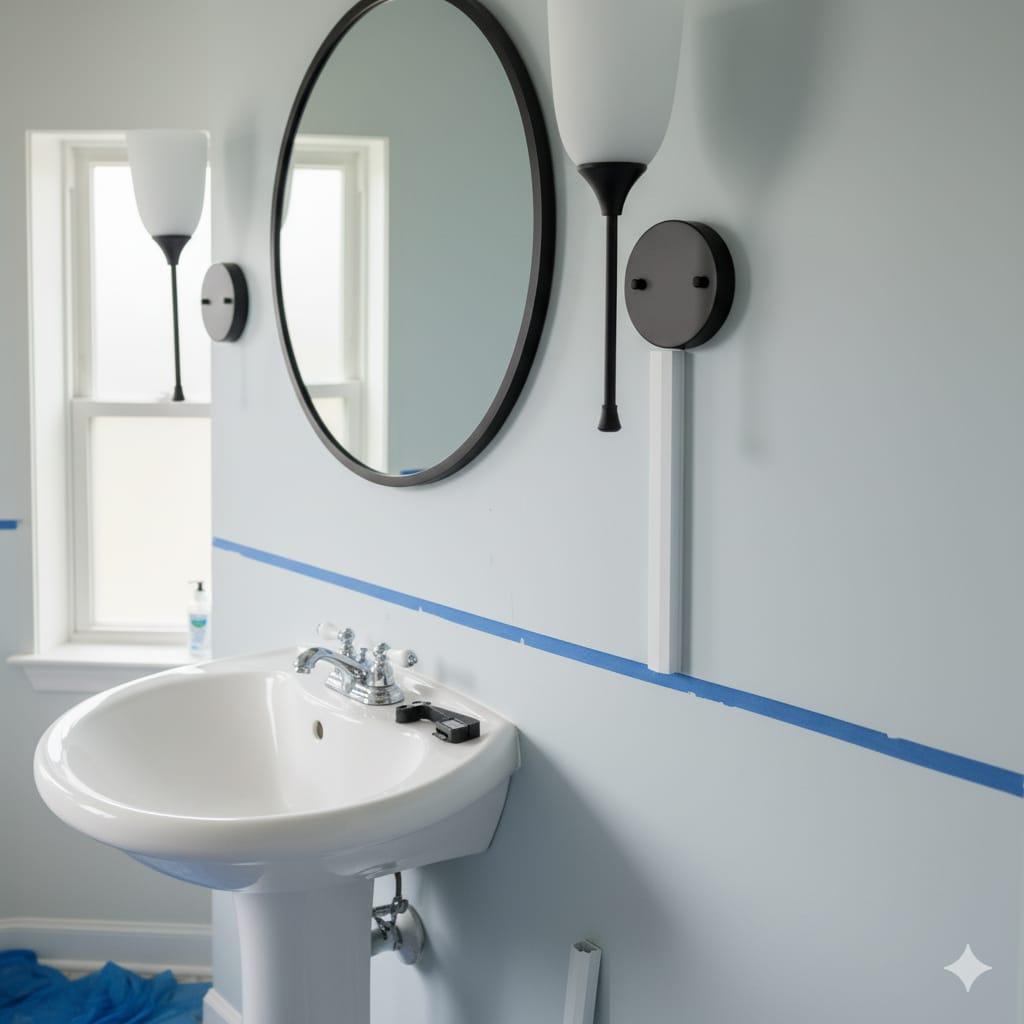
This part made the biggest difference. I ran the cords down the wall and covered them with adhesive cord channels. Then I painted the covers the same color as the wall—and suddenly, the whole setup looked custom. DIY Lighting Ideas for Kitchens
6. Tested the Lighting at Night
Once everything was in place, I turned off the overhead light and tested the sconces. The glow was soft, warm, and way more flattering than the old ceiling fixture. It felt like a completely different room. How to Choose the Right Drill for Home Projects
What I Learned Along the Way
- Warm bulbs make a huge difference. I used 2700K warm white—anything cooler felt too harsh.
- Symmetry matters. Even spacing between the mirror and sconces makes the whole setup feel intentional.
- Cord covers are magic. They turn a basic plug-in setup into something that looks built-in.
- Don’t skip the level. A slightly crooked mirror or light will drive you crazy later.
- Test before you commit. I plugged in the sconces and held them up before drilling—just to see how the light would fall.
Styling Ideas Based on Your Bathroom Vibe
|
|---|
Want to Take It Further?
If you’re already updating your mirror and lighting, it’s the perfect time to refresh a few other things:
- Swap out your faucet for a matte black or brushed brass finish
- Add a floating shelf above the toilet for storage and style
- Paint the vanity or change the hardware for a quick facelift
- Lay down a peel-and-stick floor if your tiles are outdated
- Add a small plant or candle to soften the space
Final Thoughts
This mirror-and-lighting combo is one of those upgrades that looks expensive but isn’t. It’s renter-friendly, beginner-friendly, and makes a huge difference in how your bathroom feels.
Whether you’re working with a tiny powder room or a full-size master bath, this setup adds depth, warmth, and a polished finish—without the stress or the expense.
If you’ve been putting off your bathroom refresh because of wiring or budget worries, start here. It’s simple, satisfying, and honestly—it’ll make you smile every time you walk in.
A simple, renter-friendly upgrade that instantly makes your bathroom feel brighter, bigger, and more designed—no electrician needed.
When I first started updating my bathroom, I thought the mirror and lighting would be the hardest part. I imagined wires, wall damage, and a budget I didn’t have. But after a bit of research (and a lot of Pinterest scrolling), I realized I could get a high-end look with just a few smart swaps—no rewiring, no stress.
This combo—a clean mirror and two plug-in sconces—completely changed the feel of the room. It made the space feel more open, more balanced, and honestly, more “done.” And the best part? I installed it all in one afternoon, with nothing but basic tools and a bit of patience.
Why This Combo Works So Well
- Side lighting = no more shadows. It’s way more flattering than a single overhead bulb.
- A well-placed mirror adds depth and reflects light, making the room feel bigger.
- Plug-in sconces are renter-friendly and easy to install—no electrician needed.
- It’s a fast win. You can do this in a few hours, and the impact is immediate.
- It works in any size bathroom, especially small ones where lighting makes a huge difference. Budget Bathroom Flooring Ideas—Affordable and Stylish Options
What You’ll Need
Here’s what I used—nothing fancy, just the basics:
- A frameless mirror with wall mounts (mine had matte black brackets)
- Two plug-in wall sconces with warm white bulbs
- Stud finder, level, measuring tape
- Anchors and screws
- Drill and screwdriver
- Adhesive cord covers (paintable)
- Optional: wall paint to match the cord covers
Step-by-Step: How I Installed It
1. Measured and Marked Everything 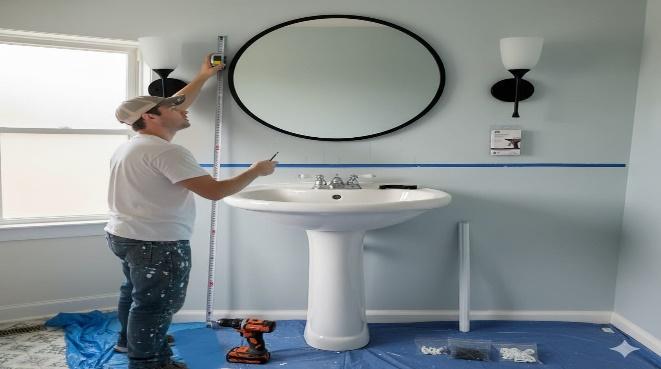
I started by measuring the wall space above the vanity. I centered the mirror first, then marked where the sconces would go—about eye level, and evenly spaced from the mirror edges Choosing the Best Grout for Wet Areas
2. Found the Studs (or Used Anchors)
Using a stud finder, I checked for solid mounting points. One side had a stud, the other didn’t—so I used wall anchors to make sure everything was secure.

3. Mounted the Mirror
I installed the mirror first. It had two brackets, so I leveled them, drilled them in, and slid the mirror into place. Honestly, this part took the longest—mostly because I kept double-checking the level.
4. Installed the Plug-In Sconces
Next, I mounted the sconces on either side of the mirror. Since they were plug-in, I didn’t have to deal with wires—just drilled them into place and plugged them in.
5. Hid the Cords (and Made It Look Built-In) 
This part made the biggest difference. I ran the cords down the wall and covered them with adhesive cord channels. Then I painted the covers the same color as the wall—and suddenly, the whole setup looked custom. DIY Lighting Ideas for Kitchens
6. Tested the Lighting at Night
Once everything was in place, I turned off the overhead light and tested the sconces. The glow was soft, warm, and way more flattering than the old ceiling fixture. It felt like a completely different room. How to Choose the Right Drill for Home Projects
What I Learned Along the Way
- Warm bulbs make a huge difference. I used 2700K warm white — anything cooler felt too harsh.
- Symmetry matters. Even spacing between the mirror and sconces makes the whole setup feel intentional.
- Cord covers are magic. They turn a basic plug-in setup into something that looks built-in.
- Don’t skip the level. A slightly crooked mirror or light will drive you crazy later.
- Test before you commit. I plugged in the sconces and held them up before drilling — just to see how the light would fall.
Styling Ideas Based on Your Bathroom Vibe
|
|---|
Want to Take It Further?
If you’re already updating your mirror and lighting, it’s the perfect time to refresh a few other things:
- Swap out your faucet for a matte black or brushed brass finish
- Add a floating shelf above the toilet for storage and style
- Paint the vanity or change the hardware for a quick facelift
- Lay down a peel-and-stick floor if your tiles are outdated
- Add a small plant or candle to soften the space
Final Thoughts
This mirror-and-lighting combo is one of those upgrades that looks expensive but isn’t. It’s renter-friendly, beginner-friendly, and makes a huge difference in how your bathroom feels.
Whether you’re working with a tiny powder room or a full-size master bath, this setup adds depth, warmth, and a polished finish — without the stress or the spend.
If you’ve been putting off your bathroom refresh because of wiring or budget worries, start here. It’s simple, satisfying, and honestly—it’ll make you smile every time you walk in.