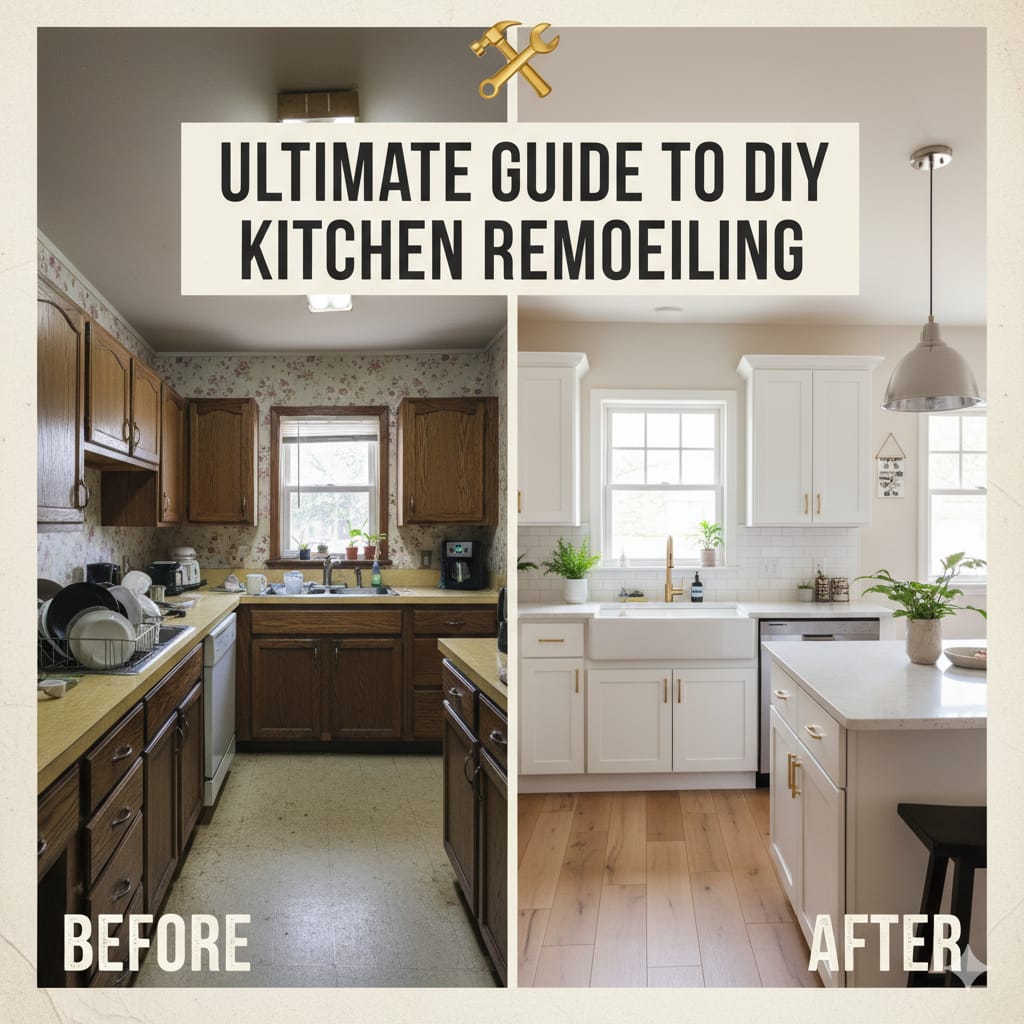
Remodel your kitchen step by step with this DIY guide. From planning and budgeting to flooring, cabinets, and finishing touches—everything you need in one place.

Let’s Be Honest—It’s Messy, Exciting, and Totally Worth It
I didn’t start this project with a perfect plan. It began with a broken drawer… then a leaky faucet… And suddenly I was knee-deep in layout sketches and late-night YouTube tutorials. Remodelin
g your kitchen yourself isn’t about chasing Pinterest perfection—it’s about making the space work for how you actually live. It’s about figuring things out as you go, making smart choices, and building something that feels like yours.
This guide isn’t just a checklist—it’s everything I learned (and wish I knew earlier) to help you turn your kitchen into a space that’s functional, personal, and genuinely satisfying.
Step 1: Define What You Actually Want 
Forget the glossy magazine spreads for a second. Ask yourself:
- What’s not working in my current kitchen?
- What do I need more of—storage, light, or counter space?
- What’s my budget, and how much time can I realistically commit? How to Replace a Toilet Yourself
Step 2: Take a Good Look at What You’ve Got 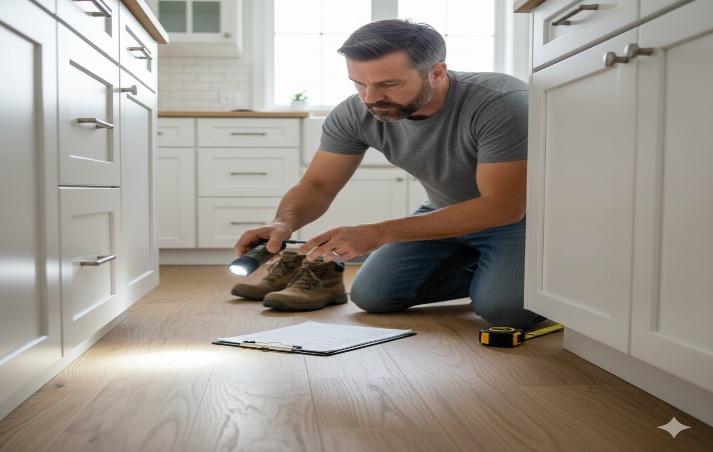
Before you start dreaming, walk through your kitchen and take notes. I found cracked tiles, outdated outlets, and a cabinet that had been off its hinges for months.
Look for:
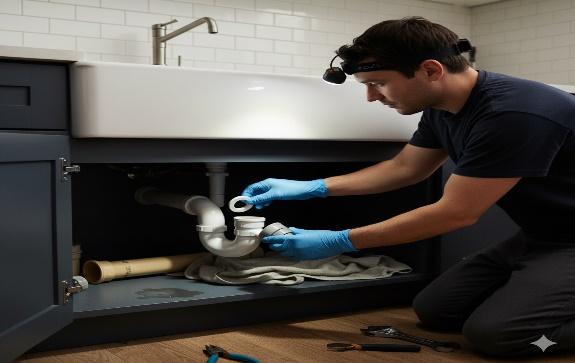
- Water damage under the sink or near appliances
- Poor lighting or dark corners
- Layout issues (like bumping into things while cooking)
- Electrical or plumbing problems that might need a pro
This honest assessment helped me decide what to keep, what to fix, and what to replace—without wasting time or money.
Step 3: Build a Budget That Actually Works 
I’ll be honest—I underestimated the cost at first. I thought, “I’ll just repaint the cabinets and swap the faucet. Shouldn’t be more than a few hundred.” Then came the hidden plumbing issue, the broken tile under the fridge, and the fact that I needed a new circuit for the oven. It adds up fast.
What helped was breaking the budget into categories:
- Must-haves: things that were broken or unsafe
- Nice-to-haves: upgrades I wanted but could live without
- DIY vs. pro: what I could realistically do myself, and what needed a licensed expert
I also added a 20% buffer for surprises—and yes, I used it. Budget-Friendly Cabinet Refacing
Step 4: Gather Your Tools and Gear
I didn’t buy everything at once. Some tools I already had, some I borrowed, and a few I rented for a weekend. What mattered most was having the right gear for each phase—and not skimping on safety. 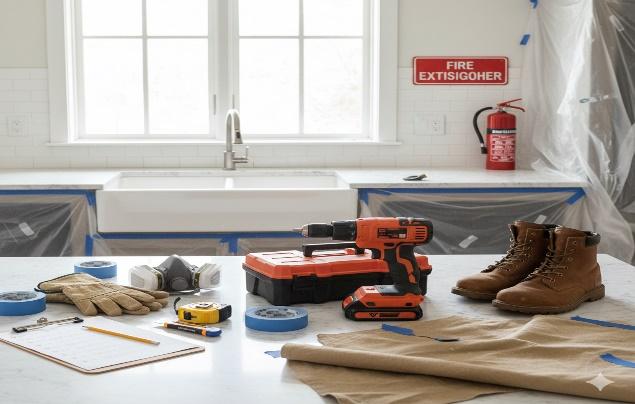
Here’s what I ended up using:
- Tape measure
- Drill and bits
- Stud finder
- Level
- Utility knife
- Safety goggles, gloves, and a mask
- First aid kit
- Fire extinguisher (yes, I actually needed it once) Best Paint Brushes and Rollers for Beginners
Step 5: Break It Down Into Phases 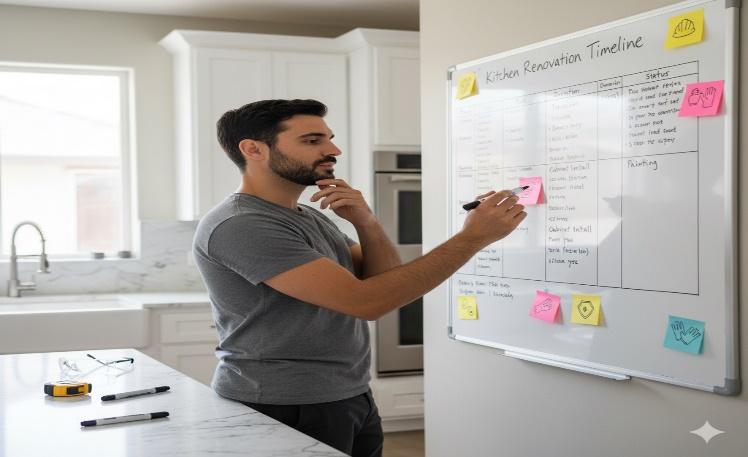
Trying to do everything at once? That’s how you burn out by week two. What helped me was splitting the remodel into clear stages—not just for my sanity, but so I could actually see progress.
Here’s how I broke it down:
- Planning and prep
- Electrical and plumbing updates
- Flooring and walls
- Cabinets and countertops
- Appliances and fixtures
- Final styling and cleanup
I didn’t always stick to the timeline perfectly (life happens), but having a roadmap made it way easier to stay on track.
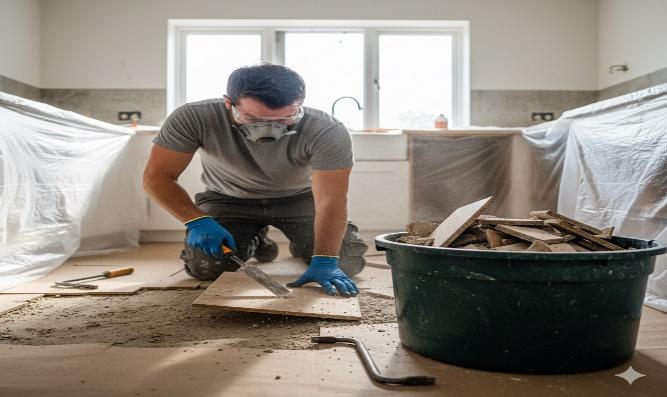
Step 6: Demolition—The Fun (and Risky) Part
I won’t lie—demo day felt amazing. There’s something deeply satisfying about ripping out old cabinets and finally saying goodbye to that weird tile. But it’s also where things can go wrong fast.
What I learned:
- Always shut off water and power before touching anything
- Wear full safety gear (goggles, gloves, mask—all of it)
- Go slow around plumbing and electrical
- Keep a bucket and towels nearby—just in case
Also: brace yourself for dust. So. Much. Dust
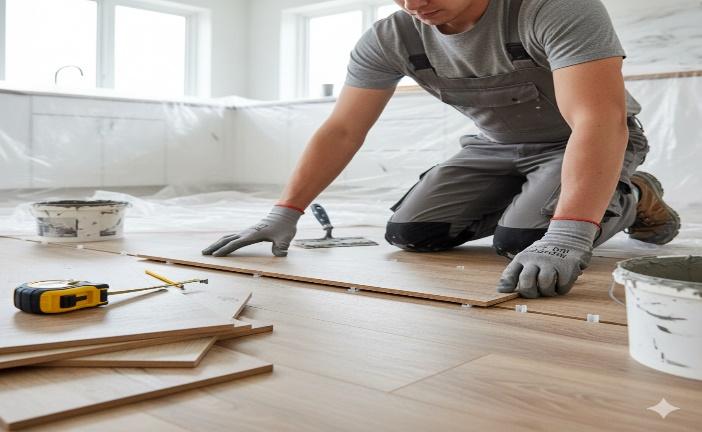
Step 7: Flooring That Can Handle Real Life
I needed something that could survive spills, muddy shoes, and the occasional dropped pan. I went with waterproof laminate—it looked like wood, clicked together easily, and didn’t break the bank.
What helped:
- Letting the planks acclimate in the room for 48 hours
- Using spacers to leave room for expansion
- Watching a few install videos before starting
- Keeping a rubber mallet nearby (trust me)
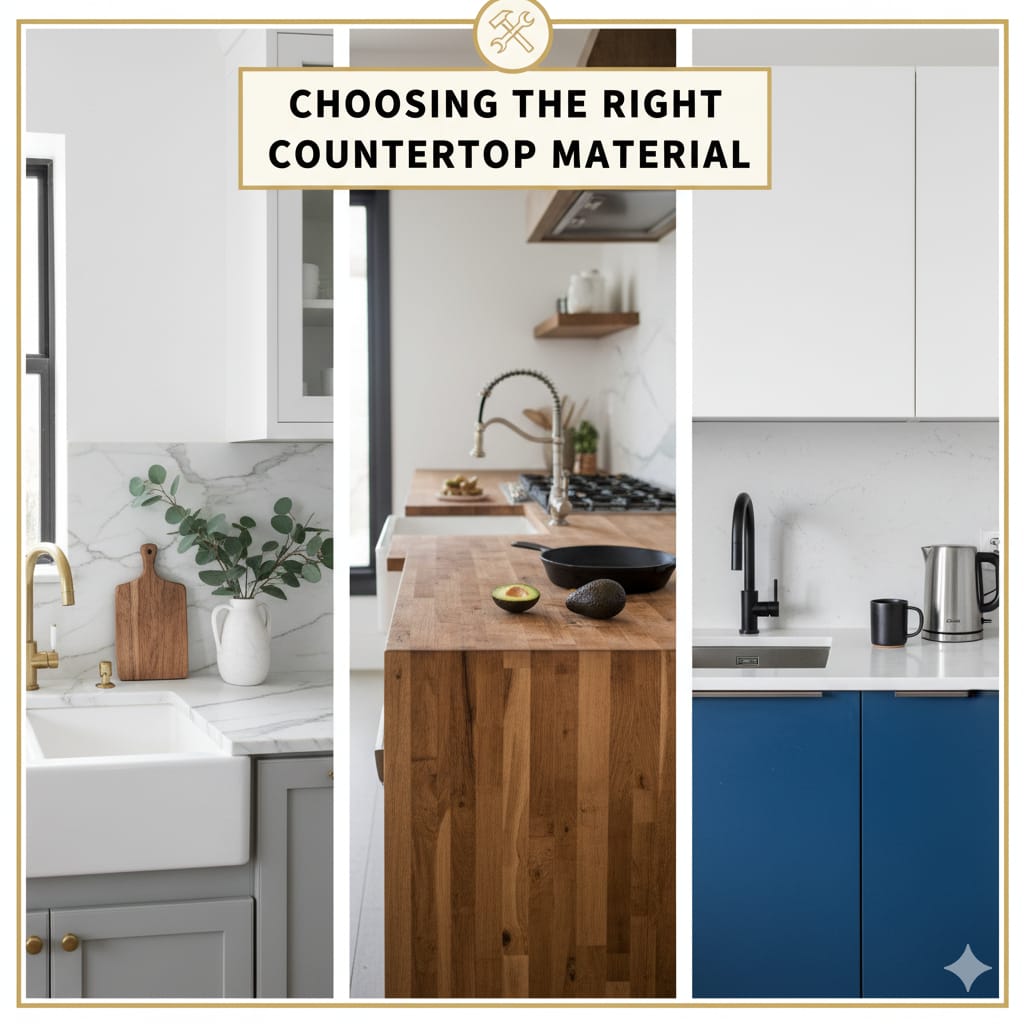
Step 8: Cabinets and Countertops That Fit Your Flow
I didn’t replace everything. Some cabinets just needed new paint and hardware. Others were beyond saving, so I replaced them with ready-to-assemble units. For countertops, I chose butcher block — warm, budget-friendly, and easy to cut at home. 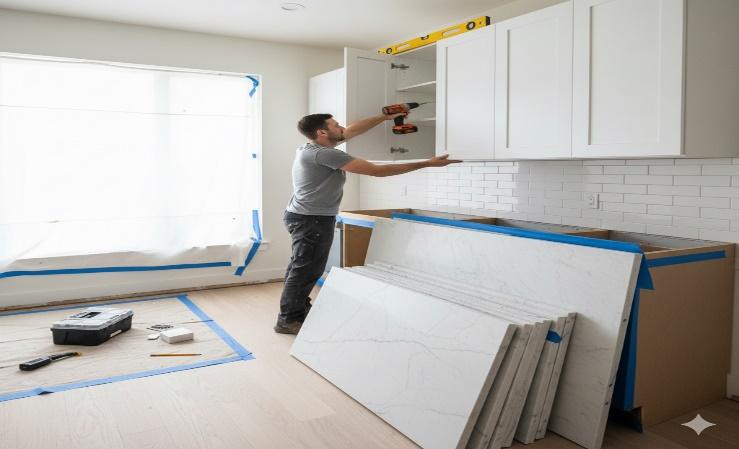
Tips:
- Use a level constantly — even a few millimeters off can mess up your whole run
- Pre-drill everything
- Seal butcher block properly (I used food-safe oil)
- Don’t rush the layout—live with it for a day or two before locking it in
Step 9: Lighting That Actually Works
Swapping out old fixtures made a huge difference. I added under-cabinet lights for prep work and pendant lights over the island and replaced the ceiling fixture with something brighter (and way less yellow). 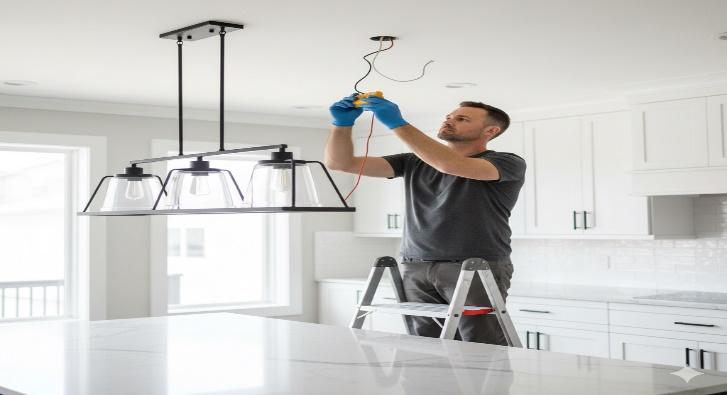
What I learned:
- LED strips are a game-changer
- Always turn off the breaker—not just the switch
- If you’re unsure, call an electrician (I did for one outlet and it was worth it)
- Layered lighting = cozy + functional How to Read a Tape Measure Accurately
Step 10: Finishing Touches That Make It Yours
This was the part I enjoyed most. I added a subway tile backsplash, swapped out drawer pulls, and brought in a few open shelves for plants and cookbooks. Suddenly, it didn’t just look better — it felt like home. 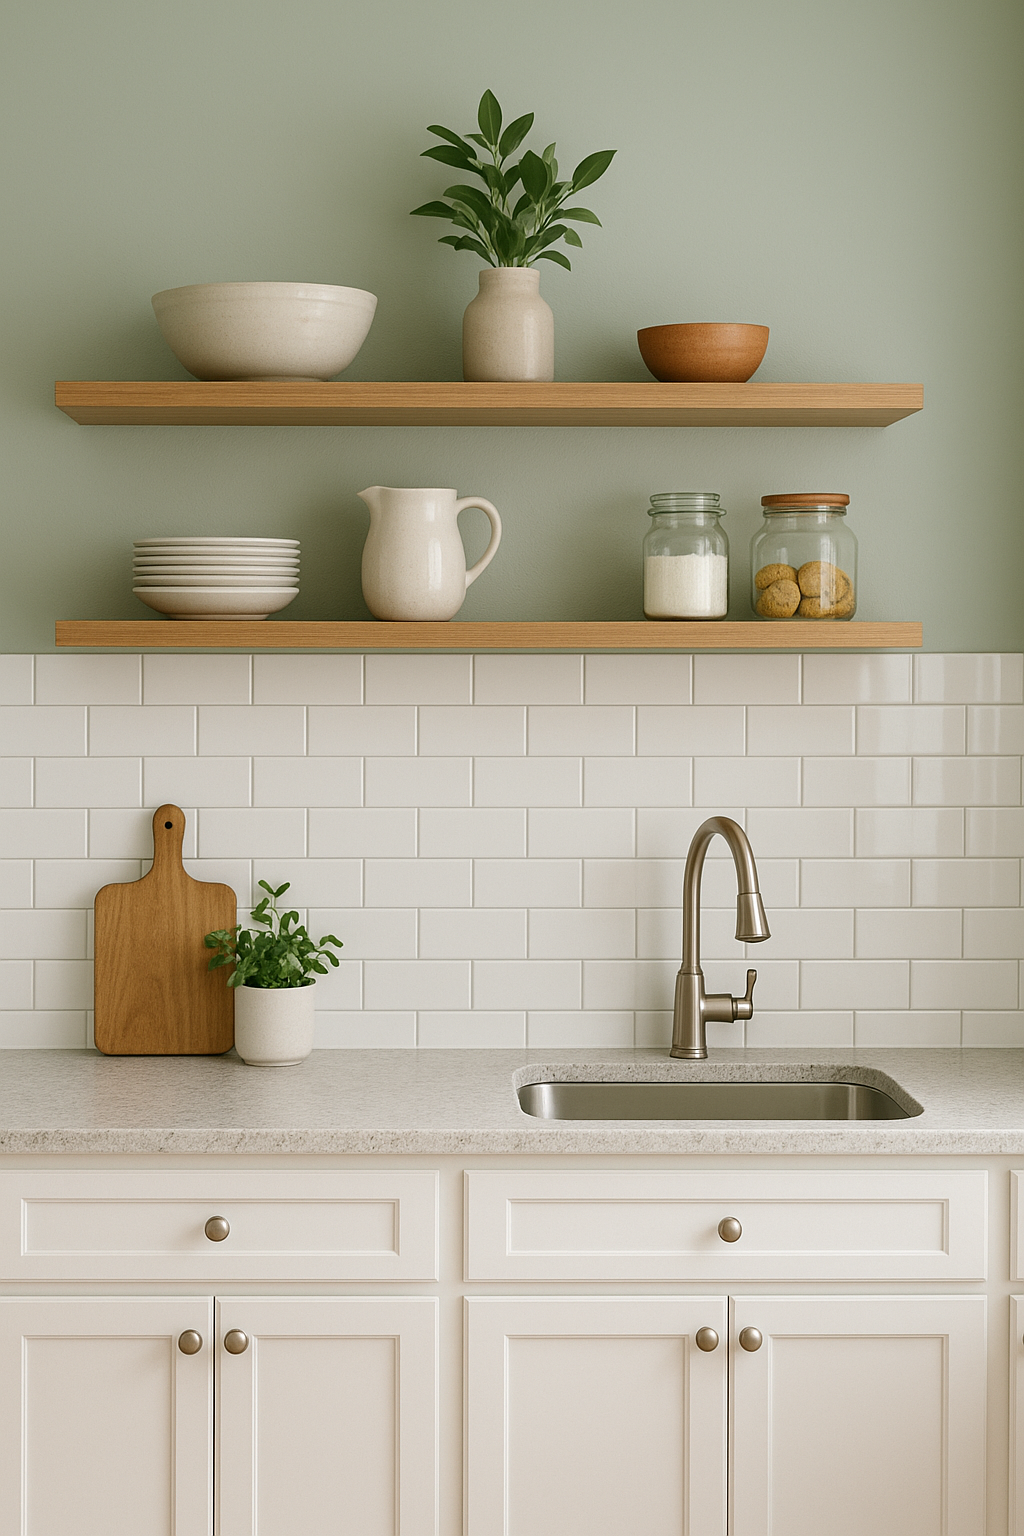
Final touches:
- Paint that makes the space feel bigger
- Hooks, baskets, and organizers
- A rug that hides crumbs but still looks cute
- Art or photos that make you smile while you cook
Your Kitchen, Your Win
You didn’t just remodel a room—you built a space that works for you. Every screw, every tile, every decision was yours.