 Confused by all the tiny lines on your tape measure? This guide breaks down how to read inches, fractions, and metric markings—so you can measure like a pro.
Why Tape Measure Accuracy Actually Matters
You’re halfway through a project. You grab your tape measure, take a quick reading, cut the wood… and it’s too short. Now you’re frustrated, wasting material, and wondering what went wrong. Fixing Squeaky Doors and Floors
Truth is, most DIY mistakes start with a bad measurement. And it’s not because the tape is broken—it’s because we misread it. This guide is here to fix that. No jargon, no math panic. Just clear, human-friendly advice to help you measure with confidence.
Step 1: Get Comfortable with the Inch Markings
Let’s start with the basics. Most tape measures use inches, and each big number is a full inch. Between those, you’ll see smaller lines: 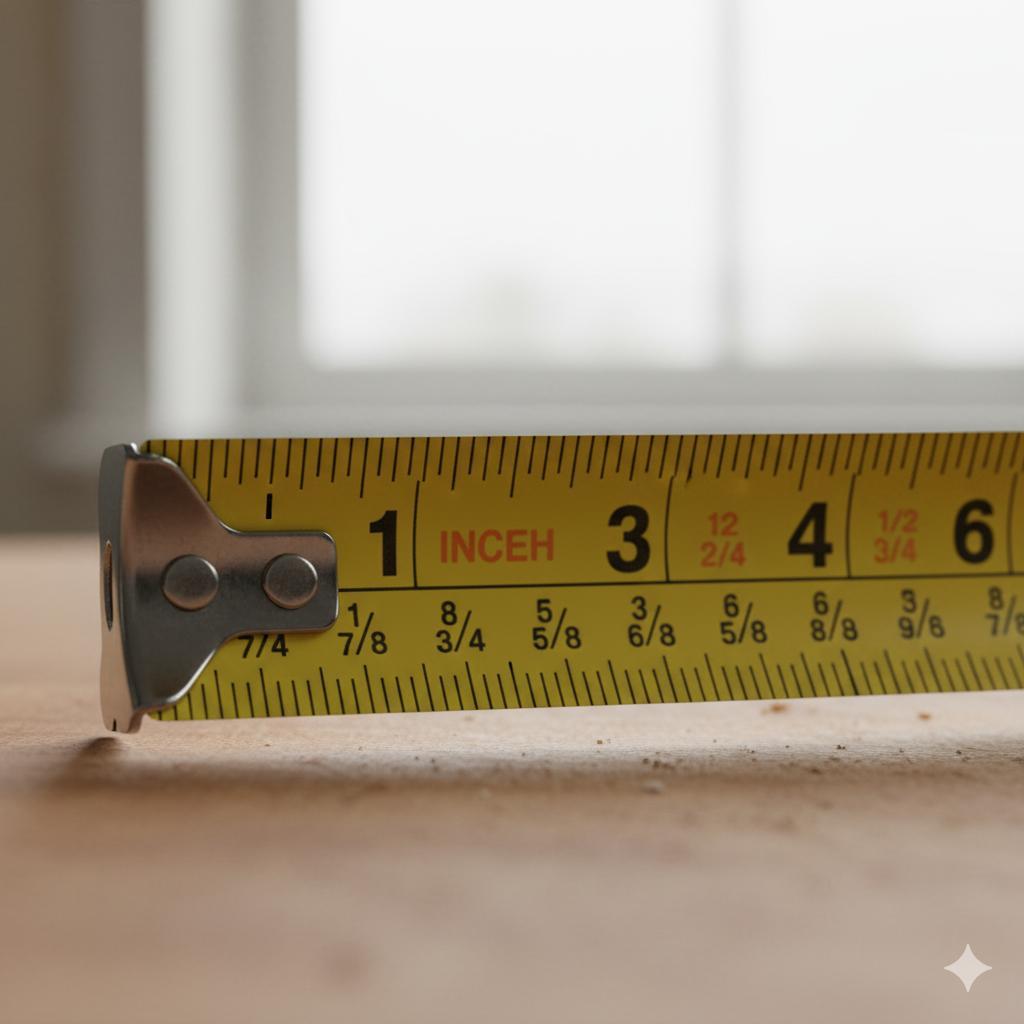
- The halfway point is ½ inch
- Then you’ve got ¼ inch, ⅛ inch, and 1⁄16 inch—each getting shorter
Real moment: One DIYer said she used to guess measurements by eye—until her floating shelf came out tilted. Once she learned to count the tiny 1⁄16″ lines, her cuts got way more accurate.
Step 2: Don’t Let Fractions Scare You
If your tape says 3 and 3⁄8″, here’s what that means: 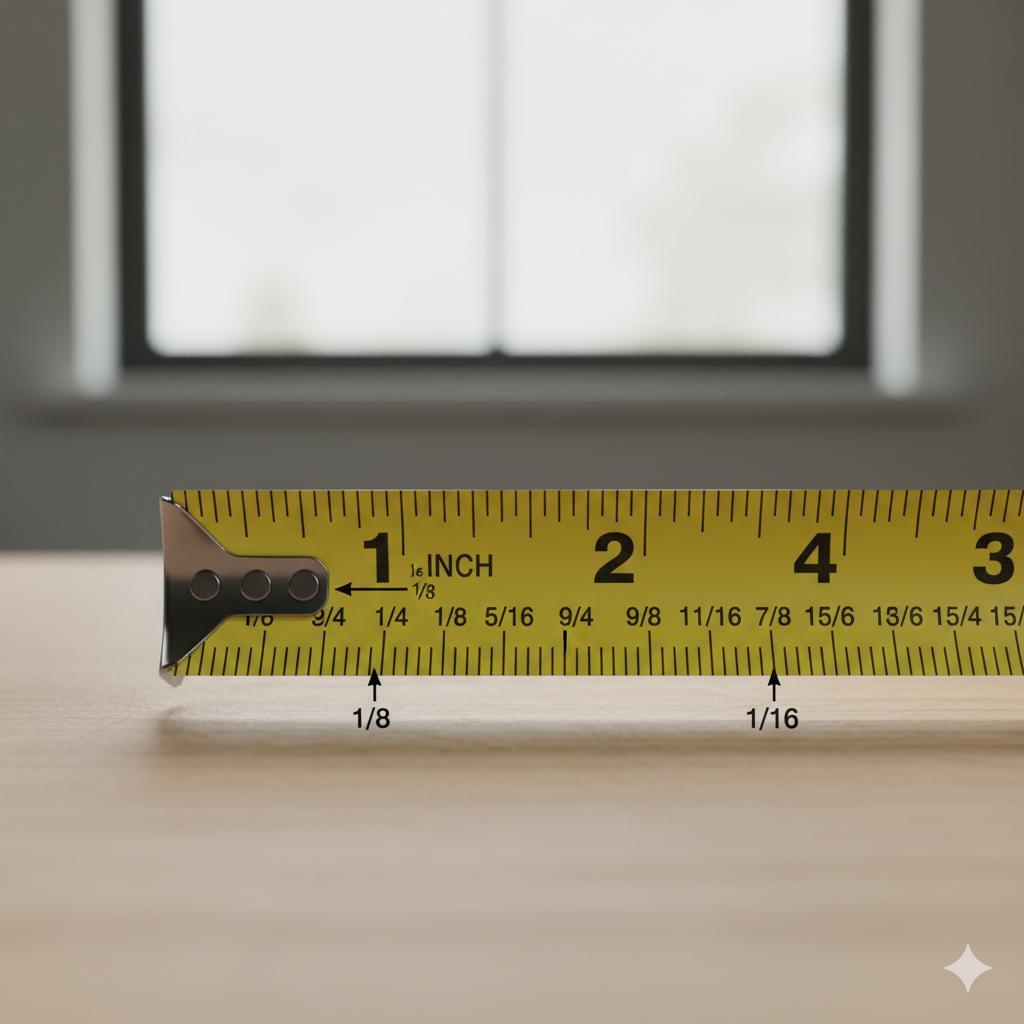
- Start at the 3-inch mark
- Count three of the ⅛-inch lines past it
It’s easier than it looks. And once you get used to it, you’ll start recognizing common fractions like
- 2⁄4 = ½ DIY Tool Storage and Organization Ideas
- 4⁄8 = ½
- 8⁄16 = ½
Tip: Some tape measures even label the fractions for you—look closely; they’re tiny but helpful. Choosing the Right Adhesive for Your Project
Step 3: Use the Foot Markers—They’re There for a Reason
Every 12 inches, you’ll see a bold number—that’s 1 foot. So if you’re measuring 3 feet and 4 inches, find the “3 ft” mark, then count 4 inches past it.
Human moment: One DIYer kept converting feet to inches in her head—until she realized her tape already did it for her. That discovery saved her time and a few headaches. DIY Outdoor Bench Ideas
Step 4: Flip the Tape—Metric Might Be What You Need 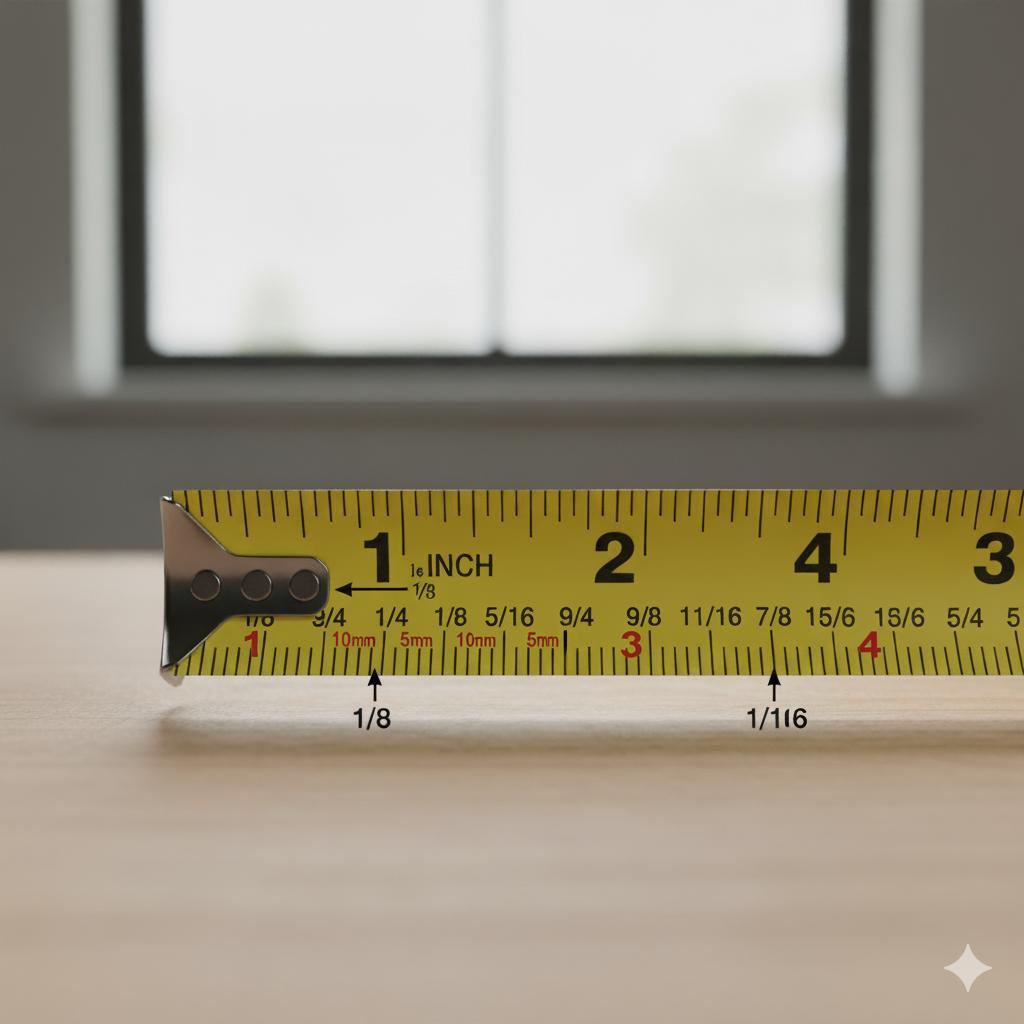
Some tape measures have centimeters and millimeters on the other side. Each centimeter has 10 millimeter lines—great for precision work or international plans.
Tip: If you’re following instructions from a European site or buying parts online, metric might be the default. Flip the tape and check.
Step 5: That Wiggly Hook? It’s Supposed to Move
Ever notice how the metal hook at the end of your tape measure wiggles a bit? That’s not a defect—it’s designed to move slightly so your measurements stay accurate whether you’re pulling or pushing. 
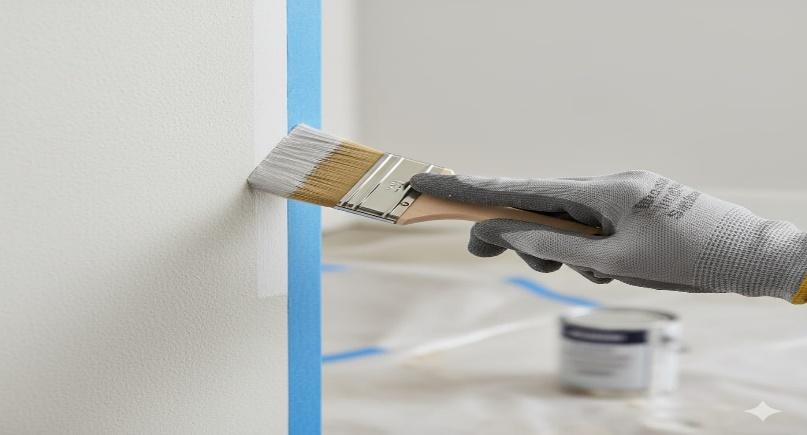
Human moment: A beginner thought her tape was broken because the hook moved. Once she learned it was intentional, her measurements stopped being “off by a bit.” Best Paint Brushes and Rollers for Beginners
Step 6: Mark Your Spot—Don’t Just Memorize It
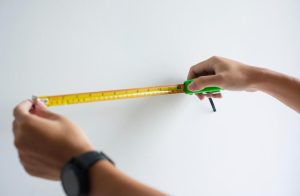
Once you’ve measured, mark it. Use a pencil, masking tape, or even a small scratch—just make sure it’s visible and accurate. 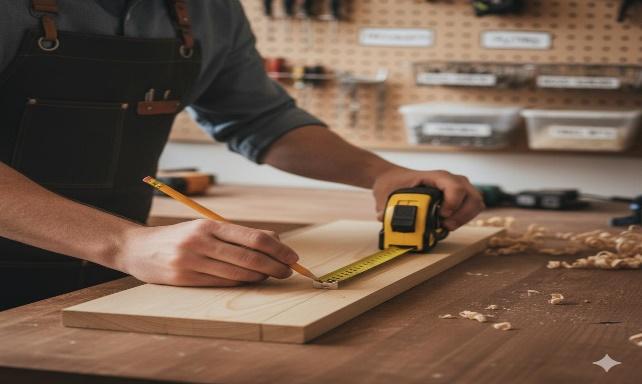
Tip: Always double-check before cutting. Measure twice, mark once, cut once. It’s a classic rule for a reason. Creating a Feature Wall with Paint or Wallpaper
Step 7: Practice on Scrap Before the Real Cut
Reading a tape measure gets easier with practice. Grab a scrap piece of wood and try marking 3⅛”, 2½”, or 5 and 15⁄16″. Then measure again and see how close you got.
Human moment: One reader practiced on cardboard before cutting real wood. It helped her get comfortable with the fractions—and saved her from wasting materials. Budget-Friendly Room Makeovers
Final Thoughts—Measure with Confidence
A tape measure is one of the simplest tools—and one of the most powerful. Once you understand the markings, fractions, and hidden features, your DIY projects get cleaner, faster, and way less frustrating.
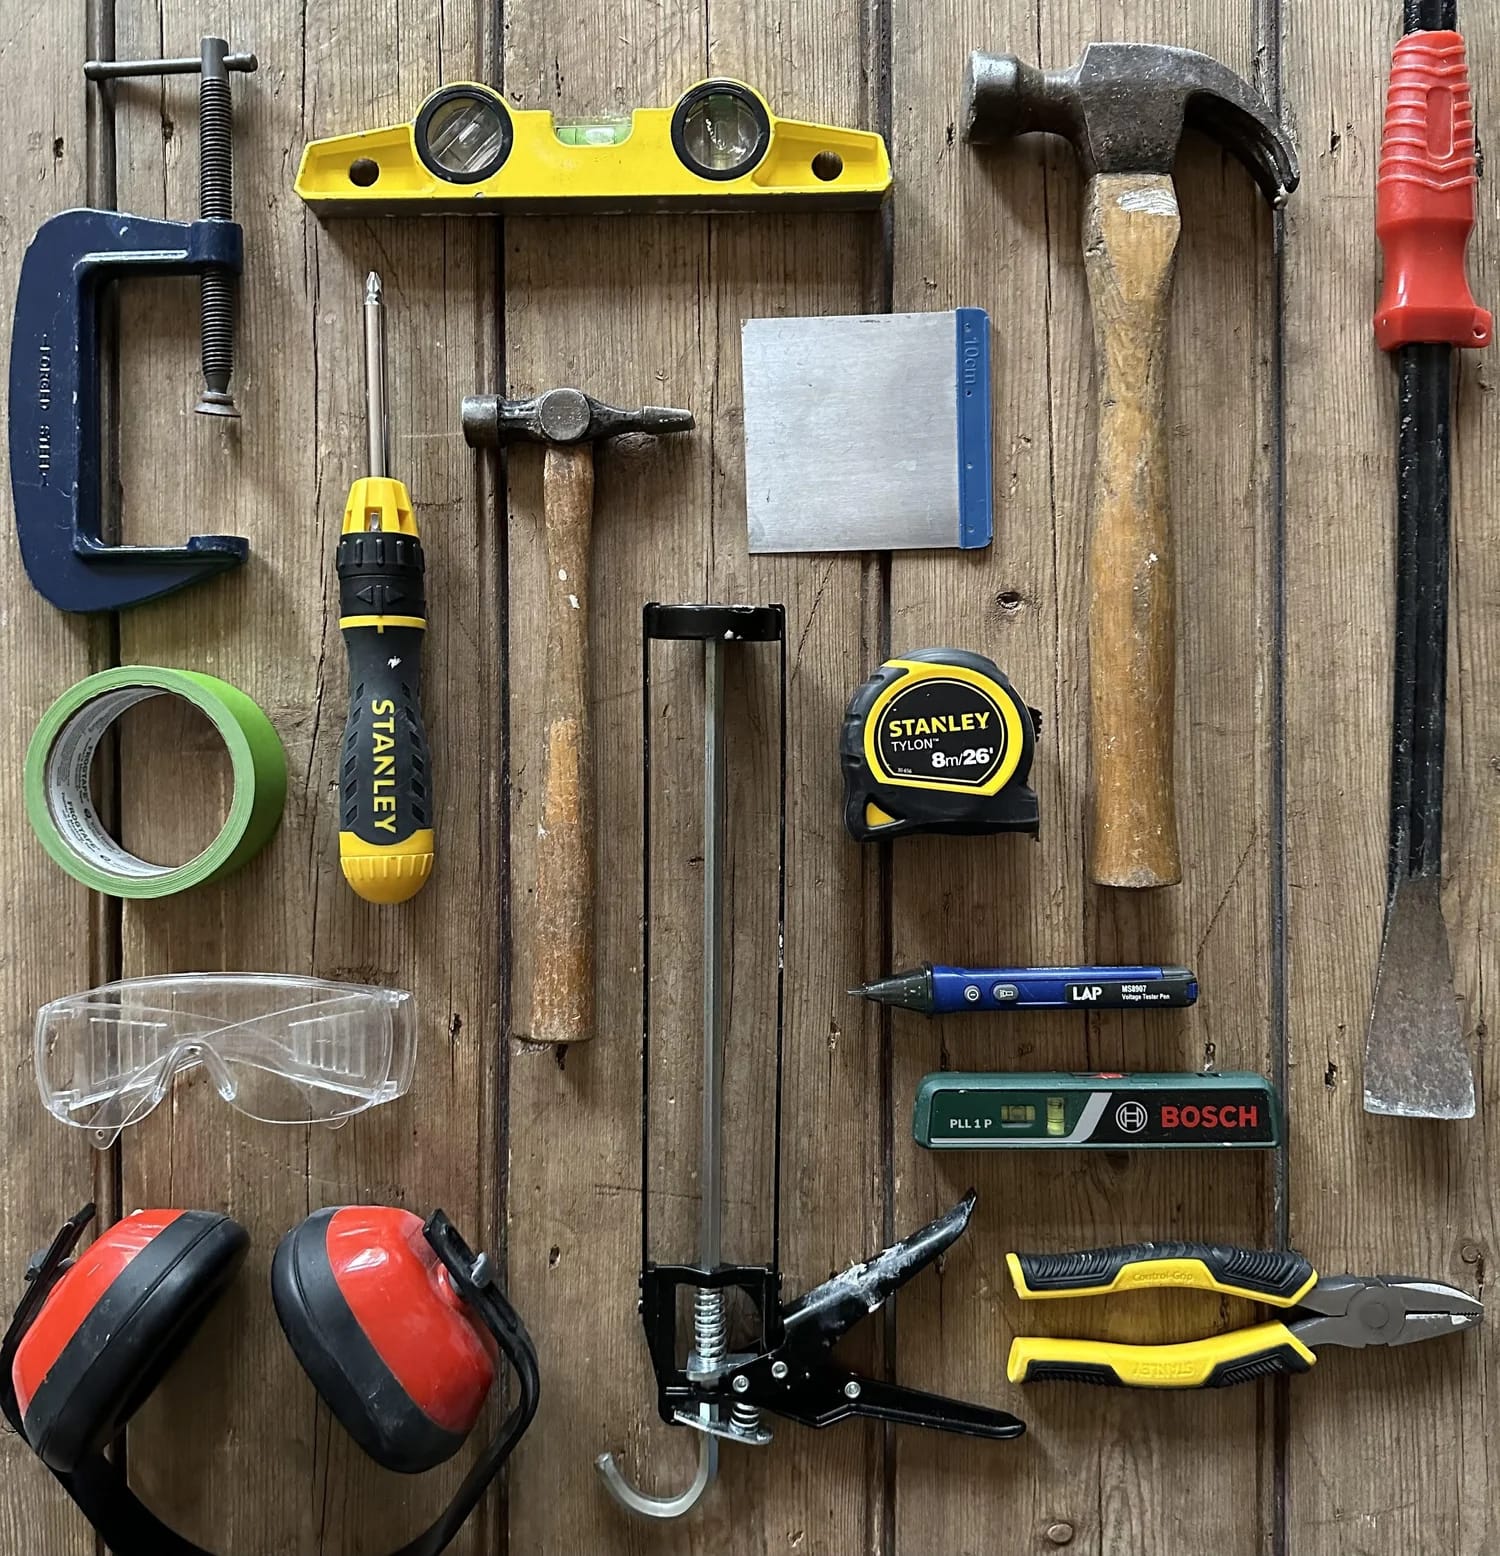
So next time you pick up your tape, take a breath. Read the lines. Mark your spot. And cut with confidence. Top 20 Tools Every DIYer Needs