
Bathroom leaks are sneaky. One day it’s just a damp spot under the sink; the next you’re dealing with water damage, warped cabinets, and a musty smell that won’t go away. I’ve been there—standing in socks on a wet floor, wondering if I needed to call a plumber or if I could handle it myself.
Here’s the good news: not every leak needs a professional. With a few basic tools, a little patience, and the right steps, you can fix most small leaks on your own—and save a decent chunk of cash while you’re at it.
Step 1: Find the Source of the Leak
Before you fix anything, you need to know where the leak is actually coming from. I used to assume it was the faucet—turns out, it was the drainpipeunder the sink. Leaks can be deceptive, so take a few minutes to investigate.
Common leak spots include: 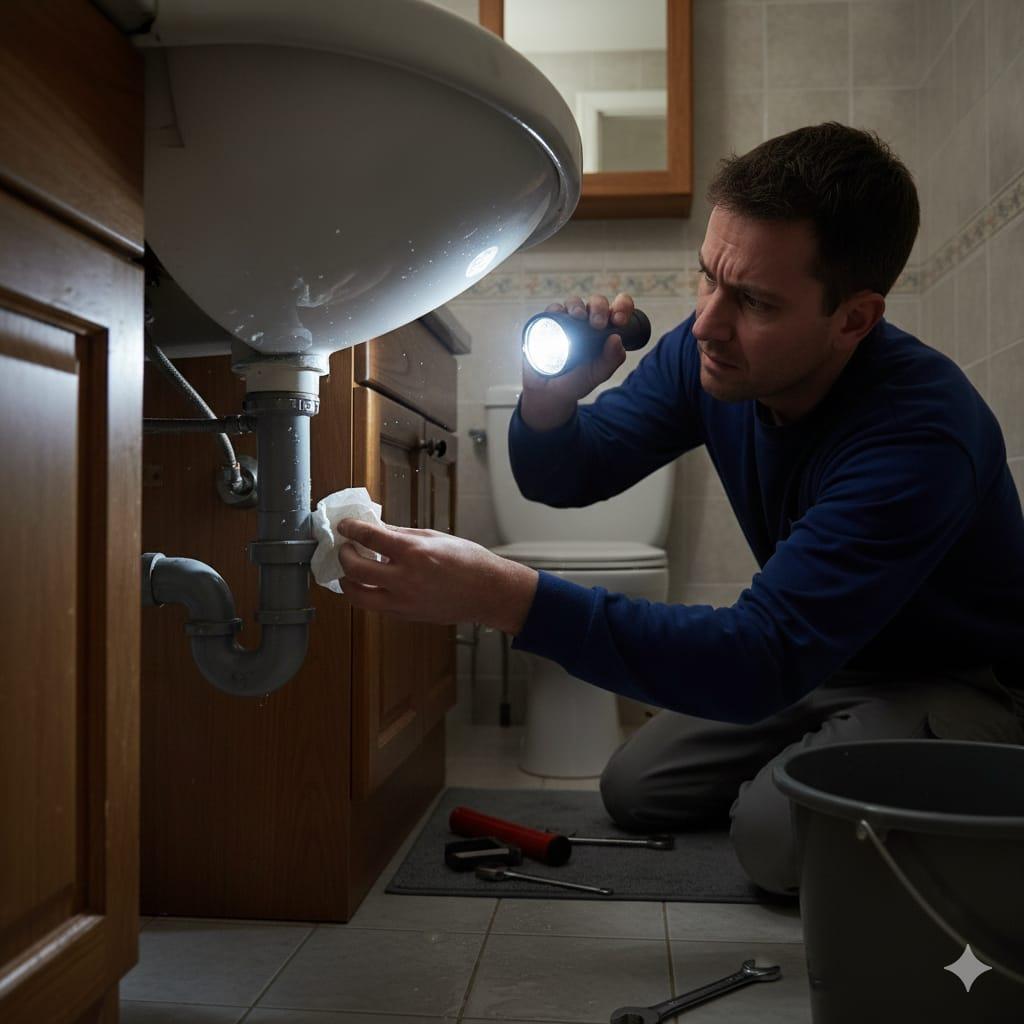
- Under the sink (loose drain pipe or supply line)
- Around the faucet base
- Toilet tank or fill valve
- Showerhead or hose connection
- Behind the vanity or wall
Use a flashlight and a dry tissue to trace the leak. Press the tissue against each area—if it gets damp, you’ve found your culprit. How to Measure for Kitchen Flooring
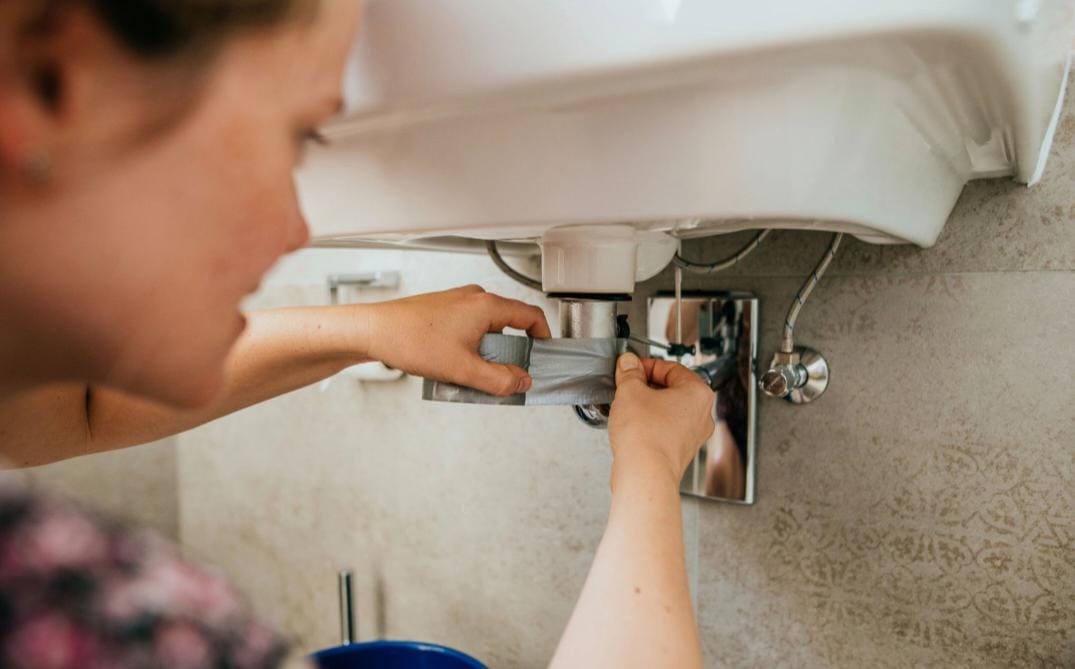
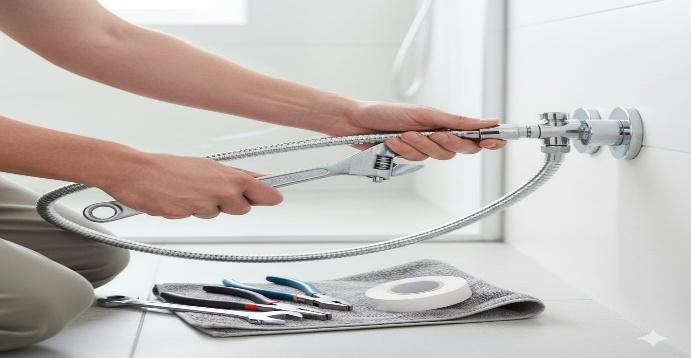
Step 2: Tighten Loose Connections
Most leaks come from fittings that have loosened over time. I once had a faucet leak that disappeared with a quarter turn of the wrench—no sealant, no drama.
Here’s what usually works: 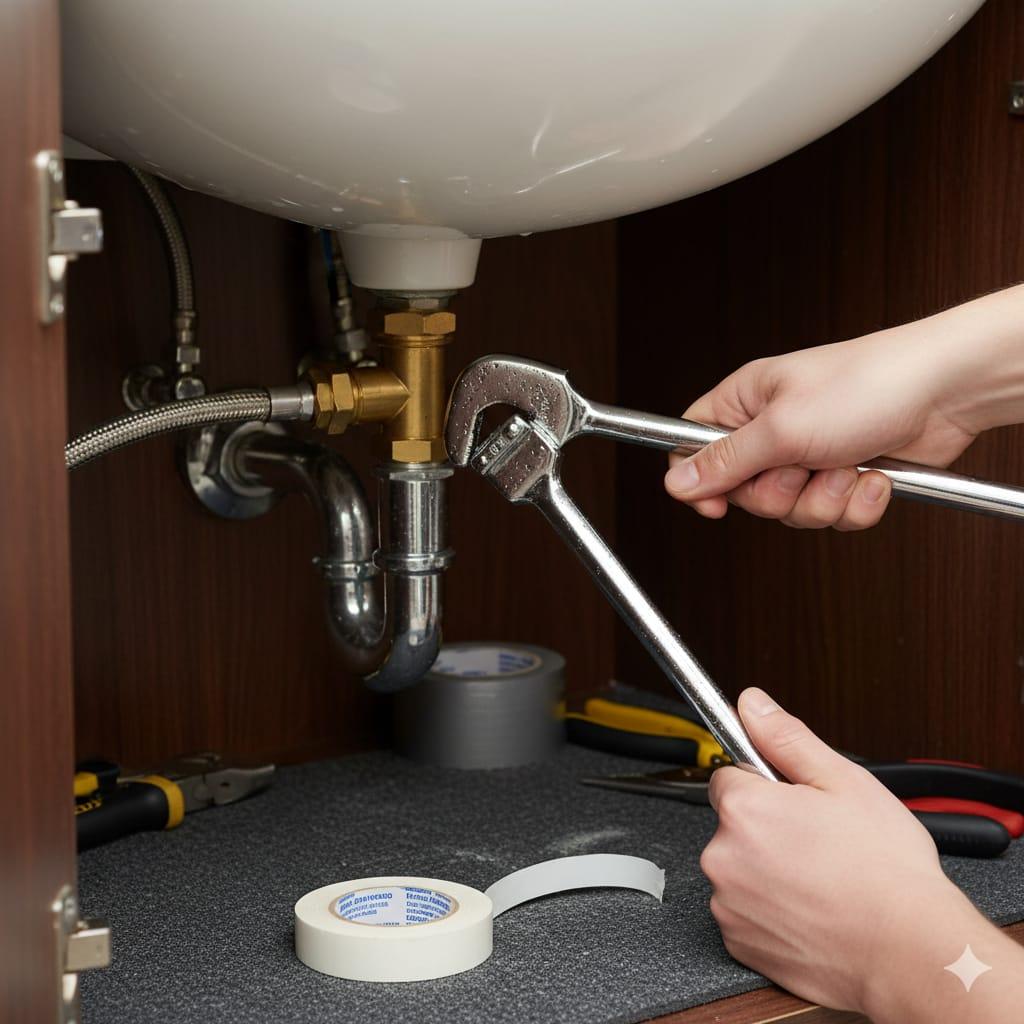
- Hand-tighten first, then snug with a wrench—don’t overdo it
- Use plumber’s tape on threaded connections to seal gaps
- Replace worn-out washers or O-rings—they cost pennies and make a big difference
This alone can stop a leak in minutes. Just be gentle—overtightening can crack plastic parts or strip threads Step-by-Step DIY Bathroom Renovation
Step 3: Clean and Dry the Area
Before sealing anything, make sure the surface is clean and dry. I’ve made the mistake of applying caulk over damp, dusty corners—it peeled off in days.
Here’s what I do now: 
- Wipe down the area with a dry cloth
- Remove old caulk with a utility knife or scraper
- Let everything air out for 10–15 minutes—longer if it’s been leaking for a while
If there’s mold or mildew, treat it with a mold-killing spray and wait until it’s completely gone before moving on. Small Bathroom Storage Hacks
Step 4: Apply Sealant or Caulk
If the leak is around the sink, faucet base, or tub edge, silicone caulk is your best friend. It’s waterproof, flexible, and easy to apply—even if you’ve never used it before.
Here’s how I do it: 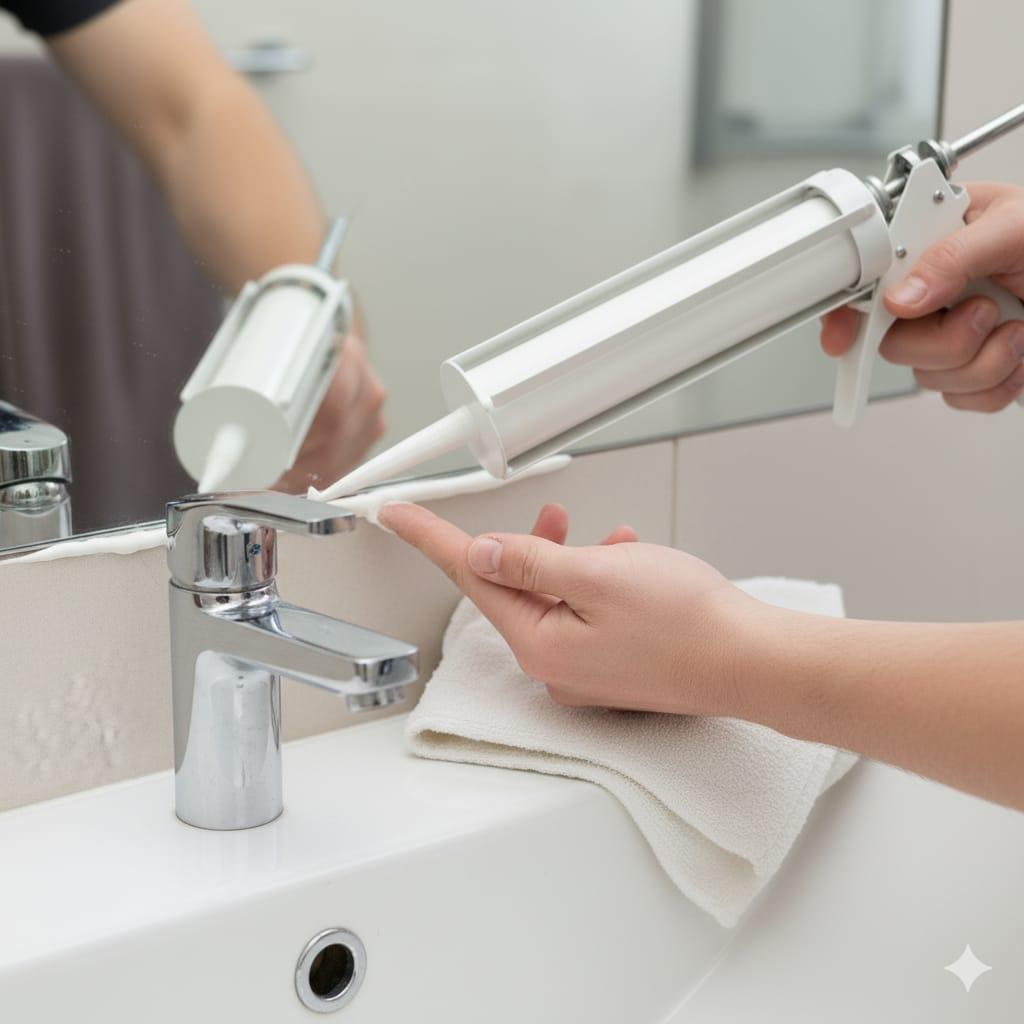
- Cut the tip of the caulk tube at a slight angle
- Apply a smooth bead along the edge—a steady hand helps
- Wipe excess with a damp finger or cloth
- Let it cure for 24 hours before using the area
For pipe leaks, I’ve used epoxy putty as a temporary fix. It’s not pretty, but it buys you time until you can replace the part.
Step 5: Fix Toilet Leaks
Toilet leaks are usually caused by a faulty flapper or fill valve. You don’t need plumbing skills—just a replacement part and 15 minutes. 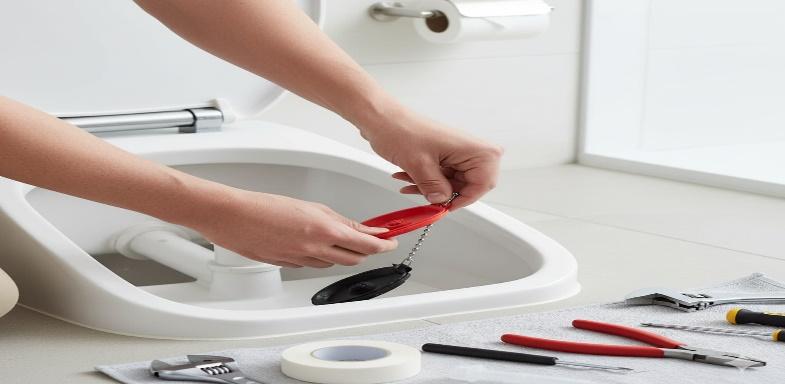
Here’s what I do:
- Turn off the water supply
- Flush to empty the tank
- Remove the old flapper or valve
- Install the new one and test it
Most toilet repair kits come with instructions and cost less than 50 SAR. I keep one in the cabinet just in case—it’s saved me more than once.
Step 6: Replace Damaged Parts (If Needed)
If tightening and sealing don’t work, it might be time to swap out the part. I’ve replaced faucet cartridges, shower hoses, and drain traps—all with basic tools and YouTube tutorials.
Parts you can replace yourself:
- Faucet cartridges
- Drain traps
- Shower hoses
- Toilet fill valves
Most of these are designed for DIY installation. Just follow the instructions on the packaging—or watch a quick video before you start.
Bonus Tips to Prevent Future Leaks
Once you’ve fixed the leak, keep it that way. Here are a few habits I’ve picked up that help:
- Check under sinks monthly for moisture—early signs matter
- Don’t overtighten fixtures—it weakens seals over time
- Use quality parts when replacing anything—cheap ones don’t last
- Keep plumber’s tape and caulk on hand for quick fixes—they’re lifesavers
You’ve Got This
Fixing a bathroom leak might seem intimidating at first—I used to avoid it completely. But once you dive in, it’s surprisingly doable. You don’t need fancy tools or a plumbing license. Just a bit of patience, the right steps, and the confidence to try.
And the best part? Every time you turn on that faucet or flush the toilet without a drip in sight, you’ll know: You did that. Yourself. Painting Bathroom Walls for Moisture