Learn how to measure your kitchen floor like a pro. Step-by-step guide to calculate square footage, handle tricky layouts, and avoid costly mistakes.
Before You Buy, Measure Like a Pro (Even If You’re Not One)
When I decided to replace my kitchen flooring, I thought the hardest part would be choosing the material—tile, vinyl, laminate, or wood. But the real challenge? Figuring out how much I actually needed. Measuring your kitchen floor sounds simple… Until you realize your room isn’t a perfect rectangle, there’s a kitchen island in the way, and you forgot to include the pantry.
Here’s how I measured my kitchen floor step by step—and what I wish I knew before I started.
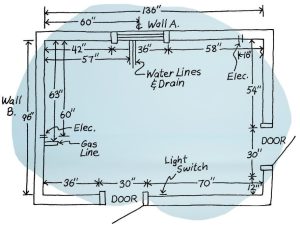
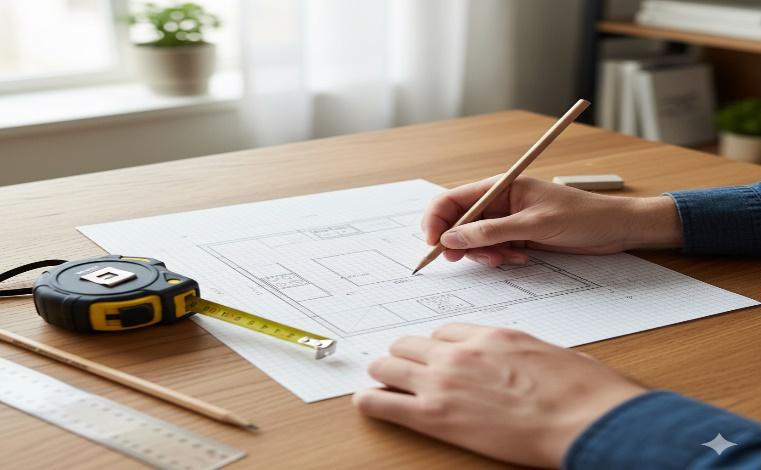
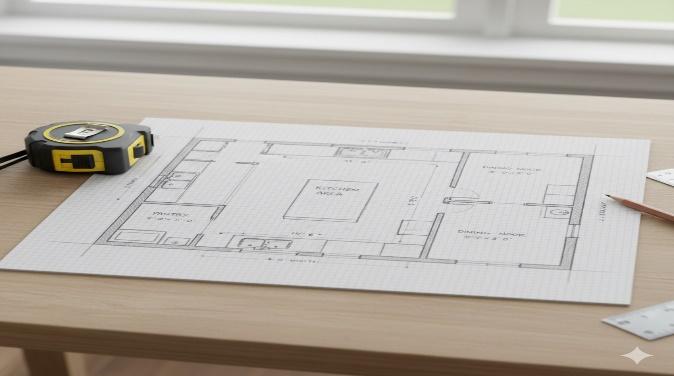
Step 1: Sketch Your Kitchen Layout
Before touching a tape measure, I grabbed a pen and paper and sketched the shape of my kitchen—walls, appliances, island, pantry, everything. It didn’t need to be perfect. Just enough to help me visualize the space and break it into sections.
Why it helps:
- You’ll know exactly where to measure
- You can divide the space into rectangles
- You’ll spot tricky areas early How to Install a DIY Backsplash That Transforms Your Kitchen
Step 2: Divide the Space into Rectangles
My kitchen had an L-shape, a small nook, and a built-in island. So I broke it down into smaller rectangles—each one easier to measure.
Example:
- Main area: 12 ft × 10 ft
- Pantry: 3 ft × 4 ft
- Island base: 2 ft × 5 ft
- Nook behind fridge: 2 ft × 3 ft
I labeled each section on my sketch and numbered them to keep track.
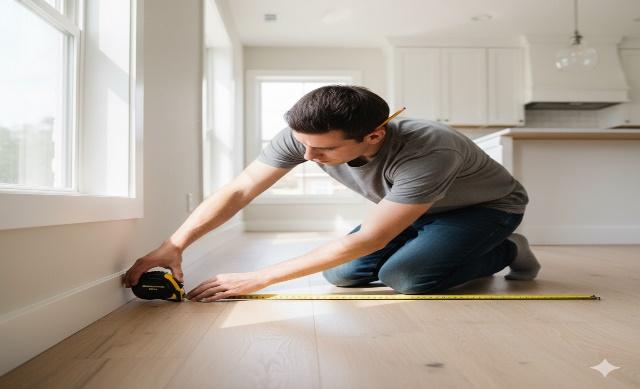
Step 3: Measure Each Section Carefully
I used a 25 ft tape measure and wrote down every length and width. Then I double-checked each one—because trust me, one wrong number can mess up your whole order.
Tips:
- Measure wall-to-wall, not cabinet-to-cabinet
- Include alcoves, doorways, and under appliances
- Round up to the nearest inch
- Write down both feet and inches Power Tools vs Hand Tools: What to Use When
Step 4: Calculate Square Footage
Once I had all my rectangles, I multiplied length × width for each one.
Example: 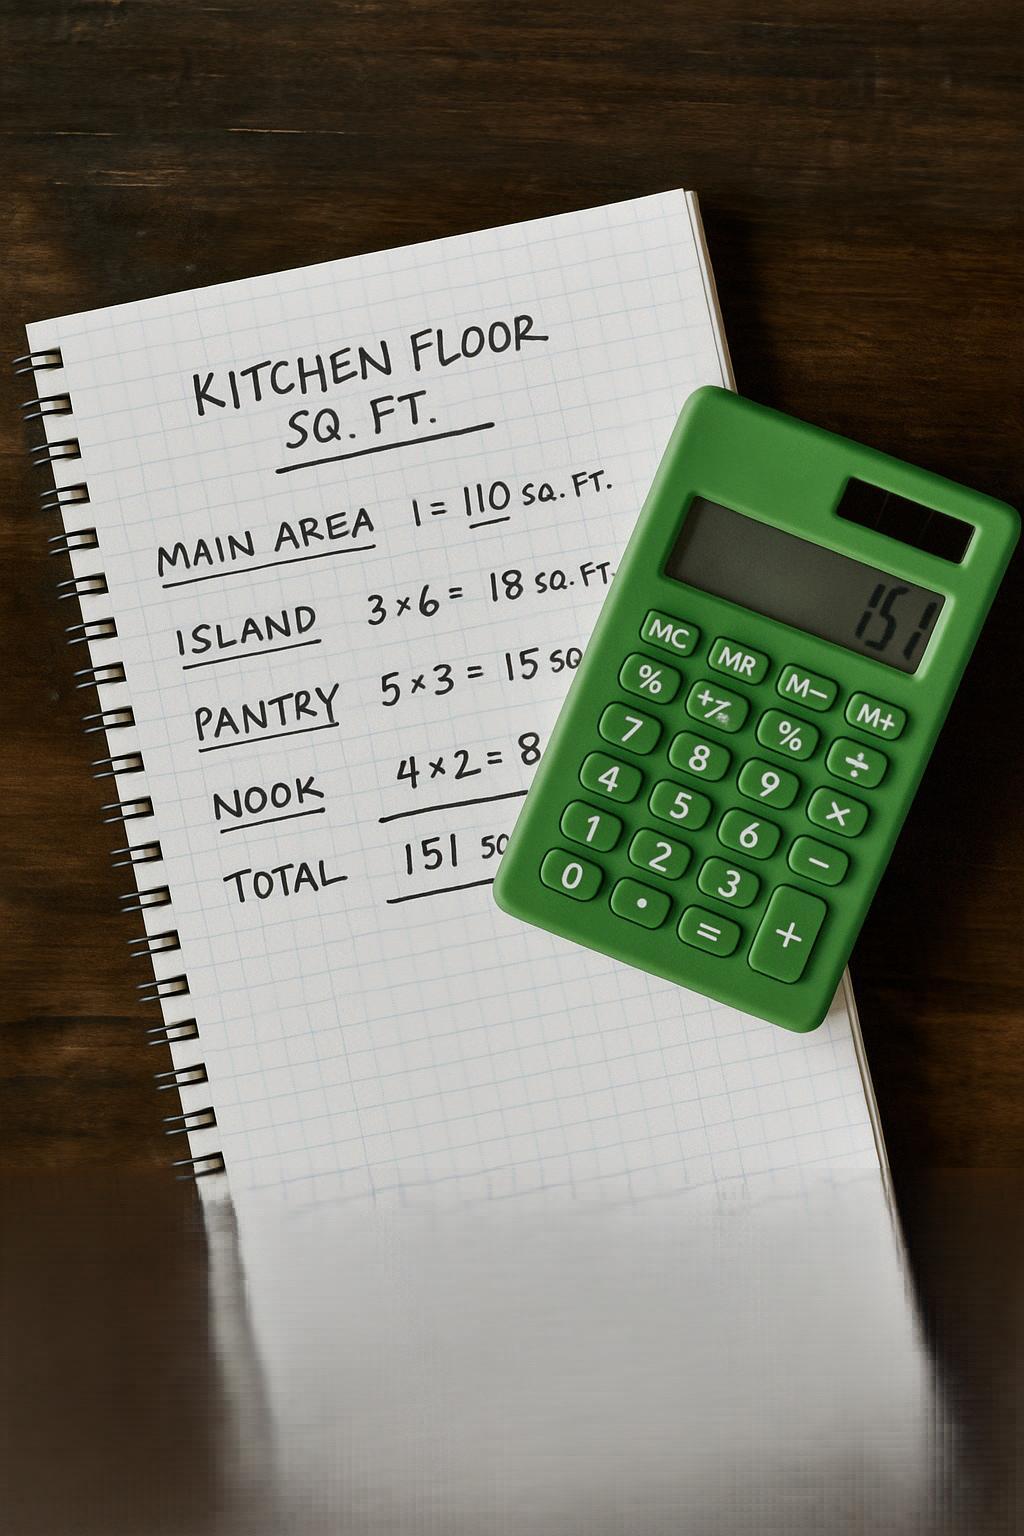
- Main area: 12 × 10 = 120 sq ft
- Pantry: 3 × 4 = 12 sq ft
- Island base: 2 × 5 = 10 sq ft
- Nook: 2 × 3 = 6 sq ft
- Total: 148 sq ft
I added everything up in a notebook and used a calculator to double-check. How to Fix a Leaky Faucet DIY
Step 5: Add a Waste Factor
I didn’t know this at first, but you need to order extra flooring to cover:
- Cutting mistakes
- Pattern matching
- Future repairs
- Odd corners or diagonal cuts
General rule:
- Add 5–10% for simple layouts
- Add 10–15% for complex shapes or diagonal cuts
For my 148 sq ft, I added 10% (about 15 sq ft) and ordered 163 sq ft total. It felt like a lot, but I ended up using almost all of it.
Step 6: Account for Islands and Cabinets 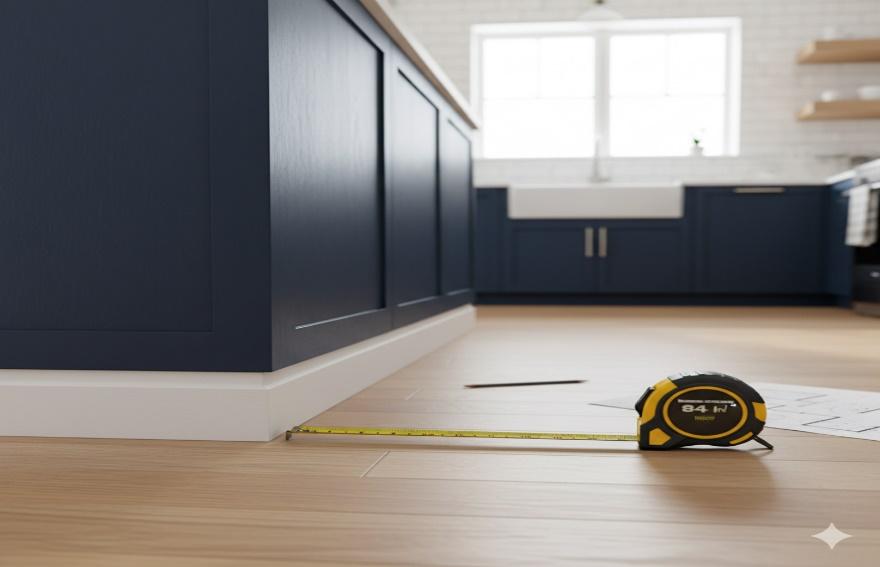
Some people skip measuring under the island or around built-ins—big mistake. Even if you’re not flooring under cabinets, you need to measure around them accurately.
What I did:
- Measured around the island base
- Included toe-kick areas
- Left out permanent cabinets (but measured up to their edges)
- Measured under the fridge and stove since they’d be moved during installation:
Step 7: Mistakes I Made (So You Don’t Have To)
- Forgot to include the pantry
 Measured from cabinet edge instead of wall
- Didn’t add a waste factor—had to reorder
- Assumed the room was square—it wasn’t
- Didn’t double-check measurements—one was off by 2 inches
- Didn’t account for transitions to other rooms—had to buy trim later
Each mistake cost me time or money. But now I know better—and so do you. Choosing the Right Countertop Material
Step 8: Tools That Helped Me Get It Right
I didn’t use anything fancy—just the basics:
- Tape measure (25 ft)
- Graph paper and pencil
- Calculator
- Masking tape (to mark sections)
- Notebook for dimensions
- Laser measure (optional but helpful)
- A friend to help hold the tape measure
The masking tape trick was surprisingly useful. I marked each section on the floor before measuring—it helped me visualize the layout and stay organized.
My Final Verdict
Measuring your kitchen floor isn’t hard—but it does take patience. Once I broke the space into rectangles and added a waste buffer, everything clicked. I ordered the right amount, saved money, and avoided the stress of running out mid-installation.
So before you fall in love with a tile or plank, grab your tape measure and start sketching. It’s the first step to a kitchen upgrade you’ll actually enjoy. And when the flooring arrives and you know it’s the perfect amount? That’s when the real fun begins.