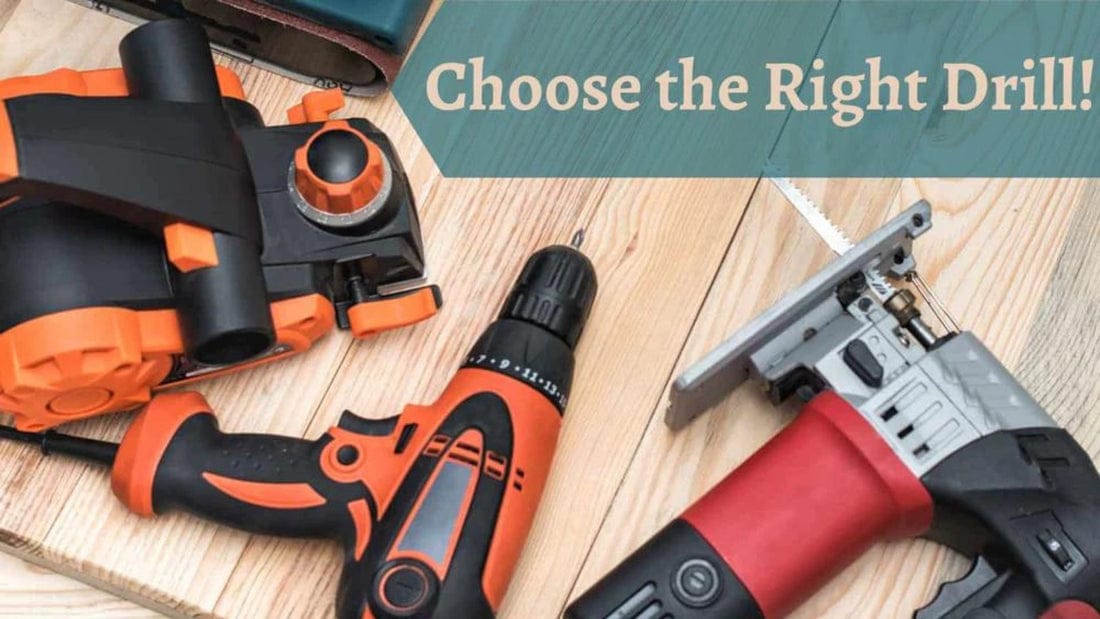

Confused about which drill to buy? This guide breaks down drill types, features, and use cases so you can choose the perfect tool for your DIY needs—without overspending or overthinking.
Why Choosing the Right Drill Matters
You’re ready to hang shelves, build a bench, or finally fix that loose cabinet door. But when you walk into the hardware store—or scroll online—the drill options feel endless.
Corded or cordless? Hammer or combi? 12V or 18V? It’s enough to make you close the tab and grab a screwdriver.
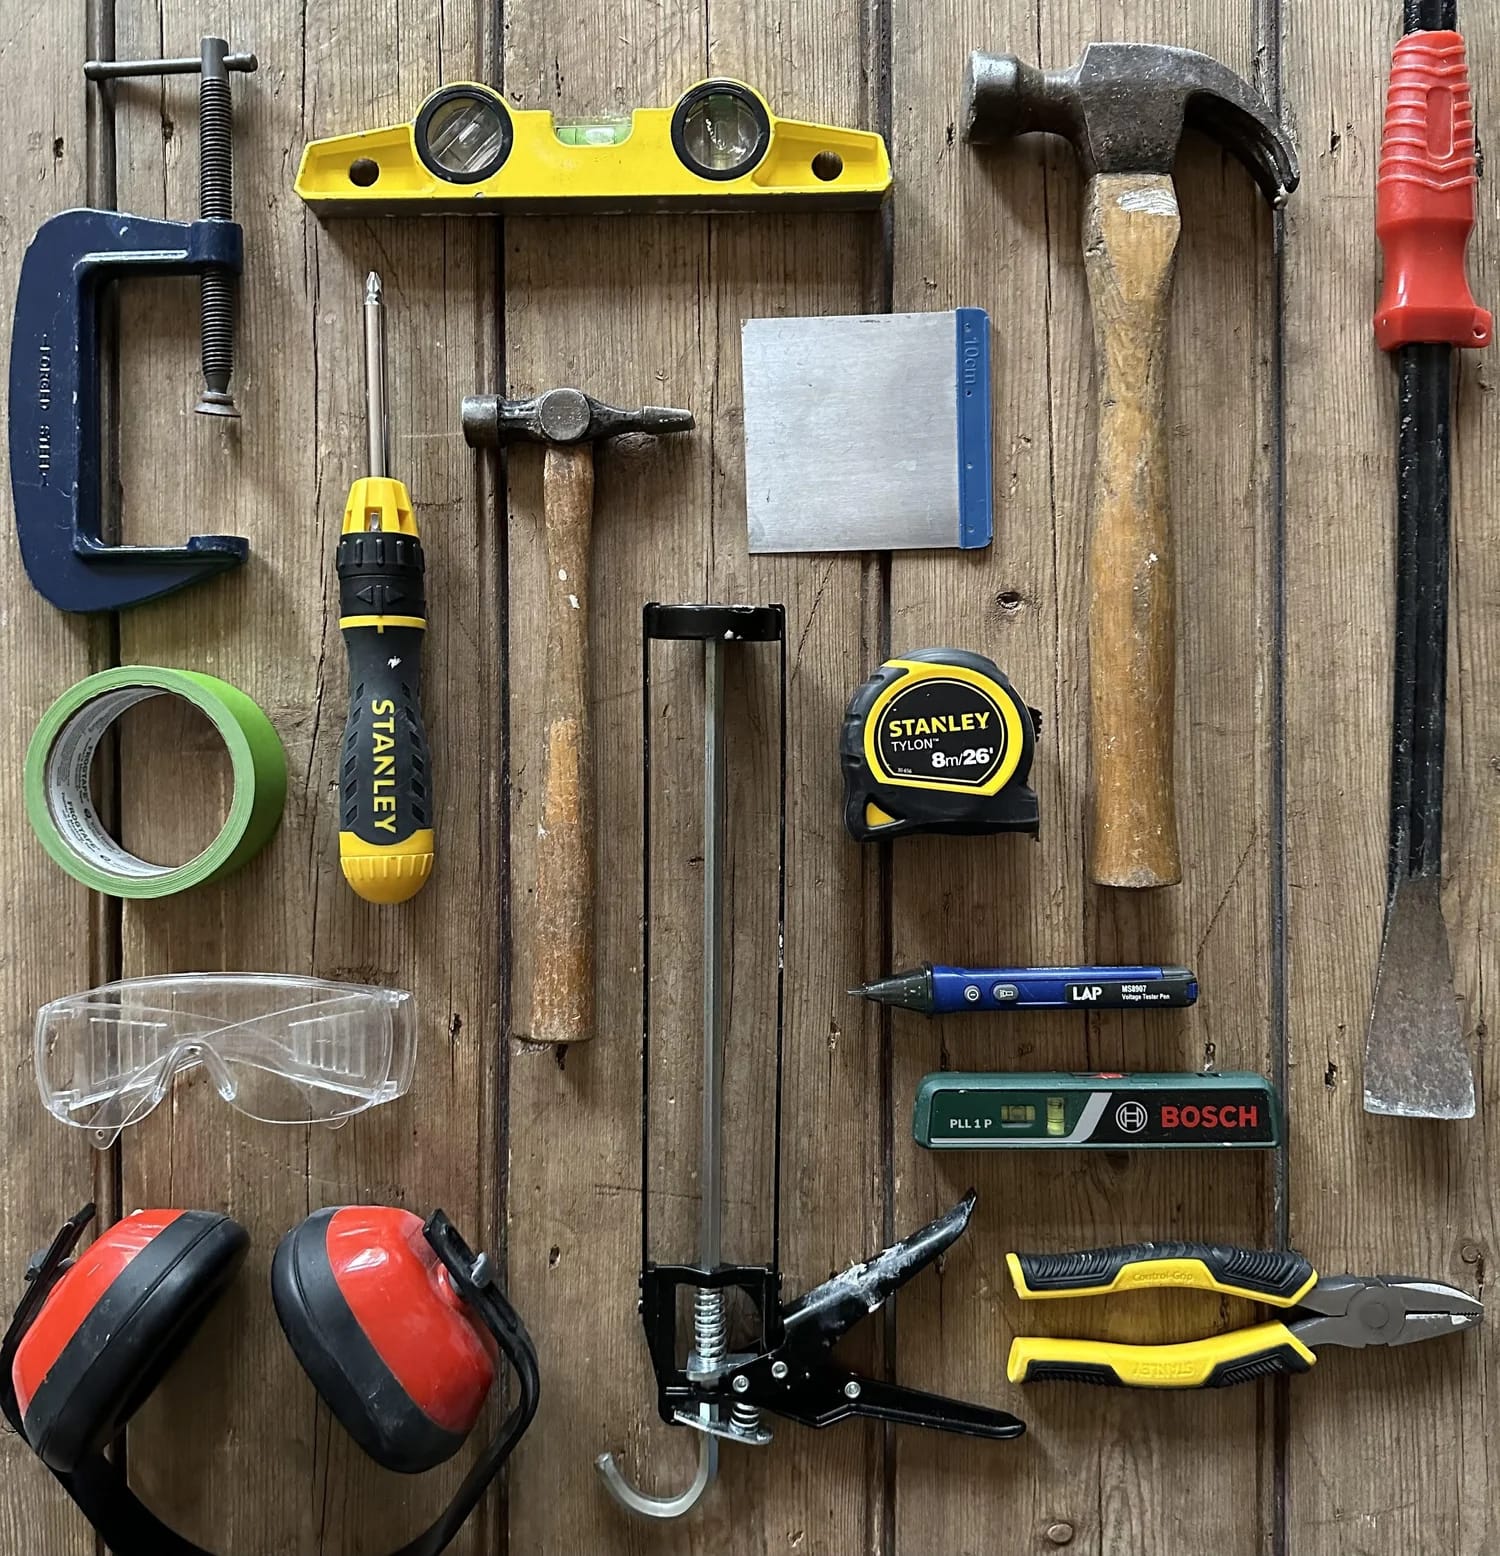
This guide simplifies the decision. We’ll walk you through the types, features, and real-life use cases—so you can choose a drill that fits your projects, your space, and your budget. Top 20 Tools Every DIYer Needs
Step 1: Decide Between Corded and Cordless
Before you dive into brands or specs, ask yourself: Will you be working near a power outlet or moving around the house—maybe drilling in the hallway, hanging curtains in the bedroom, or fixing something out on the balcony? 
Cordless drills are the go-to for most home projects. They’re lightweight, easy to carry, and run on rechargeable batteries (usually 12V to 20V). Perfect for mounting shelves, assembling furniture, or installing lighting—without dragging a cord behind you.
Corded drills, on the other hand, offer consistent power and are great for tougher jobs like drilling into concrete or mixing materials. But they do tie you to a wall socket, which can be limiting if you’re working in tight or awkward spaces.
Human moment: One reader bought a cordless drill just to install a small kitchen shelf. She ended up using it for curtain rods, cabinet handles, and even hanging planters—all without needing to recharge the battery once
Step 2: Choose the Right Type of Drill
Not all drills are created equal—and choosing the wrong one can turn a simple task into a headache. Before you buy, it helps to understand what each type actually does and where it shines.
- Standard drill/driver: This is your everyday hero. It’s great for basic tasks like screwing into wood, drilling pilot holes, or assembling furniture. If you’re just starting out, this is often enough.
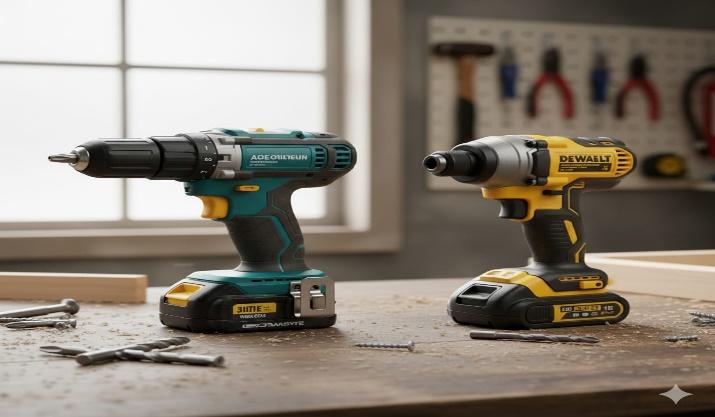
- Combi drill: Think of this as the standard drill with a little extra muscle. It includes a hammer function, which means you can drill into tougher surfaces like brick or concrete. It’s versatile and ideal for most home projects.
- Impact driver: This one’s built for torque. If you’re driving long screws into dense materials—like hardwood or thick MDF—an impact driver makes the job smoother and faster. It’s loud, but effective.
- Hammer drill: This is the heavy-duty option. Designed for masonry and concrete, it delivers powerful hammering action. It’s bulkier and more intense, so unless you’re doing serious renovation work, it might be overkill.
Human moment: A reader once bought a hammer drill thinking “stronger is better.” But after struggling with the weight and noise, she swapped it for a combi drill—and finally enjoyed her DIY shelf project without the drama. Fixing Squeaky Doors and Floors
Step 3: Understand Voltage and Power
When it comes to drills, voltage isn’t just a number—it’s a clue to how powerful (and heavy) the tool will be. But here’s the catch: more power doesn’t always mean better results. Especially if your projects are mostly indoors and lightweight. 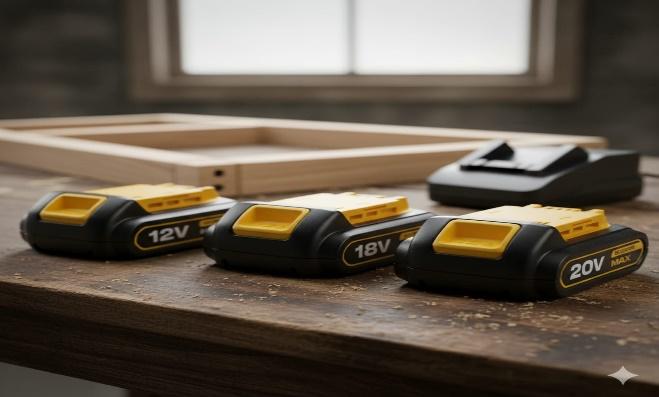
- 12V drills are compact, easy to handle, and perfect for beginners. They’re great for hanging frames, assembling furniture, or installing curtain rods—basically, anything that doesn’t involve concrete or hardwood.
- 18V drills offer more torque and longer battery life. They’re ideal for medium-duty tasks like building shelves, drilling into studs, or working with thicker materials. If you’re planning to do a mix of light and moderate projects, this is a solid middle ground.
- 20V+ drills are built for serious work—outdoor builds, renovation projects, or anything involving masonry. They’re powerful but also heavier and pricier. Unless you’re doing construction-level DIY, you probably won’t need this much muscle.
Human moment: One beginner went straight for an 18V drill, thinking, “Go big or go home.” But after a few projects, she realized it was bulky and tiring to use for simple tasks. She switched to a 12V model—and suddenly DIY felt fun again, not like a workout. Budget-Friendly Room Makeovers
Step 4: Look at Chuck Size and Speed Settings
Let’s talk about the part of the drill that actually does the work—the chuck. It’s the piece that holds your drill bit in place, and while it might seem like a small detail, it affects what kind of bits you can use and how secure they’ll be. 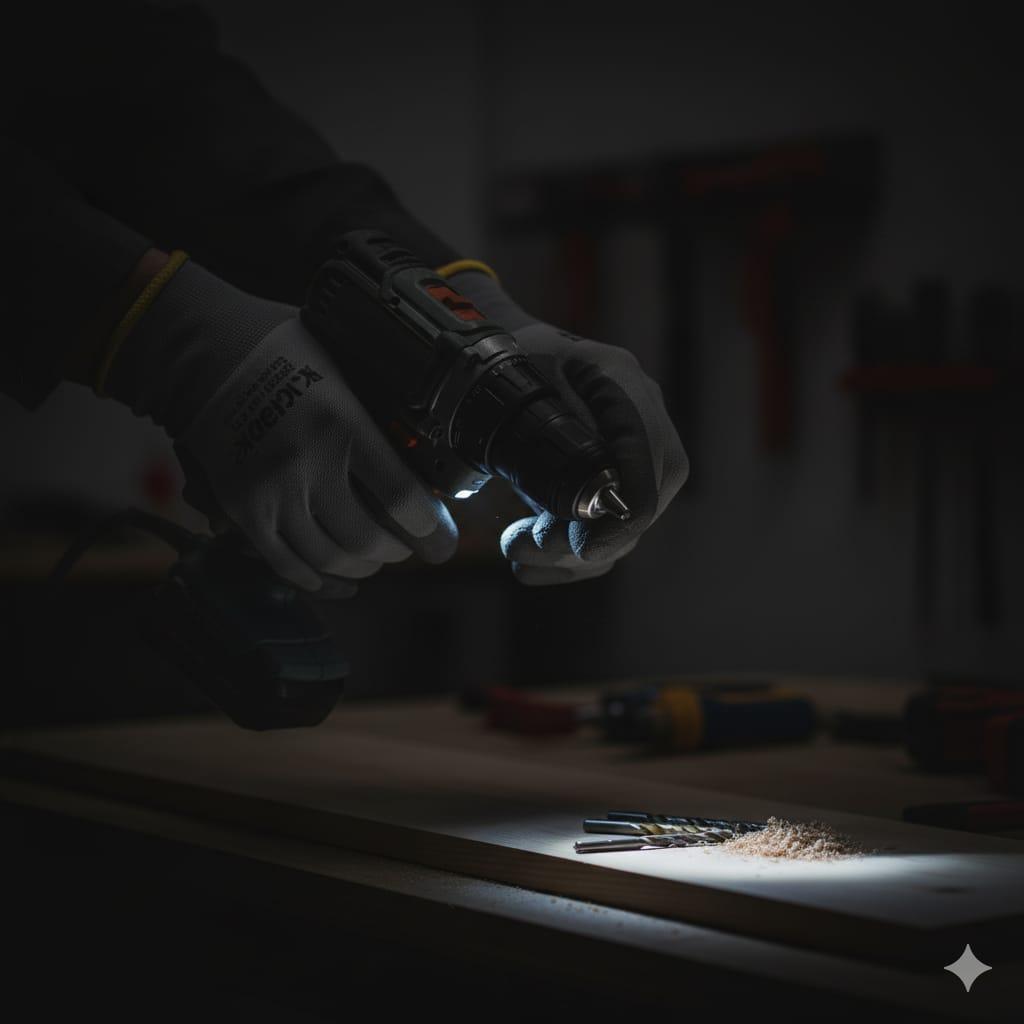
Most home-use drills come with a 10 mm or 13 mm chuck, which is more than enough for everyday tasks like drilling into wood, drywall, or light metal. Unless you’re working with oversized bits or doing heavy-duty construction, you won’t need anything bigger.
Now, about speed. A drill with variable speed settings gives you control—and that’s key. Low speed is perfect for driving screws without stripping them. High speed helps you drill clean holes through tougher materials like hardwood or metal.
Styling tip: Look for a drill with a keyless chuck (so you don’t need a separate tool to change bits) and variable speed control. It’ll make your workflow smoother, faster, and way less frustrating
Step 5: Comfort, Grip, and Weight Matter
Here’s something most people overlook: if the drill feels awkward in your hand, you’ll avoid using it. And that’s a shame—because the right tool should feel like an extension of you, not a burden.
When choosing a drill, don’t just look at specs. Hold it. Move it around. Imagine using it for 30 minutes straight.
Look for: 
- Ergonomic grip that fits your hand comfortably—not too bulky, not too slim.
- Balanced weight so it doesn’t strain your wrist or feel like it’s tipping forward.
- Built-in LED light to help you see clearly in dark corners, under cabinets, or inside closets.
Human moment: One reader walked into the store planning to buy a specific model. But after holding a few options, she picked the one that simply felt “right.” It wasn’t the most powerful or the most expensive—but she ended up using it for everything from DIY planters to bathroom hooks. It became her go-to tool, just because it felt good in her hand.
Bonus Tips Before You Buy
- Check what’s included. Some drills come with bits, batteries, and cases—others don’t.
- Read reviews. Look for feedback from real users doing similar projects.
- Try before you buy. If possible, hold the drill in-store to test comfort.
- Don’t overspend. A mid-range drill is more than enough for most DIYers. Styling Open Shelves with Purpose
Final Thoughts
Choosing the right drill isn’t about picking the biggest or most expensive one. It’s about finding a tool that fits your hands, your home, and your goals.
Start with what you actually need. Think about your space, your materials, and how often you’ll use it. Then choose a drill that makes you feel capable—not overwhelmed.
Because when the tool feels right, the project flows better. And when the project flows, DIY becomes something you actually enjoy.