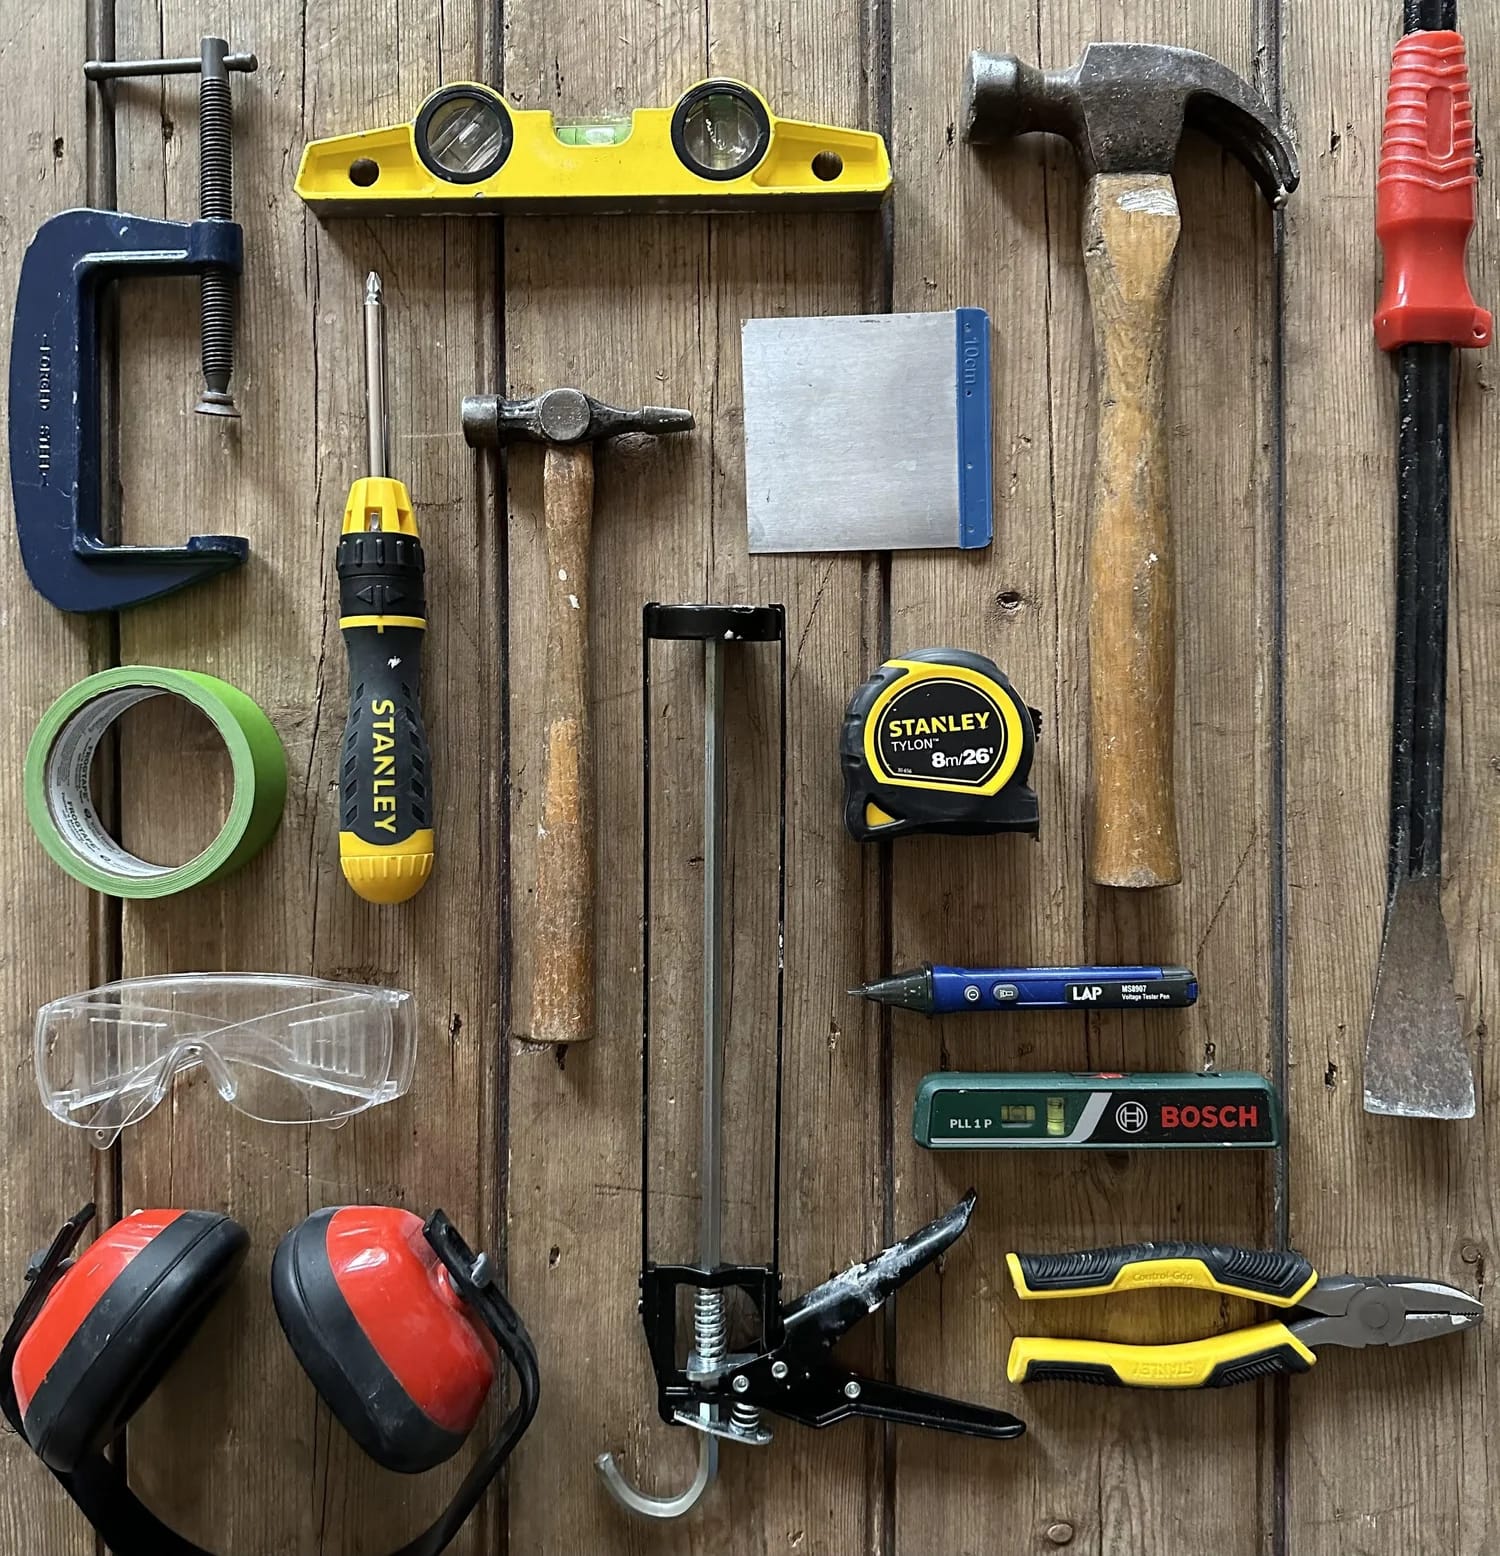

Ready to DIY like a pro? These 20 essential tools cover everything from measuring to fixing and cutting to assembling. Build your toolkit once—and tackle any project with confidence.
Why Your Toolkit Matters
Every DIYer has that moment: the idea is exciting, the motivation is high, the Pinterest board is ready… and then you realize you’re missing the one tool that would make it all possible.
That’s why building a reliable toolkit isn’t just about gear—it’s about freedom. Freedom to fix things when they break. To create something from scratch. To turn your space into something that feels more like you.
These 20 tools aren’t just practical—they’re empowering. They’re the difference between “I wish I could” and “I just did. ” 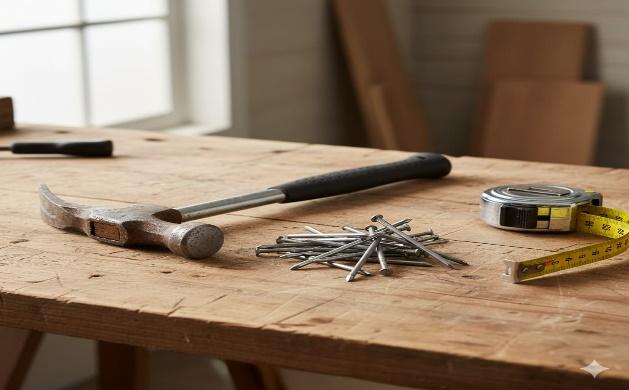
Step 1: Claw Hammer
The classic. You’ll use it to drive nails, pull them out, and knock things into place
. It’s the first tool most DIYers grab—and for good reason. It’s simple, sturdy, and always within reach. Budget-Friendly Room Makeovers
Step 2: Screwdriver Set 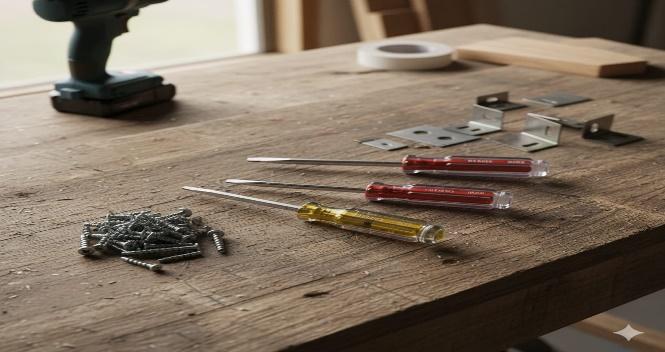
Flathead and Phillips—the two you’ll use most. From assembling furniture to tightening cabinet handles, this set is non-negotiable. And trust us, nothing slows down a project like hunting for the right screwdriver.
Step 3: Tape Measure 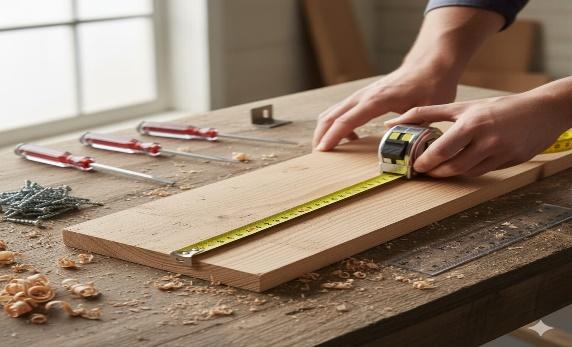
It’s not glamorous, but it’s essential. Measure your space, your materials, and your progress. It’s the difference between “almost fits” and “fits perfectly.” Rearranging Furniture for Better Flow
Step 4: Utility Knife 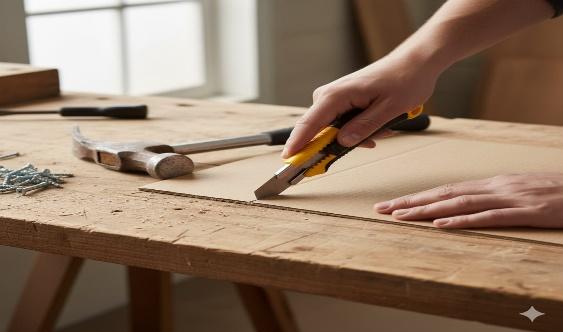
Sharp, compact, and endlessly useful. Cut carpet, trim wallpaper, open boxes, or clean up edges—this tool does it all. And it’s one of those tools you’ll reach for more often than you expect.
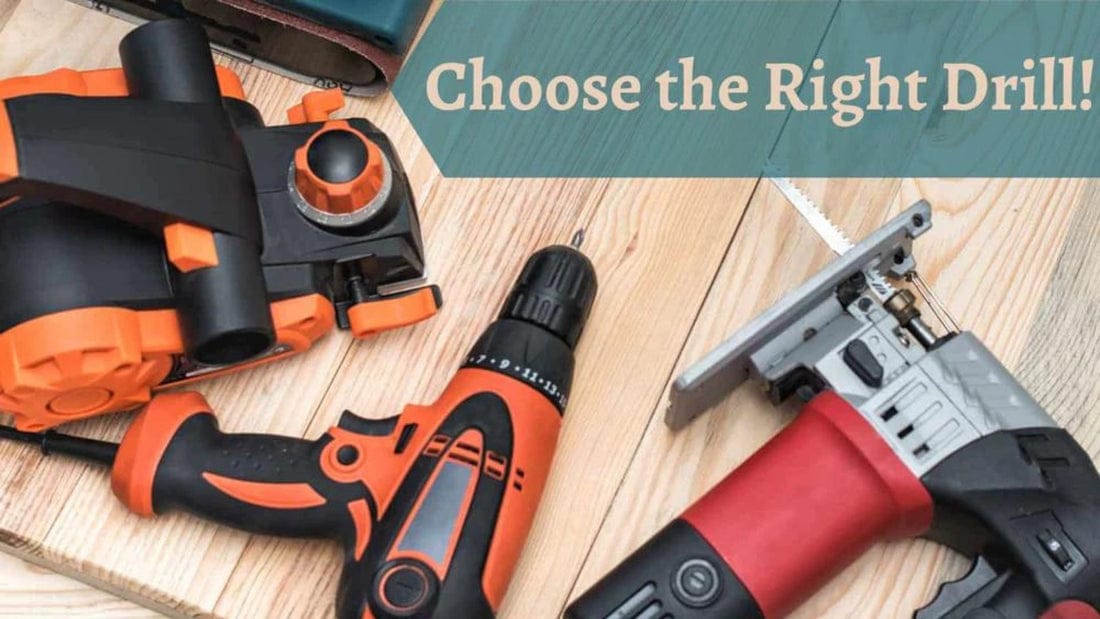
Step 5: Cordless Drill 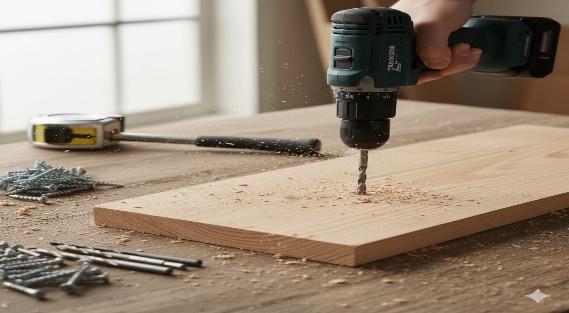
If you’re serious about DIY, this is your power move. Drill holes, drive screws, and speed up everything. Once you use one, you won’t go back. It’s the tool that turns “I’ll do it later” into “done in 10 minutes.” DIY Accent Lighting Ideas
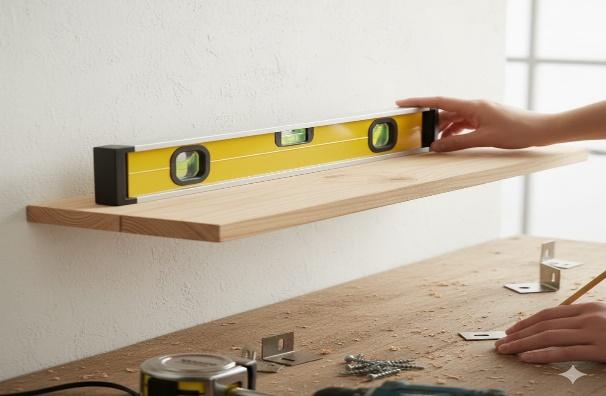
Step 6: Level
Crooked shelves? Slanted frames? This tool keeps everything aligned and professional-looking. It’s a small detail that makes a big difference—especially when guests start noticing. Styling Open Shelves with Purpose
Step 7: Stud Finder
Mounting something heavy? Don’t guess. Find the studs behind your wall and a
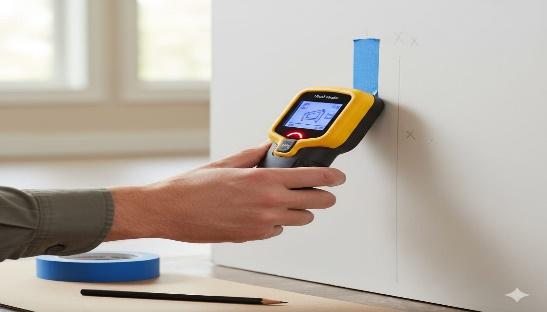
Anchor with confidence.
It’s the tool that saves your drywall —
and your nerves. Creating a Feature Wall with Paint or Wallpaper
Step 8: Adjustable Wrench 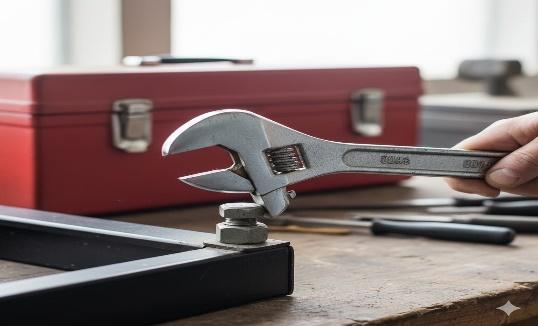
One tool, many jobs. Tighten bolts, fix plumbing, or adjust furniture legs—all with one twist. It’s the kind of tool you’ll forget you own until you really need it. Fixing Squeaky Doors and Floors
Step 9: Pliers (Needle-nose + Slip-joint) 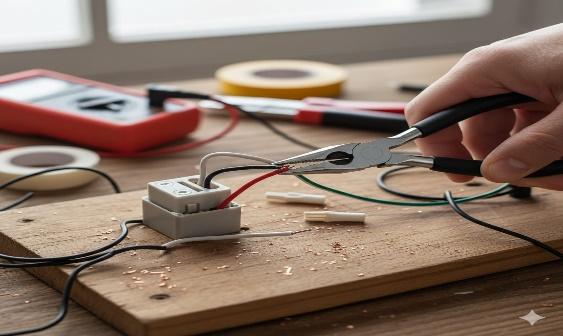
For gripping, twisting, and cutting. They’re especially handy for electrical work, jewelry repairs, and tight corners. Needle-nose pliers are perfect for precision; slip-joint pliers give you grip.
Step 10: Allen Key Set 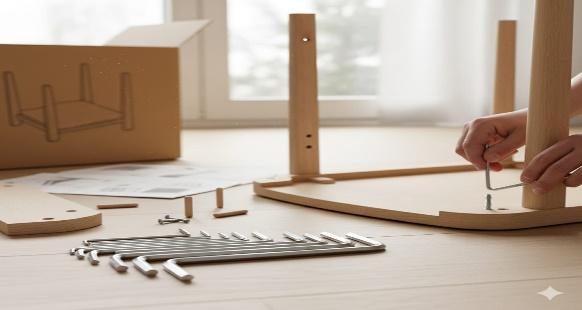
If you’ve ever built flat-pack furniture, you know. These tiny tools save the day—and your sanity. They’re also great for bikes, shelves, and anything with hex bolts.
Step 11: Handsaw 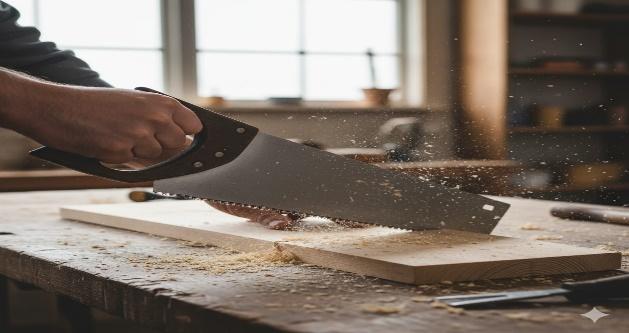
No power? No problem. Perfect for small wood cuts, quick fixes, and quiet work. It’s slower than a power saw but way more satisfying.
Step 12: Sandpaper or Sanding Block 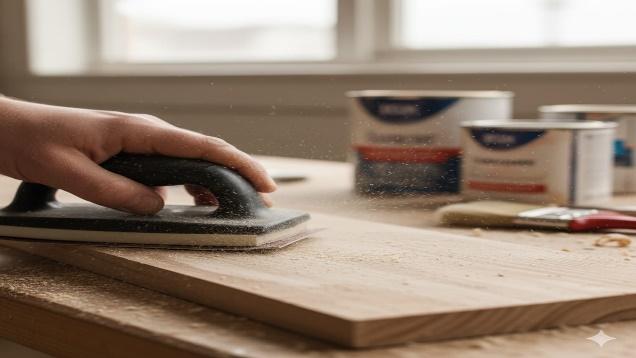
Smooth surfaces make everything look better. Use before painting, sealing, or staining—your finish will thank you. And yes, your fingertips will feel it—but it’s worth it.
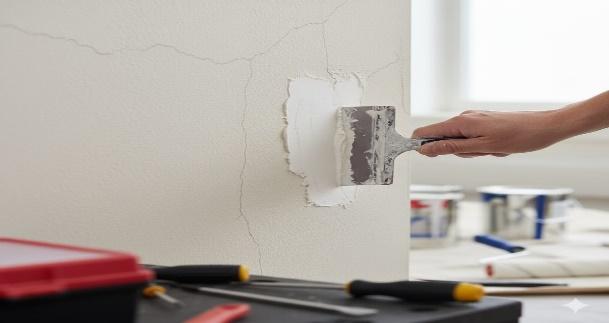
Step 13: Putty Knife
Patch holes, scrape paint, and apply filler. It’s one of those tools you don’t think about—until you really need it. And once you use it, you’ll wonder how you ever patched walls without it.
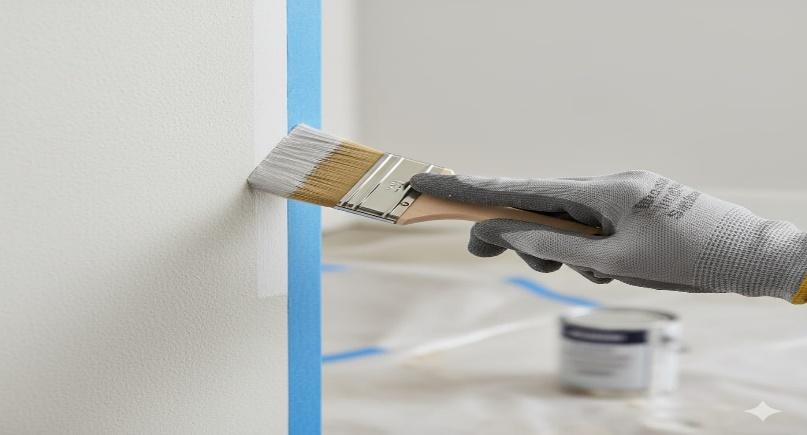
Step 14: Painter’s Tape 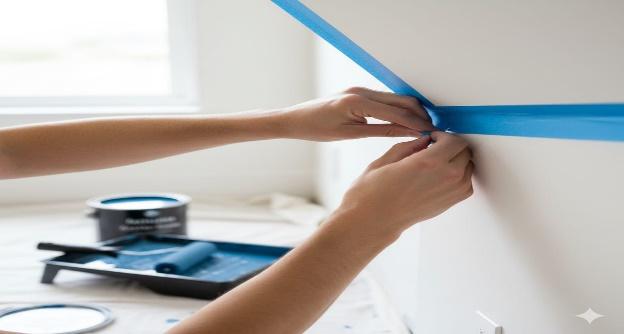
Clean lines, no mess. Use it for painting, labeling, or even temporary holding. It’s the secret behind every “How did you get that edge so perfect?” compliment. DIY Window Treatments: Curtains & Blinds
Step 15: Safety Gear (Gloves, Goggles) 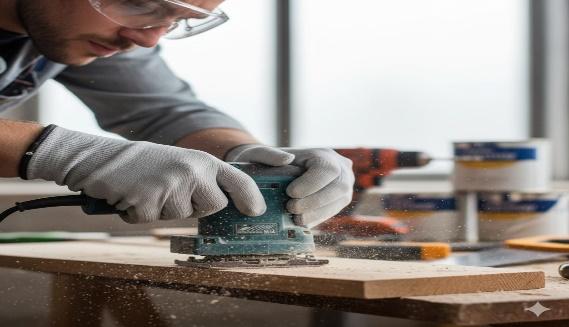
DIY is fun—until it’s not. Protect your hands, eyes, and peace of mind. Always. Because no project is worth a trip to the ER.
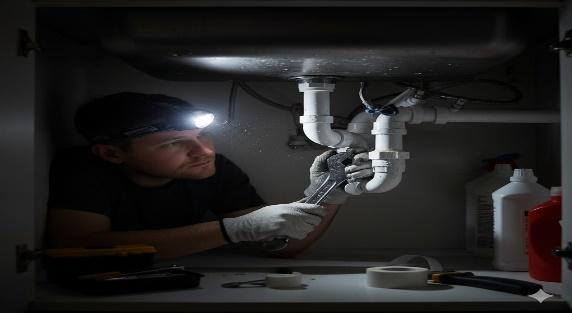
Step 16: Flashlight or Headlamp
Dark corners, tight spaces—light makes all the difference. Especially when you’re under the sink or behind the wardrobe. A headlamp keeps your hands free, which is a game-changer.
Step 17: Toolbox or Organizer
No more digging through drawers. Keep your tools sorted, safe, and ready to go. Because nothing kills momentum like “Where did I put that?” 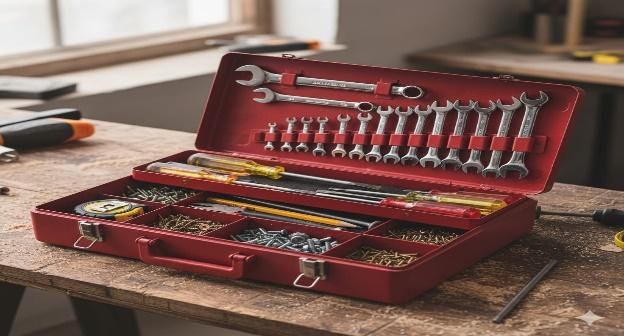
Step 18: Extension Cord 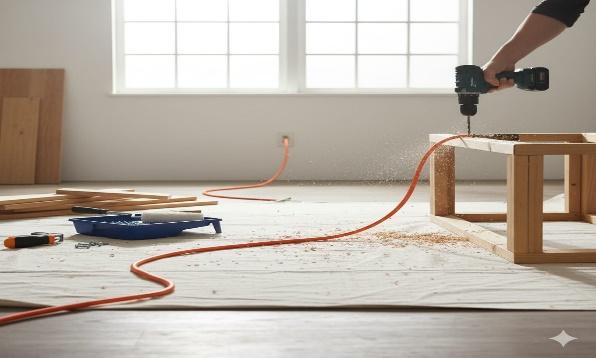
Power where you need it—especially when the outlet is nowhere near your workspace. Whether you’re using a drill on the balcony or a glue gun across the room, this tool keeps your momentum going. And if you’ve ever had to stop mid-project to relocate everything closer to a socket… you already know.
Step 19: Multi-bit Screwdriver 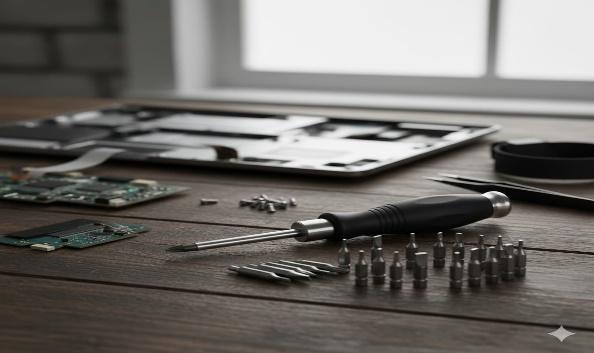
One handle, multiple heads—it’s like having a whole set in your pocket. Perfect for quick fixes, electronics, and anything with unusual screws. It’s compact, efficient, and ideal for anyone who hates clutter.
Step 20: Measuring Square 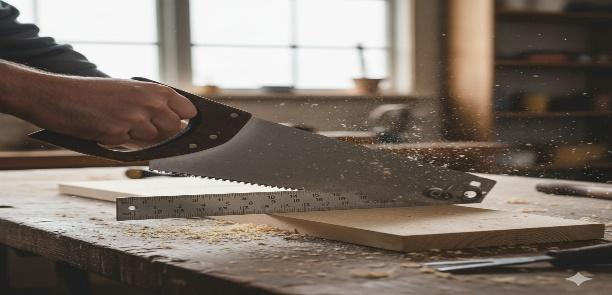
If you’re cutting wood, laying tile, or building anything with corners—this is your accuracy tool. It helps you mark perfect right angles and straight lines, so your finished project doesn’t look “almost right.” It’s one of those tools that quietly upgrades your whole process.
Final Thoughts—Your Toolkit Is Your Confidence
DIY isn’t just about tools. It’s about trust—in your hands, your ideas, and your ability to figure things out. And the right toolkit makes that trust easier to build.
You don’t need everything at once. Start with the basics. Add tools as your projects grow. And remember: every time you fix something yourself, you’re not just saving money—you’re building skill, independence, and pride.
So whether you’re hanging a shelf, painting a wall, or building a bench from scratch… You’ve got this. And your toolkit’s got your back.
Ready to DIY like a pro? These 20 essential tools cover everything from measuring to fixing and cutting to assembling. Build your toolkit once—and tackle any project with confidence.
.