I always wanted a fire pit—notust for warmth, but for the vibe. There’s something about sitting around a fire with friends, roasting marshmallows, or just zoning out under the stars that makes a backyard feel complete.
But I kept putting it off. I thought I needed a contractor, a permit, or a pile of cash. Turns out? I didn’t need any of that. Just a weekend, a few basic tools, and a plan.
Here’s exactly how I built my backyard fire pit—step by step—and how you can do it too.
Step 1: Choose the Right Spot
Before anything else, I had to find the perfect location. Not too close to the house, not under trees, and definitely not near anything flammable. 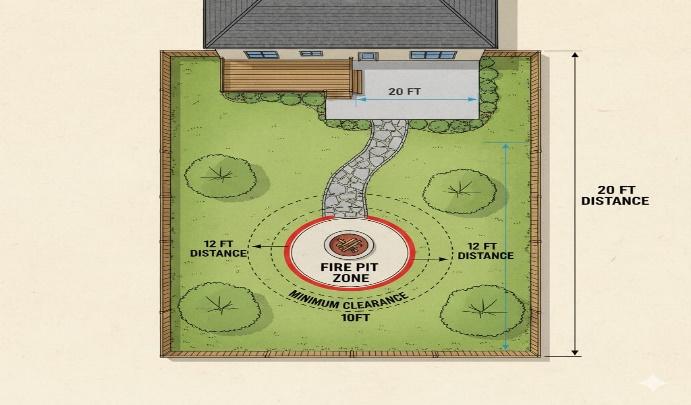
Here’s what I looked for:
- At least 3 meters away from fences, walls, or overhanging branches
- Flat ground saves you hours of leveling
- Easy access from the seating area
- Good airflow, but not too windy DIY Backyard Makeover: From Lawn to Lounge
Step 2: Gather Your Materials
I didn’t want anything fancy—just something solid and safe. So I went with basic materials I could find at the local hardware store: 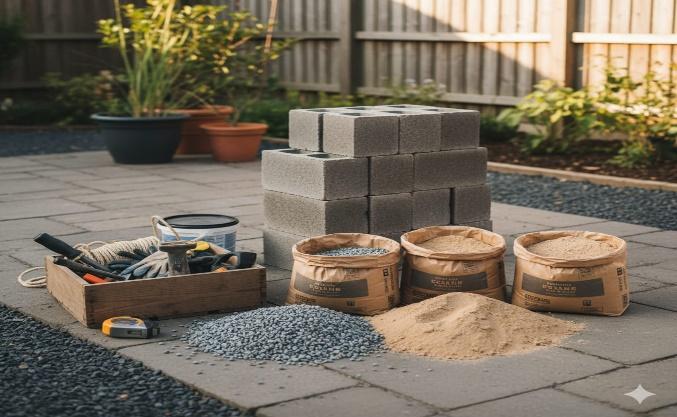
- 30–40 concrete retaining wall blocks
- Gravel (2–3 bags) for the base
- Sand (1–2 bags) to level the pit
- A metal fire ring (optional but great for durability)
- Shovel, rake, level, and gloves
Essential Materials for Home Renovation Projects
Step 3: Dig and Prep the Base
I marked a circle about 1.2 meters wide using a rope and spray paint. Then I dug down about 15 cm—just enough to hold the gravel and sand. 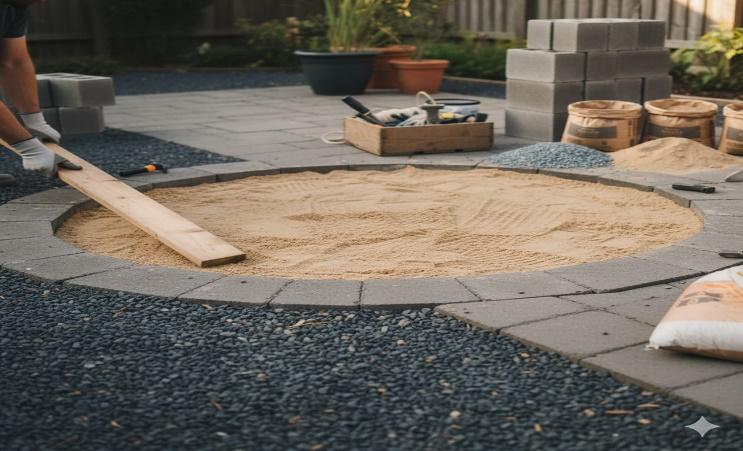
Here’s how I prepped it:
- Dug out the circle evenly
- Poured a layer of gravel and raked it flat
- Added sand on top and leveled it with a board
- Packed it down with a tamper (or just stomped on it)
Step 4: Lay the First Layer of Blocks 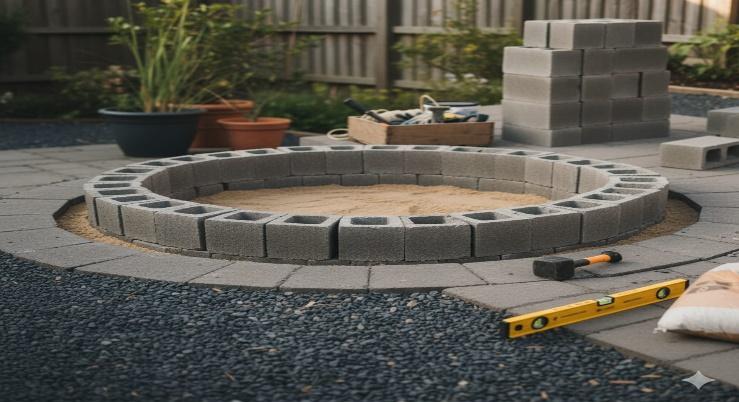
This part sets the tone for everything else. I placed the first layer of blocks directly on the sand, making sure they were level and tight.
Tips that helped:
- Use a level after every 2–3 blocks
- Tap gently with a rubber mallet to adjust
- Keep the circle consistent—measure if needed
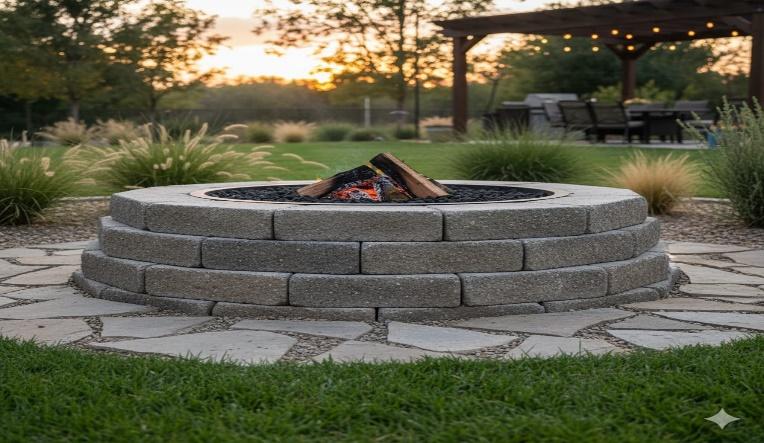
Step 5: Stack the Remaining Layers
Once the base was solid, I stacked two more layers of blocks. No mortar needed—just gravity and good alignment.
I staggered the blocks so the seams didn’t line up, which made it stronger and looked better. How to Fix a Leaky Faucet DIY
Step 6: Add the Fire Ring (Optional)
I found a metal fire ring online for about 150 SAR. It fit perfectly inside the block circle and helped protect the walls from direct heat.
If you’re skipping the ring, just make sure the blocks are fire-rated and not sealed with anything flammable.
Step 7: Test It Safely
Before inviting friends over, I did a solo test run. I started with a small fire using dry wood and watched how the pit handled the heat.
Safety checks I did: 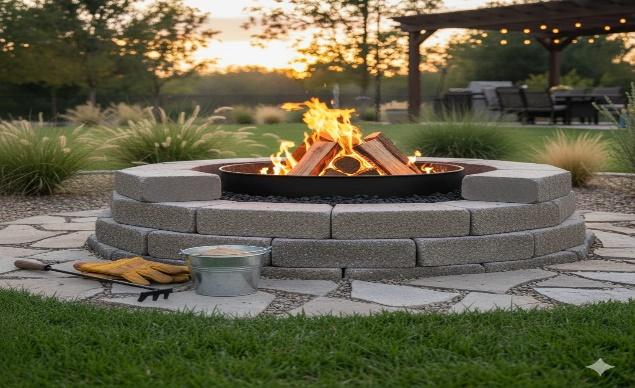
- Kept a bucket of water nearby
- Watched for smoke direction
- Checked that the blocks stayed cool and stable
- Made sure the fire didn’t spread beyond the ring
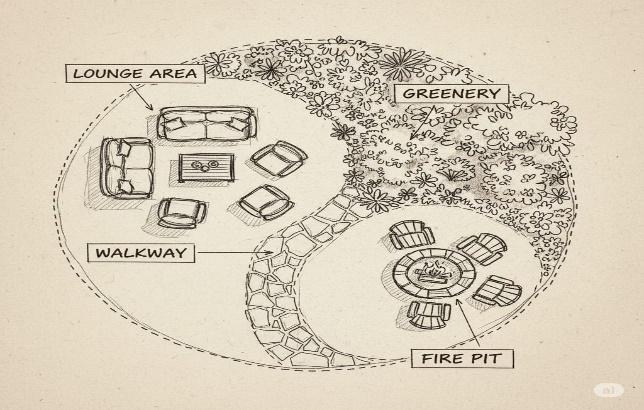
Step 8: Create a Seating Area Around It
Once the fire pit was done, I added seating. I used foldable chairs at first, then built a simple bench from leftover wood. 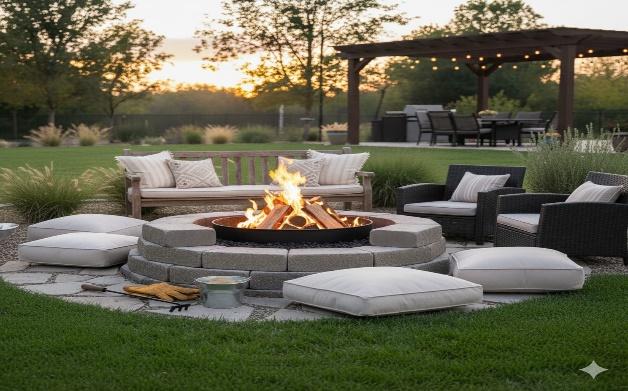
Other ideas:
- Tree stumps for rustic seating
- Outdoor cushions on gravel or deck tiles
- DIY pallet sofa with waterproof covers Budget-Friendly Room Makeovers
Step 9: Maintain It
A fire pit needs care—not much, but enough to keep it safe and clean.
Here’s what I do: 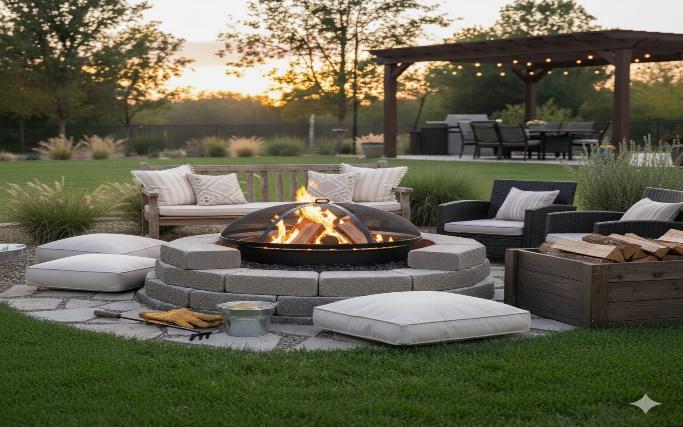
- Scoop out ashes after every few uses
- Check block alignment monthly
- Cover it during rain (I use a metal lid)
- Store wood in a dry bin nearby
Final Thoughts
Building a fire pit was one of the most satisfying DIY projects I’ve done. It turned my backyard from “meh” to a space I actually use—especially in the evenings.
I didn’t need a contractor, a permit, or a huge budget. Just a plan, a few tools, and the willingness to get my hands dirty.
If you’ve been thinking about adding a fire pit, go for it. Start small, stay safe, and enjoy the glow.