Transform your space with DIY curtains and blinds. Learn how to style windows for privacy, light control, and a designer finish — no big budget needed.
Why Window Treatments Matter More Than You Think
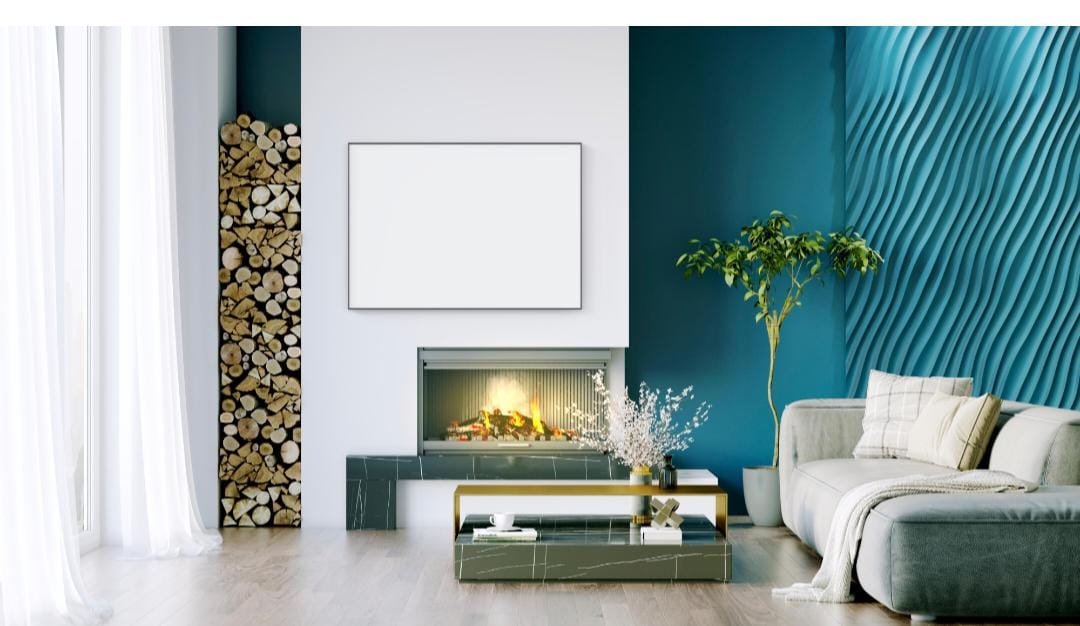
Window treatments aren’t just about blocking sunlight or adding privacy. They frame your space. They soften hard edges. They make a room feel finished—even if the rest of the decor is still a work in progress.
And the best part? You don’t need custom drapes or expensive blinds to get that polished look. With a few smart choices and a little DIY effort, you can transform your windows (and your whole room) on a budget. How to Install Outdoor Lighting for Ambience
Step 1: Choose What Works for Your Space
Before you start browsing fabrics or drilling holes, pause for a second. Ask yourself: what does this room actually need? 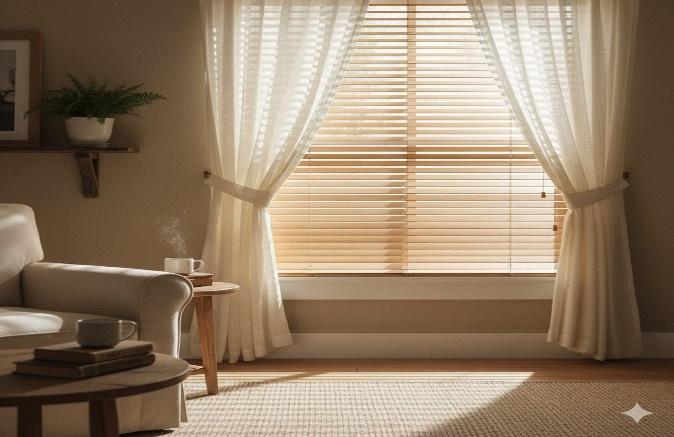
- Curtains are perfect if you want softness, movement, or a bit of drama. Sheer ones let the light in and feel airy. Blackout ones give you privacy and help with sleep or glare.
- Blinds are all about clean lines and control. They’re great in kitchens, bathrooms, or anywhere you want things neat and practical.
- Layering both—blinds for function and curtains for style—gives you flexibility. You can adjust light, add texture, and make the space feel more finished.
Real moment: One reader shared that she used bamboo blinds for privacy, then added linen curtains on top. The result? Warm, natural, and way more expensive-looking than it actually was.
Step 2: Pick Your Fabric or Material
This is where you get to play with texture, color, and mood. 
- For curtains, go with cotton, linen, or velvet depending on the vibe you want.
- For blinds, try wood, faux wood, or fabric rollers—each gives a different feel.
- Want something unique? Repurpose vintage sheets, drop cloths, or even scarves for a boho look.
Tip: Stick to natural fibers if you want that relaxed, high-end feel. Synthetic fabrics can look shiny or stiff.
Step 3: Measure Like You Mean It
This step makes or breaks the final look—don’t eyeball it.
- Measure the width of your window, then add 8–12 inches on each side for fullness.
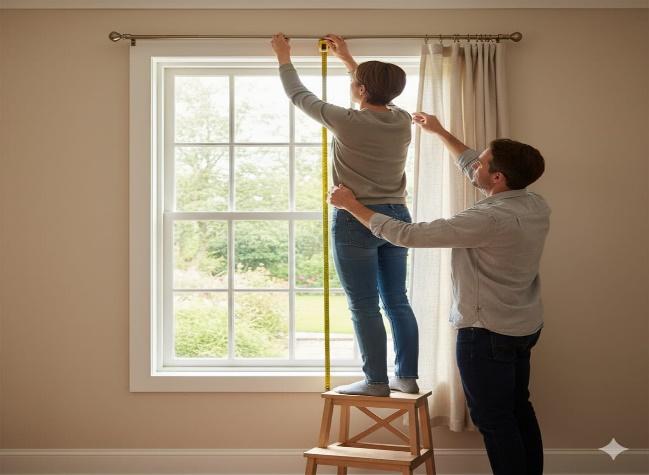
- For height, decide if you want the curtains to hang just above the window or go ceiling to floor for drama.
- For blinds, measure inside the frame if you want a clean fit, or outside for more coverage.
Human moment: If you’re unsure, cut a piece of string and tape it where the curtain rod would go. Step back and see how it feels.
Step 4: Install Without the Headache
You don’t need to be a handyman to hang curtains or blinds. Honestly, a few basic tools—and a bit of patience—are all it takes. 
- For lightweight curtains or temporary setups, tension rods are perfect. No drilling, no damage, and super renter-friendly.
- If you’re working with heavier fabrics or blinds, go for wall anchors and sturdy brackets. They’ll hold everything in place without wobbling.
- And whatever you’re hanging, use a level. Even a tiny tilt can make the whole thing feel off—and you’ll notice it every time you walk in.
Quick tip: If you’re layering curtains over blinds, install the blinds first. Then leave enough space above for the curtain rod so everything sits comfortably.
How to Hang Art and Decor Like a Designer
Step 5: Style Around Your Windows
- Hanging curtains or blinds is just the start—the real charm kicks in when you treat the window like part of the room, not just a functional corner.
- Add tiebacks, tassels, or decorative rings to give your curtains a little flair. Tiny details like these can shift the whole mood.
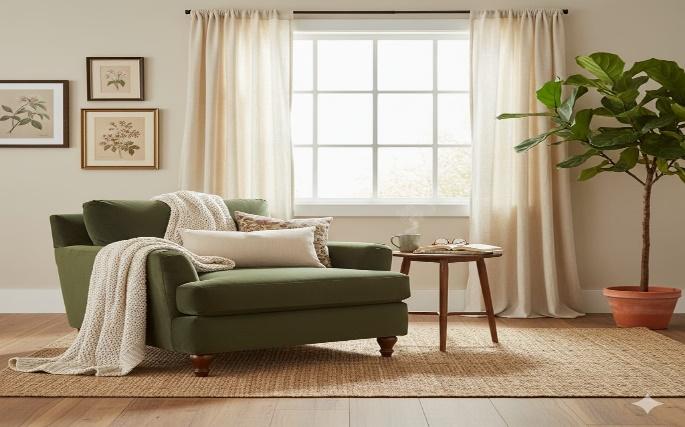
- Frame the window with plants, mirrors, or artwork nearby. It draws the eye and makes the window feel styled—not just covered.
- Think of the window as a design element, not a background. When you build around it, the whole wall starts to feel intentional.
Styling tip: If your curtains are bold—patterned, colorful, or heavy—keep the rest of the room simple so they stay the star. If they’re neutral, feel free to layer in texture, color, and accessories nearby to build warmth and depth.
Bonus DIY Ideas for Creative Window Treatments
Want to go beyond the basics? Try these:
- No-sew curtains using hem tape or clip rings—perfect for beginners.
- Painted drop cloths as curtain panels—budget-friendly and customizable.
- Macramé valances for a boho touch.
- Roller shades made from fabric and dowels—easy and elegant.
Budget tip: Check thrift stores for old linens, tablecloths, or even shower curtains. With a little tweaking, they can become beautiful window treatments.
Final Thoughts
Window treatments might seem like a small detail, but they have a huge impact. They control light, add privacy, and—when done right—make your space feel intentional and styled.
So don’t stress about getting it perfect. Try things out. Mix and match. Because when you dress your windows with care, the whole room feels more pulled together.