Tired of digging through cluttered drawers and messy toolboxes? This guide shares practical, beginner-friendly ideas to organize your DIY tools—from pegboards to portable kits.
Why Tool Organization Isn’t Just About Tidiness
Let’s be honest—nothing kills DIY momentum faster than not finding the right tool. You’re ready to drill, but the bit is missing. You need the tape measure, but it’s buried under a pile of screws. Sound familiar?
Tool organization isn’t just about looking neat. It’s about saving time, reducing stress, and actually enjoying your projects. Whether you’ve got a full garage or just a corner in your apartment, there’s a setup that can work for you.
Step 1: Build a Pegboard Wall—Classic, Customizable, and Surprisingly Fun 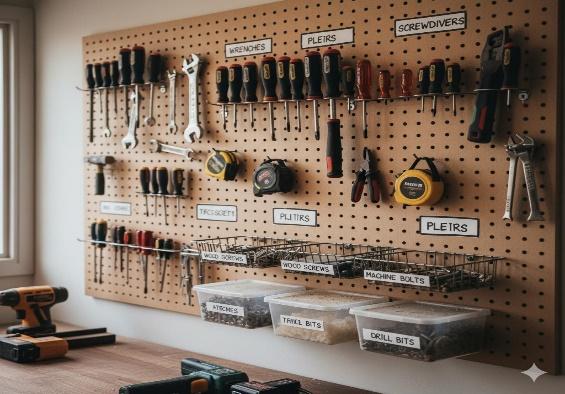
Pegboards are a DIYer’s best friend. They turn empty wall space into a flexible tool station—and they’re easy to rearrange as your collection grows.
Why it works:
- Keeps tools visible and within reach
- Easy to label and group by type
- Works in garages, sheds, or even behind doors
Human moment: One reader turned a cluttered laundry room wall into a pegboard tool zone. Now she grabs her drill without digging through drawers—and it looks pretty cool too.
Step 2: Use Clear Bins for Small Parts—Because Screws Deserve Respect
Screws, nails, washers, wall anchors… they multiply like rabbits. Instead of tossing them in a random box, use clear bins or drawer organizers with labels. Choosing the Right Adhesive for Your Project 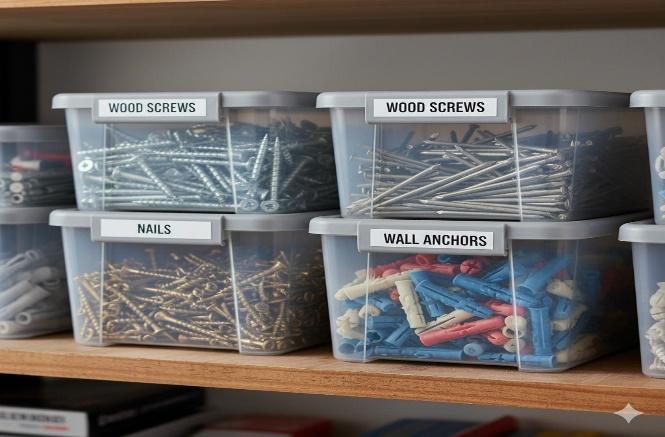
Why it works:
- You can see what’s inside instantly
- Stackable and space-saving
- Great for shelves, drawers, or mobile carts
Tip: Use old spice jars or baby food containers for tiny bits—they’re free, and they fit perfectly in drawer trays.
Step 3: Create a Grab-and-Go Tool Kit—For Projects That Move Around
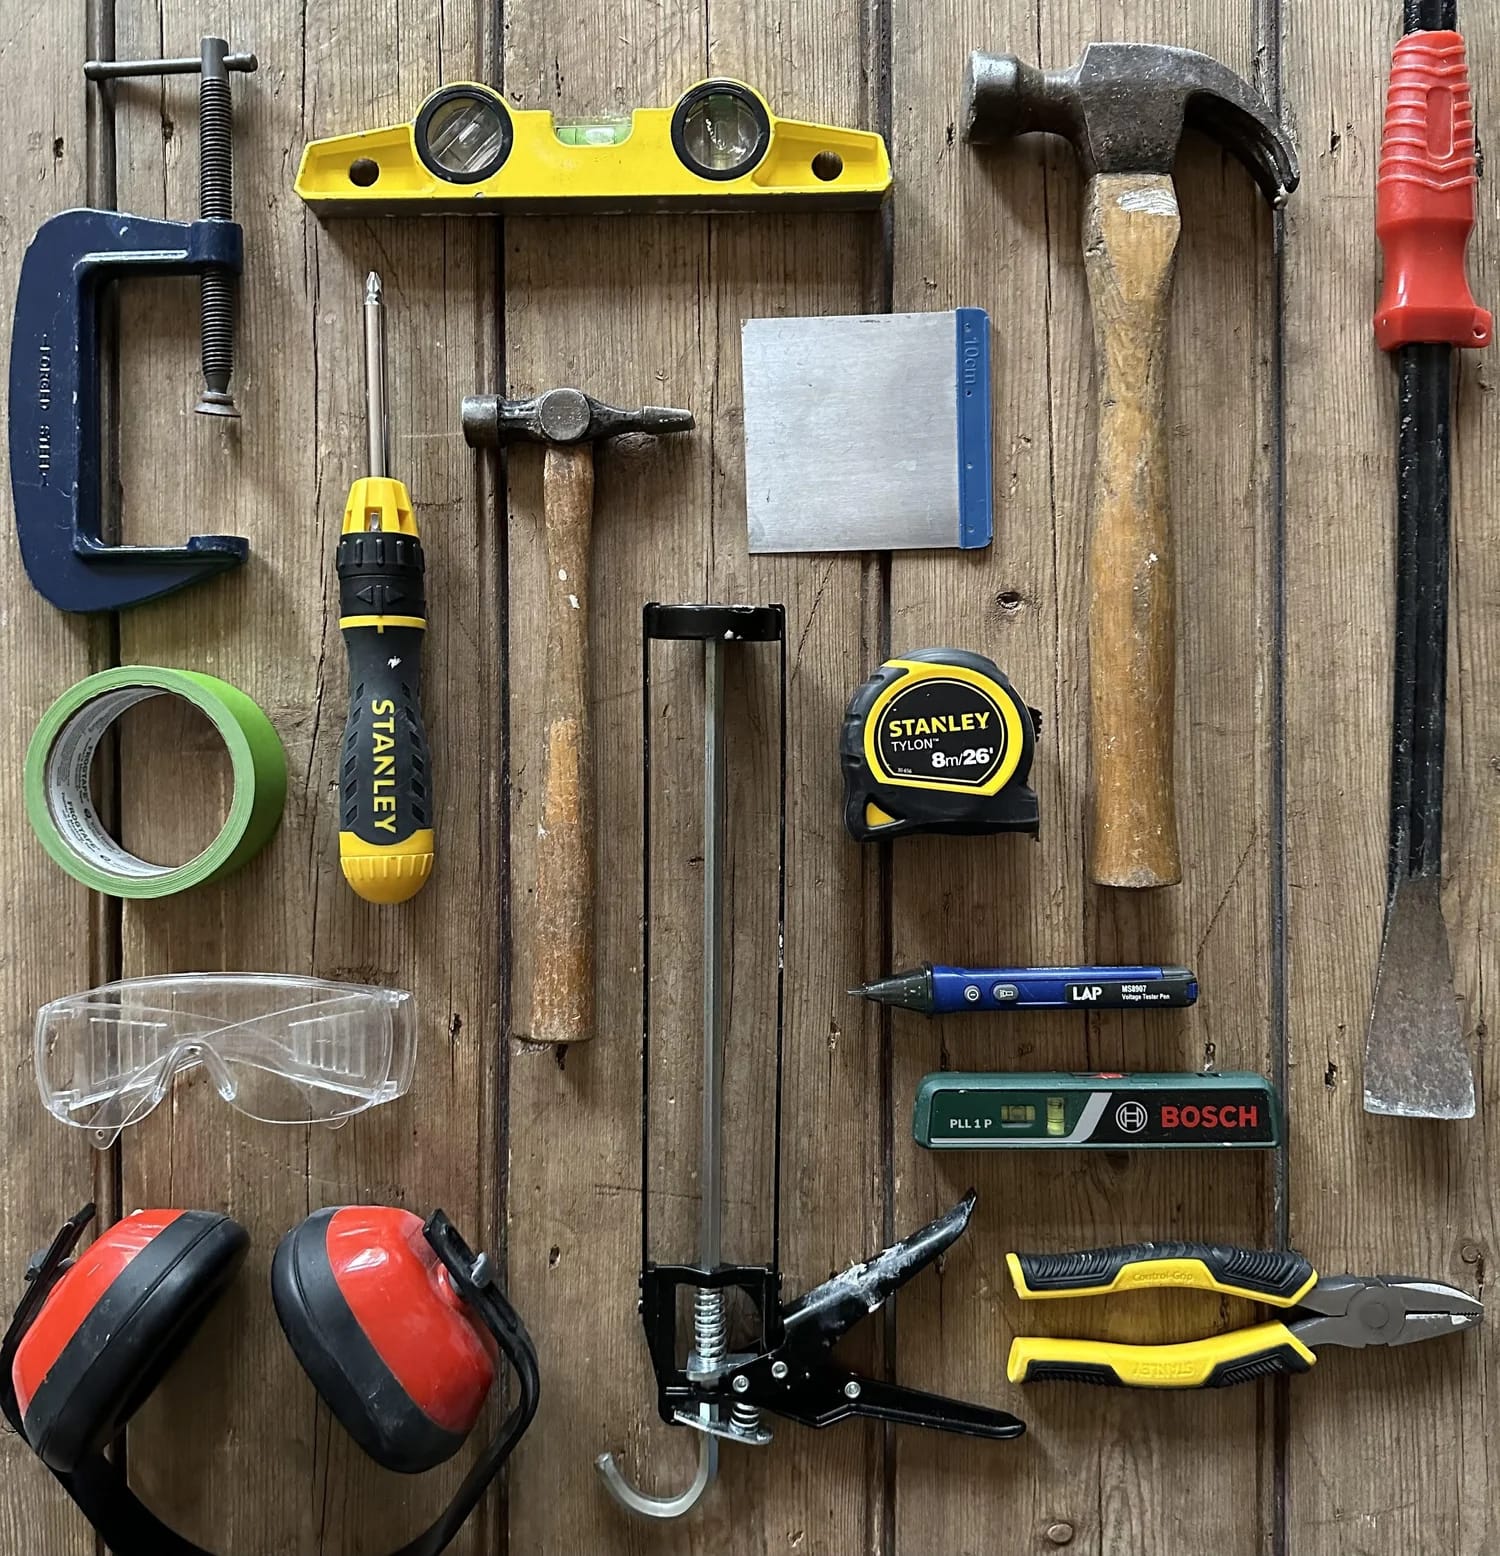
Not every DIY job happens in the same spot. A portable tool kit lets you carry the essentials—hammer, screwdriver, tape measure, utility knife—without hauling your whole setup. 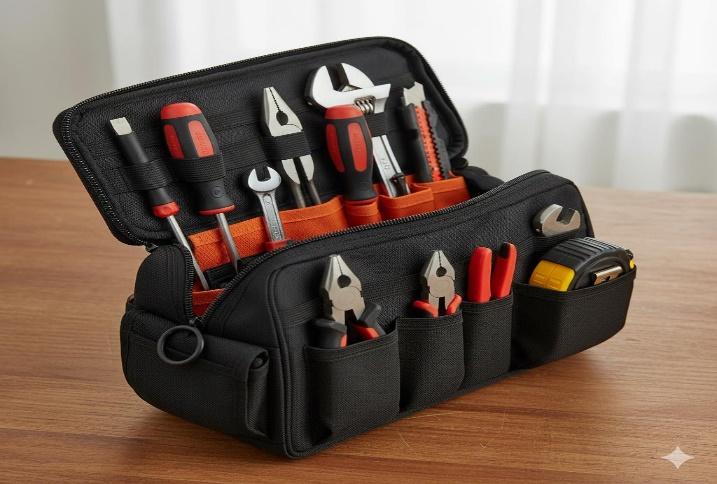
Why it works:
- Saves time on small jobs
- Keeps your most-used tools together
- Perfect for renters or apartment DIYers
Human moment: One DIYer keeps a mini tool bag in her car. She’s fixed curtain rods, loose handles, and even a wobbly shelf at her friend’s place—all without a trip home. Best Paint Brushes and Rollers for Beginners
Step 4: Try Magnetic Strips—Sleek and Space-Saving
Magnetic strips aren’t just for kitchen knives—they’re a smart way to keep your metal tools off the counter and right where you need them. Mount one above your workbench, inside a cabinet door, or even along the side of a shelving unit. It’s clean, minimal, and surprisingly strong. 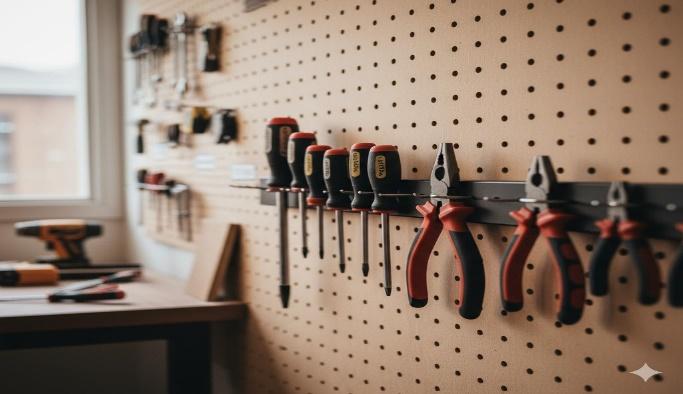
Why it works:
- Frees up drawer space instantly
- Keeps screwdrivers, pliers, and bits in plain sight
- Adds a modern, workshop-style vibe to your space Creating a Feature Wall with Paint or Wallpaper
Real moment: One DIYer added a magnetic strip above her desk and hung her most-used tools—screwdriver, scissors, and hex keys. Now she grabs what she needs without opening a single drawer.
Step 5: Repurpose Household Items—DIY Storage from What You Already Own
You don’t need a fancy wall system or a trip to the hardware store to get organized. Sometimes, the best tool storage is already sitting in your kitchen or closet.
Old mugs? Perfect for holding screwdrivers. Spice racks? Great for small containers of nails and bits. Cutlery trays, shoe organizers, even empty jars—they all have potential if you look at them sideways. 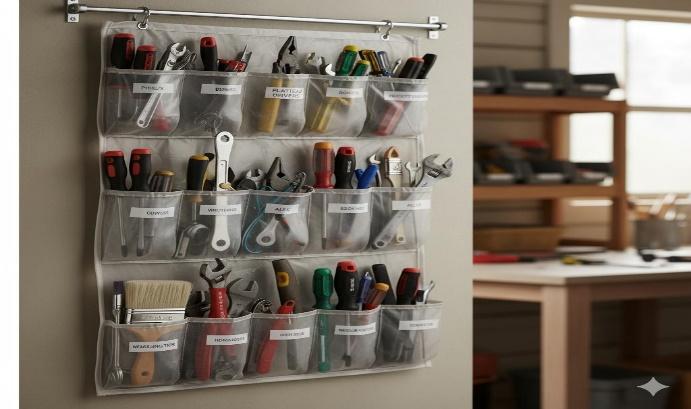
Why it works:
- Super budget-friendly
- Adds a personal, creative touch to your space
- Encourages reuse and upcycling—which feels good and looks cool
Real moment: One DIYer turned a hanging shoe organizer into a vertical tool station. Each pocket holds a different item—pliers, tape, sanding blocks—and it hangs right behind the door. No drilling, no shelves, just smart reuse.
Step 6: Clean as You Go—The Habit That Changes Everything
Organizing your tools isn’t just about where they live—it’s about how you treat them. After a long DIY session, it’s tempting to toss everything aside and call it a day. But taking two minutes to wipe down your tools, empty the dust tray, and put things back where they belong? That’s what keeps your setup running smoothly. 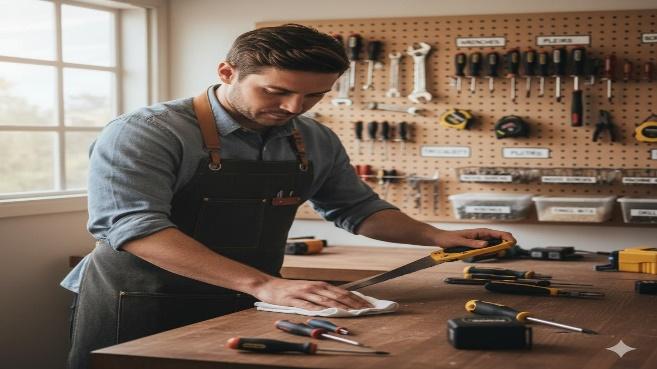
Why it works:
- Stops rust before it starts
- Keeps your workspace ready for the next project
- Builds a rhythm of care and consistency
Real moment: One DIYer shared that she used to leave her tools scattered after every project. Then one day, she couldn’t find her favorite screwdriver—buried under a pile of scrap wood. Since then, she cleans up as she goes. Now her workspace feels more like a creative studio than a cluttered corner. Styling Open Shelves with Purpose
Final Thoughts—Your Tools Deserve a Home
DIY is messy. That’s part of the fun. But when your tools are organized, your projects flow better. You spend less time searching and more time building—and you actually enjoy the process.
Start small. Hang a pegboard. Label a few bins. Build a habit. Because the more you respect your tools, the more they’ll help you create something worth showing off. Top 20 Tools Every DIYer Needs