How to Keep Your Bathroom and Shower Mold-Free, Durable, and Looking Fresh
I used to think grout was just the stuff between tiles—pick a color, slap it on, and move on. But after watching my shower grout crack, discolor, and grow mold within months, I realized: grout matters. Especially in wet areas like bathrooms, showers, and backsplashes, choosing the right type of grout can make or break your tile job.
Whether you’re renovating or just regrouting, here’s everything I’ve learned about picking grout that actually holds up in moisture-heavy spaces.
Why Grout Choice Matters in Wet Areas
Grout isn’t just cosmetic—it’s a protective barrier. It seals the gaps between tiles, prevents water from seeping behind the surface, and helps fight off mold and mildew. In wet areas, the wrong grout can lead to:
- Water damage behind tiles
- Mold growth in corners and joints
- Cracking, shrinking, and discoloration
- Costly repairs or full regrouting How to Fix Bathroom Leaks Without a Plumber
Step 1: Understand the Main Types of Grout
Not all grout is created equal—and some types just aren’t built for wet environments. Here’s a breakdown of the most common grout types and how they perform in bathrooms and showers:
1. Cement-Based Grout
- Best for: Dry areas or low-moisture floors
- Pros: Affordable, easy to apply
- Cons: Porous, absorbs water, prone to mold and cracking—even when
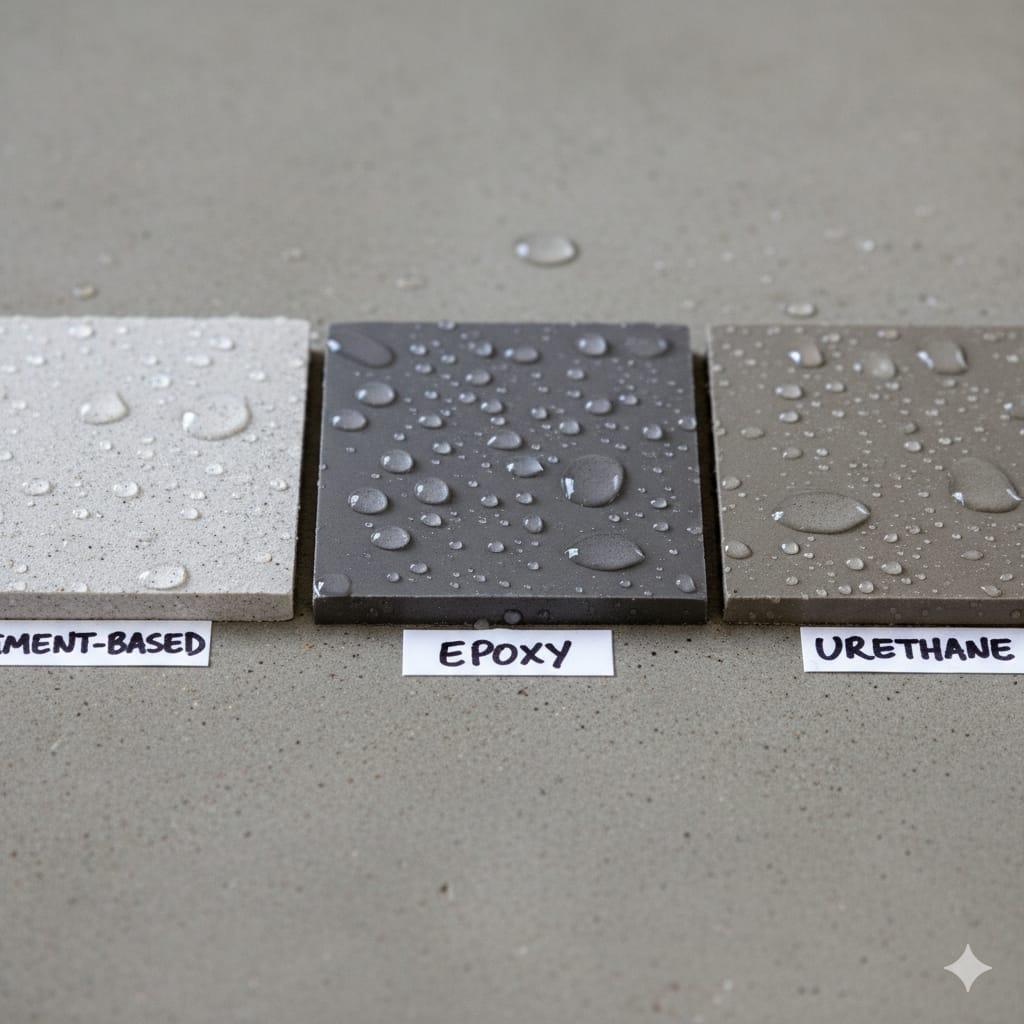 sealed
2. Epoxy Grout
- Best for: Showers, tubs, backsplashes, high-moisture zones
- Pros: Waterproof, stain-resistant, extremely durable
- Cons: More expensive, harder to apply, shorter working time
3. Urethane Grout
- Best for: DIYers who want durability without mixing
- Pros: Pre-mixed, flexible, water-resistant
- Cons: Not ideal for submerged areas like pools. Essential Materials for Home Renovation Projects
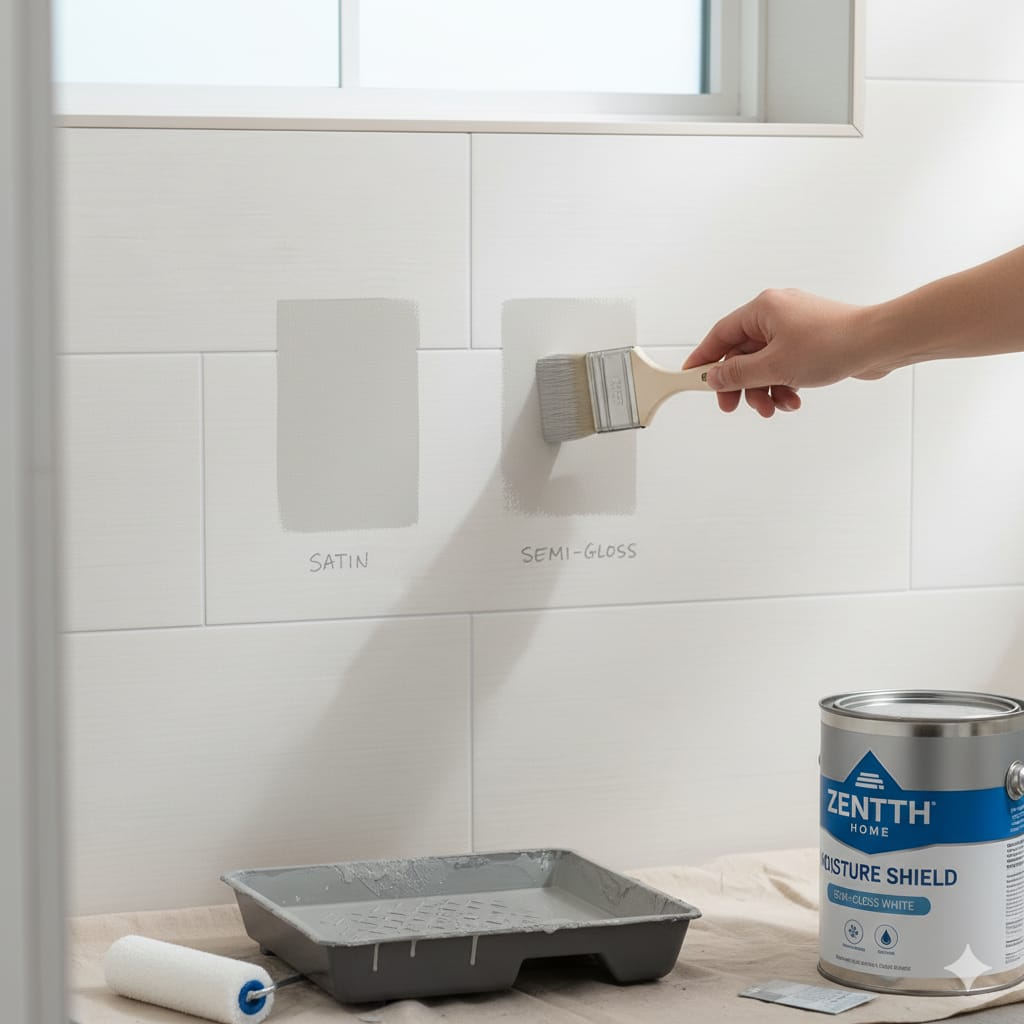
Step 2: Choose the Right Finish and Color
Grout finish affects both the look and the performance. In wet areas, smoother finishes are easier to clean and less likely to trap moisture. 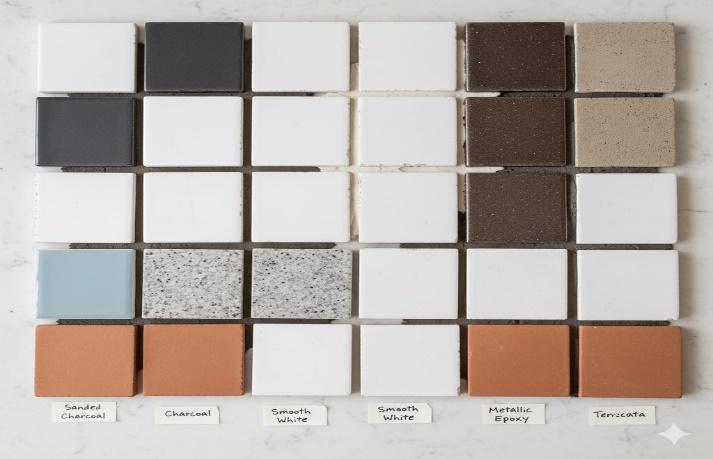
- Sanded grout: Best for joints over 1/8 inch, but can trap dirt and scratch polished tiles
- Unsanded grout: Ideal for narrow joints and delicate surfaces
- Epoxy grout: Comes in both sanded and unsanded versions—choose based on tile type
As for color, lighter grout shows stains faster, while darker grout can hide imperfections but may fade over time. I went with a mid-tone gray—it’s neutral, hides dirt, and still looks fresh.
Step-by-Step DIY Bathroom Renovation
Step 3: Prep the Surface Before Grouting 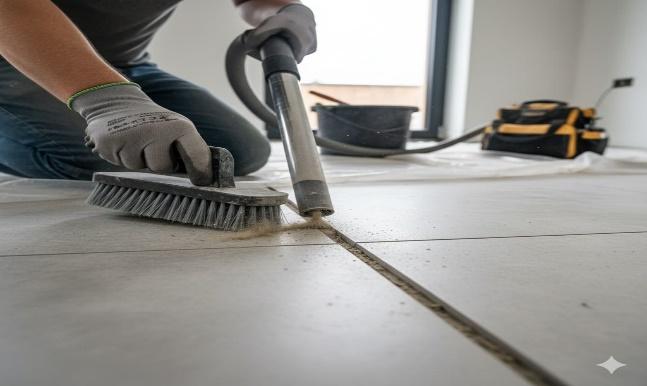
Even the best grout won’t stick if the surface isn’t clean. Before applying grout, make sure:
- Tiles are fully set and dry
- Joints are clean and free of dust or adhesive
- Any old grout is removed completely
- The area is dry—moisture can weaken the bond
I use a vacuum and a damp cloth to clean the joints, then let everything dry overnight before grouting. Safety Tips for Kitchen Renovation Projects
Step 4: Apply Grout the Right Way
Grouting isn’t hard—but it does require patience. I mix small batches (if no
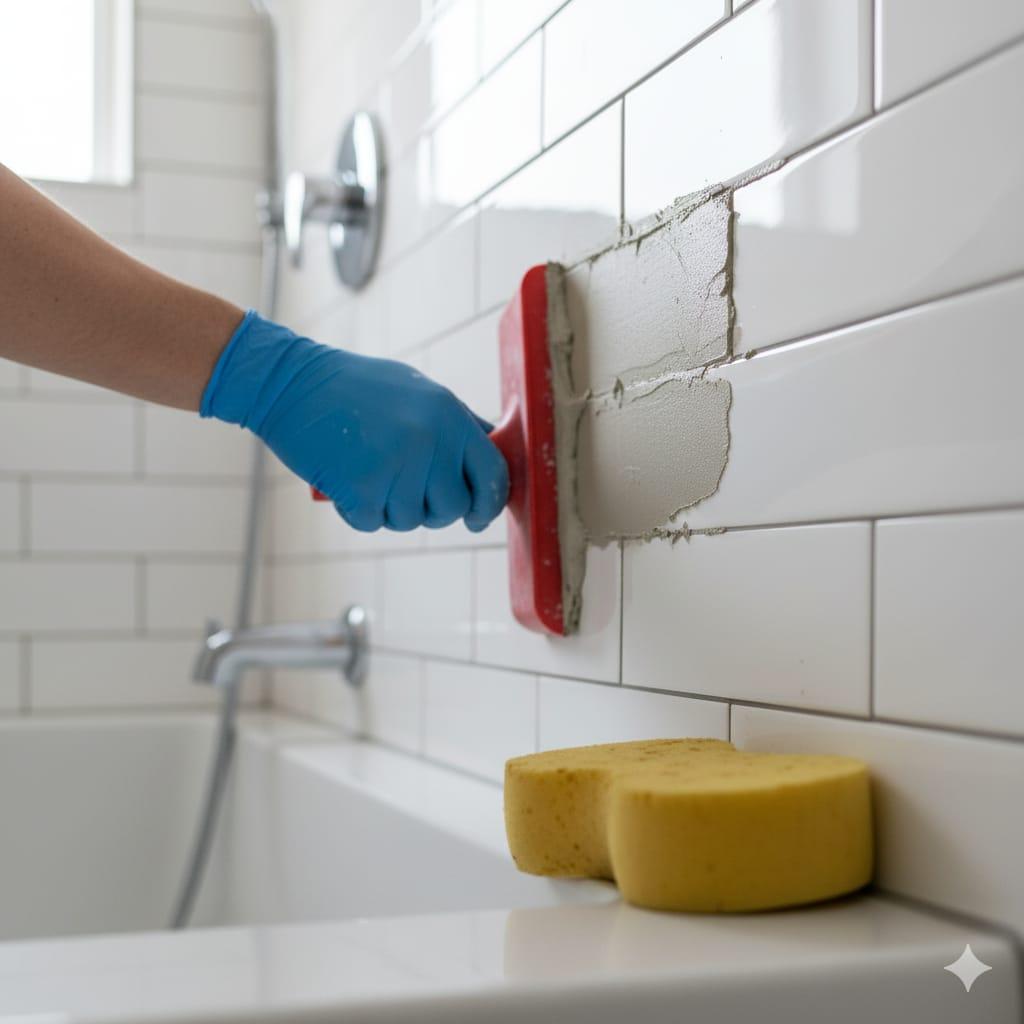
t using pre-mixed), apply with a rubber float at a 45° angle, and work in sections.
Tips that helped me:
- Press grout firmly into joints—don’t just skim the surface
- Wipe excess with a damp sponge before it dries
- Rinse sponge often to avoid haze
- Let grout cure fully before sealing or using the area How to Replace a Toilet Yourself
Step 5: Seal the Grout (If Needed)
Not all grout needs sealing—but if you’re using cement-based grout, sealing is a must. It adds a layer of protection against water, stains, and mildew.
- Use a penetrating sealer for best results
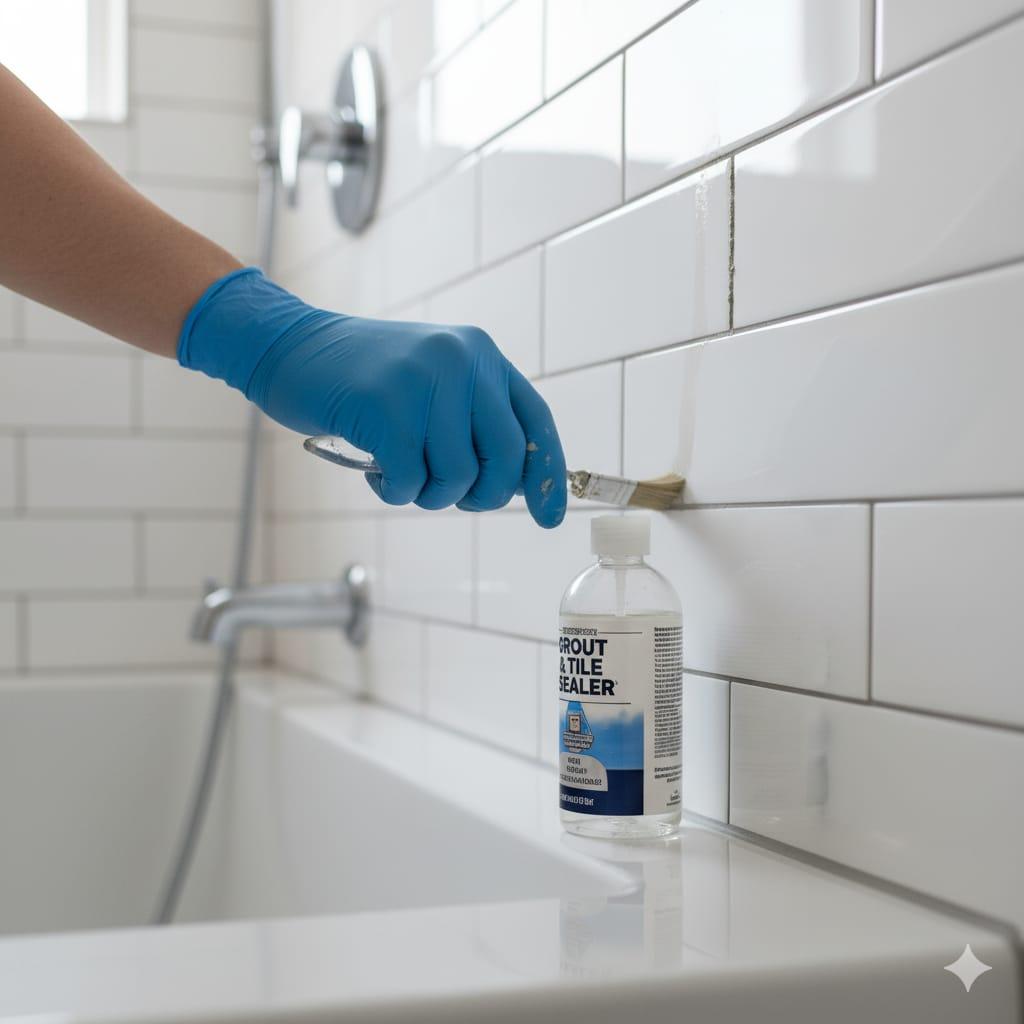
- Apply after grout has cured (usually 72 hours)
- Reapply every 6–12 months depending on usage
Epoxy grout doesn’t need sealing—it’s already waterproof. That’s one reason I switched to epoxy in my last shower project.
Bonus Tips for Long-Term Grout Care
Grout maintenance doesn’t have to be a chore. Here’s how I keep mine looking fresh:
- Wipe down tiles after showers to reduce moisture
- Use a grout-safe cleaner weekly
- Reseal grout annually (if needed)
- Spot-clean mold or mildew with vinegar or baking soda paste
- Avoid harsh scrubbers that can damage the surface
Final Thoughts
Grout might seem like a small detail—but in wet areas, it’s a big deal. Choosing the right type, applying it properly, and maintaining it well can save you from mold, leaks, and costly repairs.
If you’re working on a bathroom or shower project, don’t settle for whatever’s cheapest. Invest in grout that’s built for moisture, and your tiles will thank you.
Whether you go with epoxy, urethane, or a sealed cement-based option, the key is knowing what works—and making sure it’s done right.