Renovate your bathroom step by step with this DIY guide. From planning and budgeting to tiling, plumbing, and finishing touches—everything you need in one place.
I didn’t plan a full bathroom renovation. It started with a loose tile and a bit of mold behind the toilet—nothing major. But once I pulled that tile off, it snowballed. Suddenly I was knee-deep in grout dust, watching tutorials at midnight, and wondering if I’d ever have a working sink again.
This isn’t a glossy makeover story. It’s the real version—the mess, the wins, the “what was I thinking?” moments—and how I got through it one step at a time.
Step 1: Decide What Needs to Change 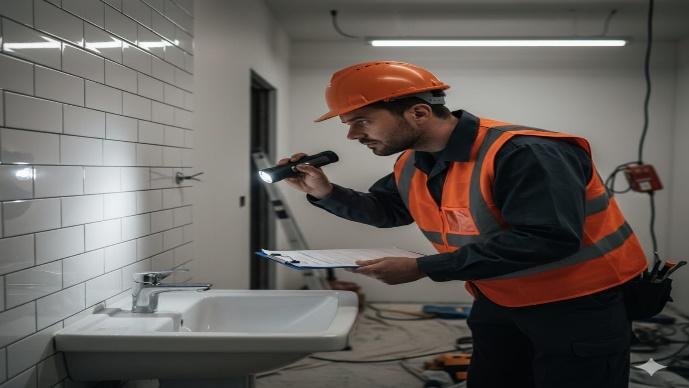
Before I touched a single tool, I took a long look at the space. What was broken? What felt outdated? What just didn’t work for how I used the bathroom?
I made a list:
- The vanity was too small
- The lighting was harsh and uneven
- The floor tiles were cracked
- The storage was basically nonexistent
That list helped me figure out what to keep, what to replace, and what I could realistically do myself. How to Install a DIY Backsplash That Transforms Your Kitchen
Step 2: Set a Budget That Works for You
I didn’t have a big budget—and I knew I’d have to make trade-offs. So I broke things down into categories: 
- Must-fix: plumbing issues, broken tiles, mold
- Nice-to-have: new mirror, updated lighting
- DIY-friendly: painting, tiling, installing shelves
- Pro-only: anything electrical I wasn’t confident about
I also added a buffer for surprises (and yes, I needed it). Reusing what I could—like the toilet and some hardware—helped stretch the budget further. Budget Bathroom Flooring Ideas
Step 3: Gather Your Tools and Materials
I didn’t go out and buy everything in one trip. Some tools I already had, others I borrowed from a friend, and a few I rented for the weekend. What mattered most was having the right gear for each phase—and not skimping on safety. 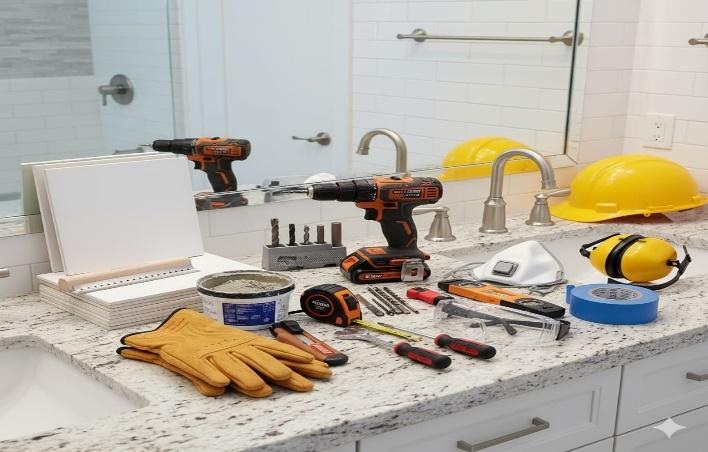
What I used:
- Utility knife
- Drill and bits
- Tile cutter
- Level
- Bucket and sponge
- Safety goggles, gloves, and a mask
- Caulk gun
- Paint supplies
I kept everything in one corner of the room so I wasn’t constantly searching for stuff mid-task
Step 4: Demo Day—The Messy Beginning 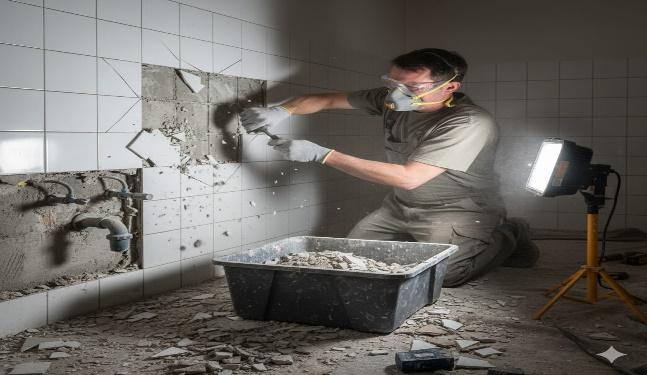
This part felt great—until I hit a pipe I didn’t know was there. I shut off the water, removed the toilet, and started pulling off tiles. Behind them? Damp drywall and a few surprises I wish I hadn’t found.
Lessons learned:
- Always wear gloves and a mask
- Keep a bucket and towels nearby
- Expect dust. Everywhere.
- Take your time—rushing here causes problems later How to Build a Raised Garden Bed
Step 5: Prep the Walls and Floor 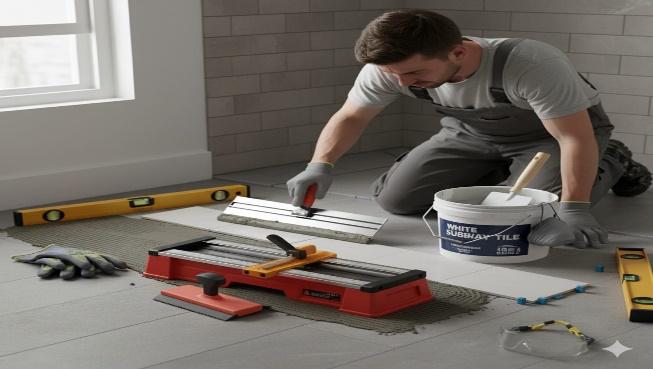
- Once everything was stripped, I patched the drywall, replaced damaged sections, and installed cement board around the shower. I also made sure the floor was level—which meant using a self-leveling compound in one corner.
- Don’t skip this step. A smooth, dry, solid surface makes everything else easier.
Step 6: Tile Like You Mean It
I started with the floor—simple matte porcelain tiles with dark grout. Then I moved to the shower walls, using white subway tile and a laser level to keep things straight.
What helped:
- Mixing small batches of thinset
- Using spacers and a notched trowel
- Cleaning as I went—dried mortar is a nightmare
- Taking breaks when I got tired (crooked tiles aren’t worth it)
Step 7: Reinstall the Fixtures
Once the tiles were grouted and sealed, I reinstalled the toilet, vanity, and mirror. I upgraded the faucet and added a new light fixture—nothing fancy, but it made a huge difference. 
Tips:
- Use plumber’s tape on all threaded connections
- Double-check for leaks before sealing anything
- Don’t overtighten—especially with porcelain
- Caulk around the base of the toilet and vanity edges
Step 8: Lighting and Mirrors 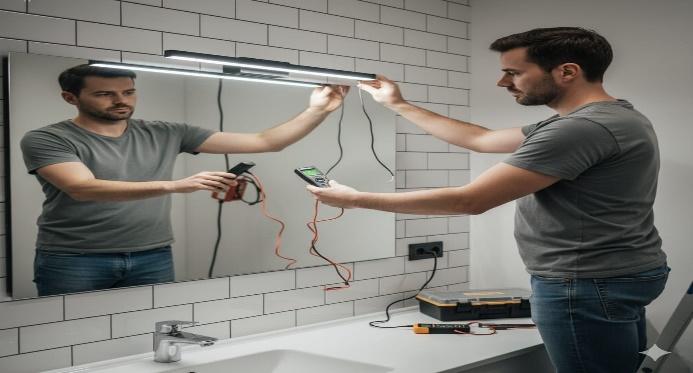
Lighting changes everything. I added LED vanity lights, a dimmable ceiling fixture, and a large mirror to reflect light and make the space feel bigger. Installing a DIY Mirror and Lighting Combo
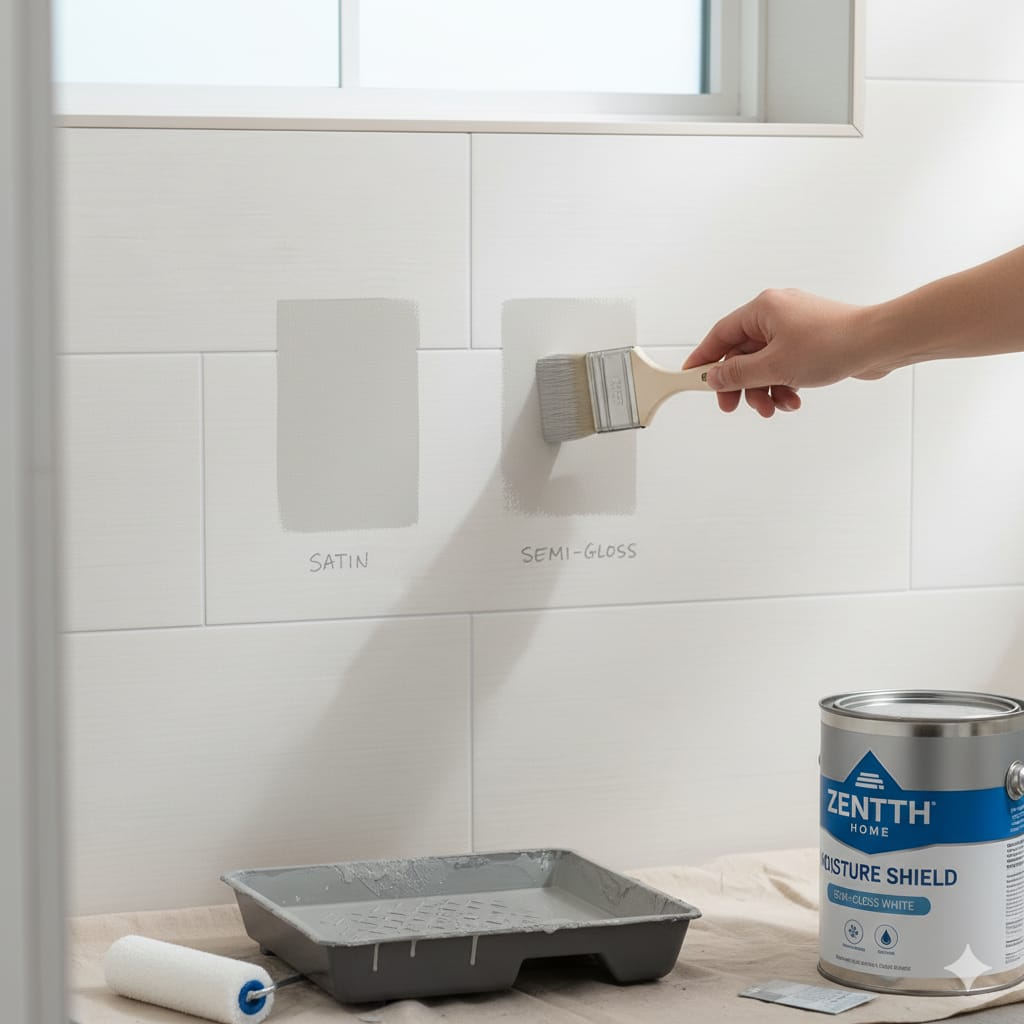
Step 9: Paint, Style, and Celebrate 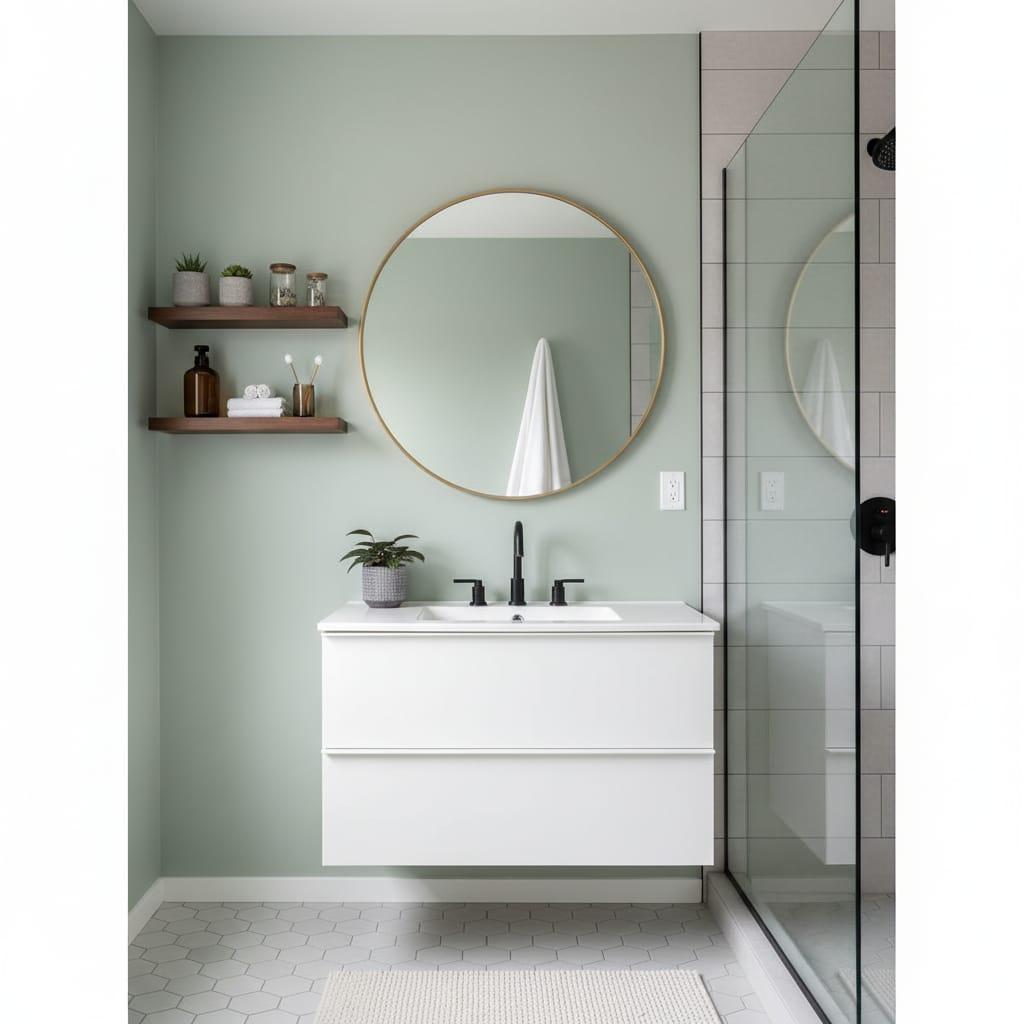
I painted the walls a soft gray, added a new shower curtain, and hung a couple of framed prints. I also swapped out the old towel hooks and added a small shelf for plants and candles.
It finally felt like mine.
Your Bathroom, Reimagined—One Step at a Time
You didn’t just renovate a room—you built comfort, confidence, and a space that finally feels like yours. Every tile, every fixture, every decision was yours—and now, every time you walk in, it shows. So take a moment, breathe it in, and enjoy what you’ve created. You earned it.