 Learn how to install a bathroom vanity without overspending. This DIY guide covers planning, removal, installation, plumbing, and finishing—all on a budget.
I didn’t plan to replace the vanity—not at first. But after one too many mornings dealing with a wobbly drawer and a sink that wouldn’t drain properly, I knew it was time. The catch? I didn’t want to spend a fortune. So I set out to find a way to install a new vanity that looked good, worked well, and didn’t blow my budget.
Here’s exactly how I did it—step by step, with all the little lessons I learned along the way.
Step 1: Measure Twice (Seriously)
Before I even looked at vanities online, I measured the space. Not just the width but also the depth, height, plumbing placement, and how far the door swings open.
What I checked: 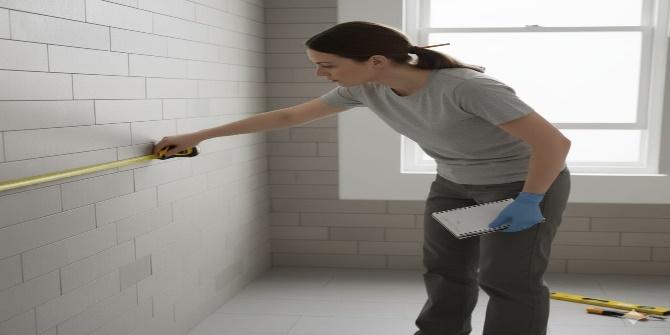
- Width of the old vanity
- Distance from wall to plumbing
- Clearance for drawers and doors
- Floor condition underneath
I also took photos and kept them on my phone while shopping—saved me from guessing later How to Measure for Kitchen Flooring
Step 2: Choose a Vanity That Fits Your Budget (and Your Life) 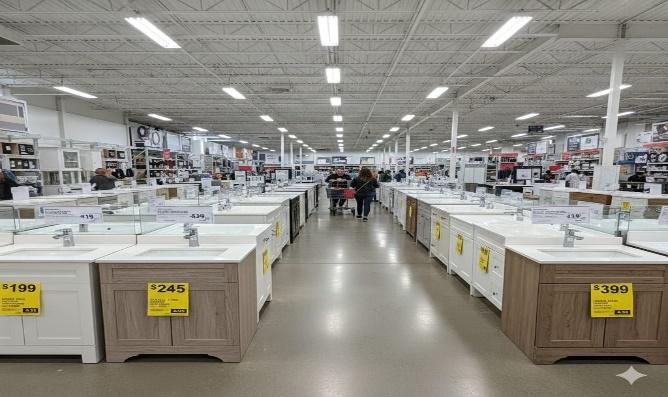
I didn’t go for marble tops or soft-close drawers. Instead, I found a simple unit with a clean design, decent storage, and a solid surface sink—all under 600 SAR.
Tips:
- Look for clearance deals or secondhand options
- Consider ready-to-assemble units
- Skip the extras (you can upgrade hardware later)
- Make sure it comes with the sink—saves money and hassle How to Choose the Right Drill for Home Projects
Step 3: Gather Your Tools and Materials
I didn’t have a fancy toolkit—just the basics. Some tools I already had lying around; others I borrowed from a friend. The goal was simple: have what I need, avoid last-minute hardware store runs, and stay safe while working.
Here’s what I actually used: 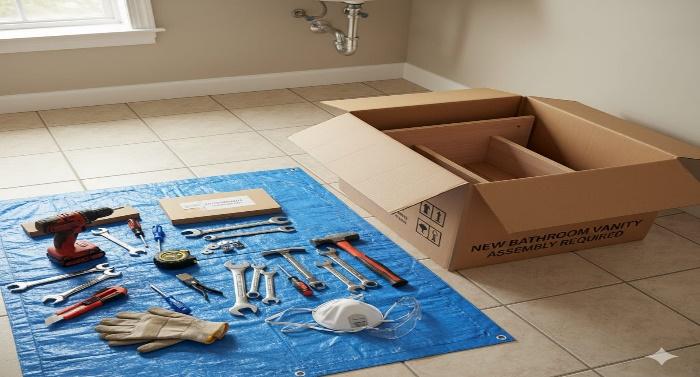
- Adjustable wrench—for tightening water connections without damaging them
- Bucket and towels—because yes, water will spill
- Utility knife—to cut old caulk and packaging
- Screwdriver—for removing old fixtures and installing new ones
- Silicone caulk—to seal edges and prevent leaks
- Drill and screws—for anchoring the vanity to the wall
- Plumber’s tape—to seal threaded connections properly
- Safety gear—gloves, goggles, and a mask for dust and splashes
I kept everything in one corner of the bathroom so I wasn’t constantly searching for tools mid-task. Essential DIY Fixes Every Homeowner Should Know
Step 4: Turn Off the Water and Remove the Old Vanity
Before anything else, I shut off the water valves under the sink. Then I opened the faucet to release any leftover pressure—I learned that trick the hard way once. Once the lines were dry, I grabbed a bucket (just in case) and started disconnecting the plumbing. 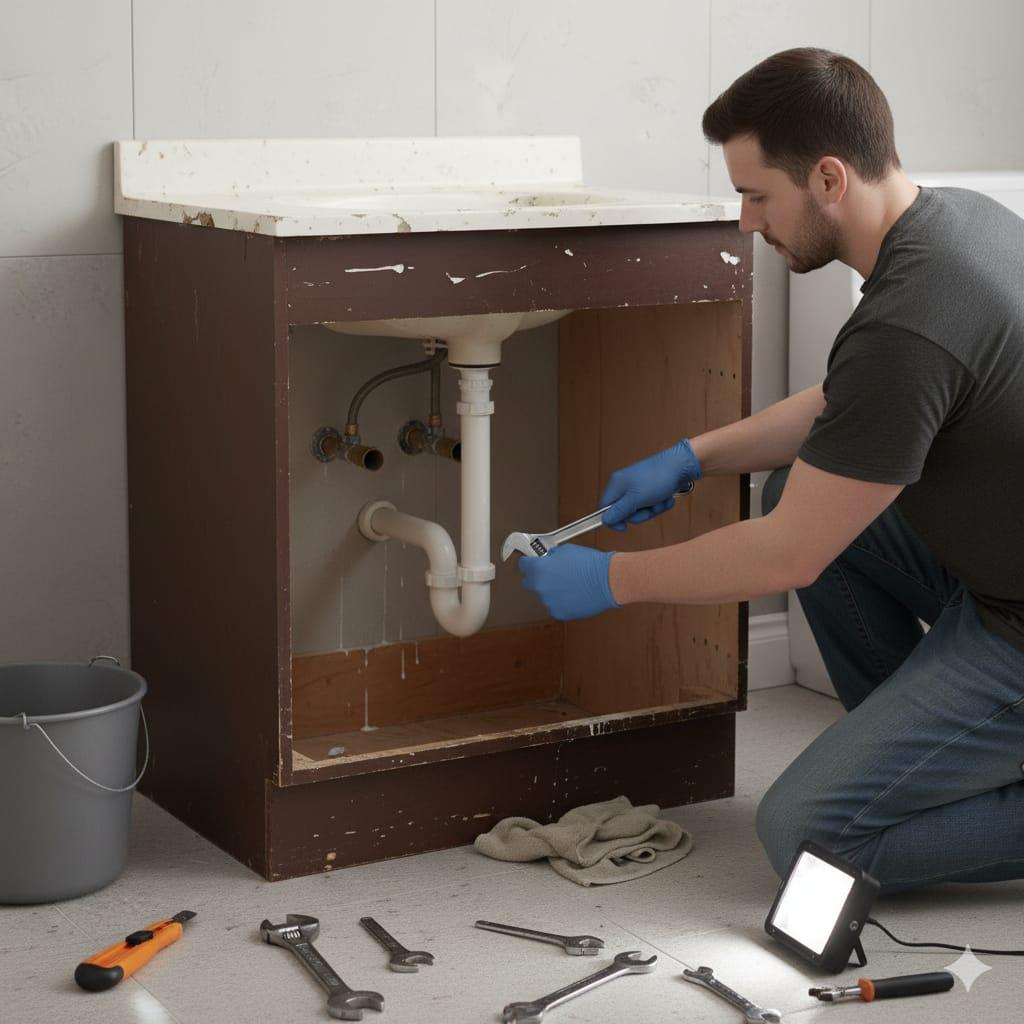
Removing the vanity wasn’t complicated, but it was messier than I expected. There was old caulk, dust, and a few mystery stains behind it. I took my time and didn’t rush—the last thing I wanted was to damage the wall or crack the countertop.
Here’s what I did:
- Cut through the old caulk with a utility knife
- Unscrewed the vanity from the wall
- Carefully lifted and removed the vanity and sink top
- Cleaned the wall and floor area before moving on
It felt good to clear the space—like hitting reset on the whole bathroom
Step 5: Prep the Wall and Floor 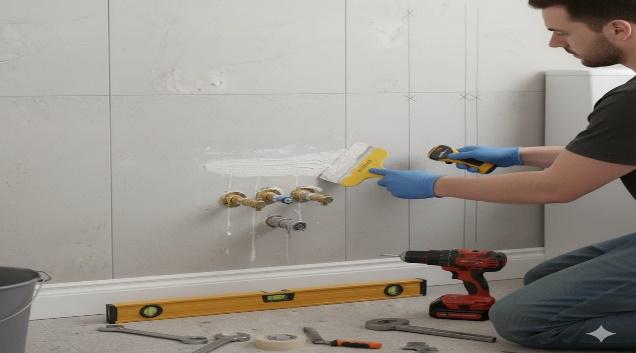
Once the old vanity was out of the way, I could finally see what I was working with. The wall had a few holes from old screws, and the floor was… let’s just say not spotless. So I grabbed some filler, patched up the drywall, and gave the floor a proper clean.
Before moving on, I marked where the studs were—super important for anchoring the new vanity securely. I used a stud finder, but tapping and listening worked surprisingly well too.
Quick tip: If your floor isn’t perfectly level (mine definitely wasn’t), don’t panic. Just slide a few shims under the vanity legs until it sits straight—saves you a lot of frustration later.
.
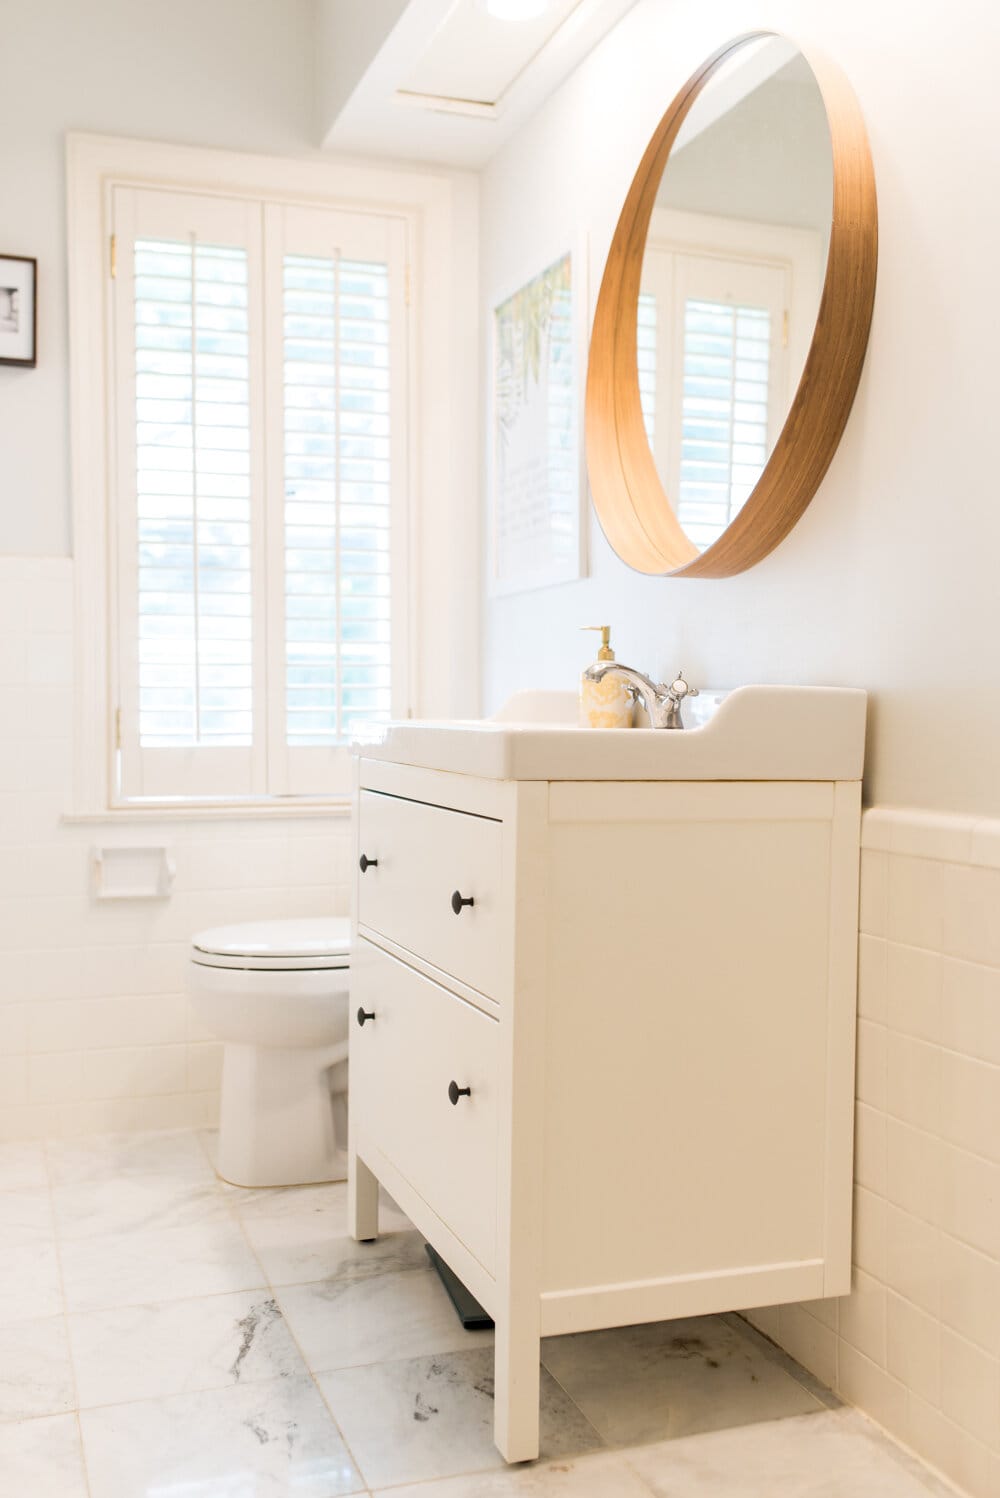
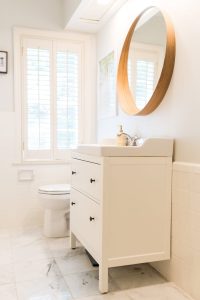
Step 6: Install the New Vanity
Once the space was ready, I slid the new vanity into place and took a step back. It looked good—but before doing anything else, I grabbed the level. I checked the top and the sides and made a few small adjustments until everything sat just right. 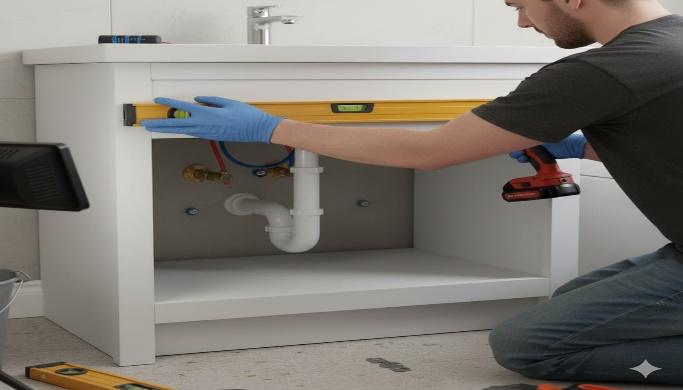
Then I marked where the studs were and drilled pilot holes to avoid splitting the wood. With a few screws and washers, I secured the vanity to the wall—solid and steady.
What made this easier:
- Using a level on both the top and sides (don’t skip this—even if it looks straight)
- Pre-drilling the holes to keep the wood from cracking
- Having someone hold the vanity steady while I drilled—definitely not a one-person job
It finally started to feel like progress. The hardest part was behind me. How to Install Outdoor Lighting for Ambience
Step 7: Reconnect the Plumbing
Before I even placed the sink on the vanity, I installed the faucet and drain—way easier to do while everything’s still loose. Once that was in, I carefully lowered the sink into position and started reconnecting the water lines and drain pipe. 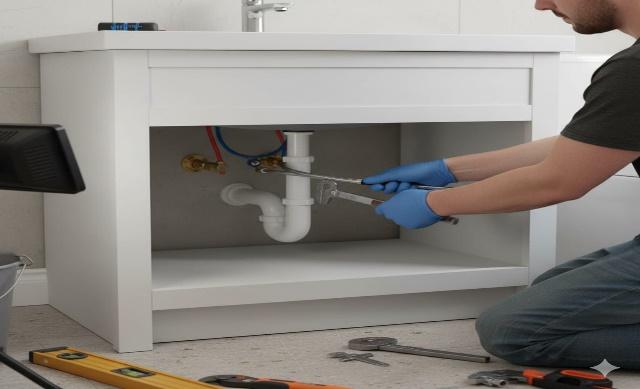
I didn’t rush this part. A small leak can turn into a big headache later.
What helped:
- Wrapping plumber’s tape around all threaded connections—it really does prevent leaks
- Tightening everything by hand first, then giving it a gentle turn with the wrench (no need to overdo it)
- Running the water and checking for drips before sealing anything with caulk Once everything was dry and secure, I sealed around the edges and stepped back. It finally looked—and worked—like a proper bathroom again.
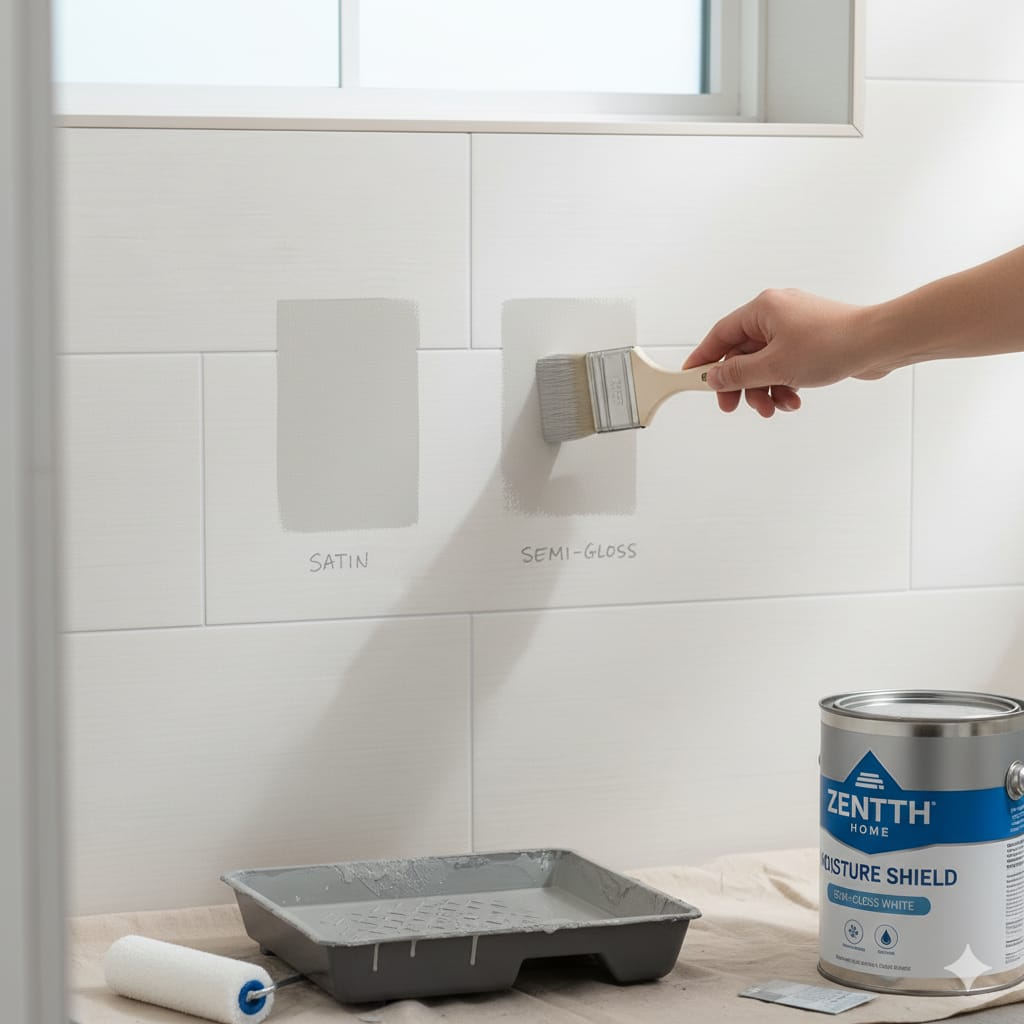
Step 8: Seal and Finish
After reconnecting the plumbing and making sure there were no leaks, I moved on to sealing everything up. I ran a clean bead of silicone caulk along the edges where the vanity touched the wall and floor—not just for looks, but to keep water from sneaking in. I also sealed around the sink to prevent any splashes from causing trouble underneath. 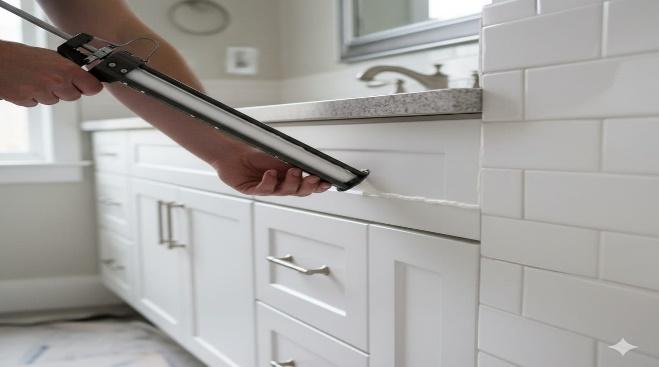
Final touches that made a difference:
- Wiped away excess caulk with a damp finger before it dried — way easier than scraping it later
- Let everything cure for a full 24 hours before using the sink
- Gave the vanity and mirror a proper clean to get rid of dust and fingerprints
- Added a couple of drawer organizers and a basket underneath for towels and cleaning supplies
It was the last step, but it made the whole space feel finished — like I’d actually pulled it off.
Small Budget, Big Impact
This one upgrade made my bathroom feel brand new—and I did it in one afternoon. No plumber, no stress, and no overspending. If you’ve been putting it off, trust me: you can do this. Just take it step by step, and enjoy the transformation every time you walk in.