Discover smart, stylish bathroom flooring ideas that won’t blow your budget. From peel-and-stick vinyl to painted tile and reclaimed wood, these DIY-friendly options are durable, affordable, and full of personality.
When I started redoing my bathroom, I was sure the flooring would be the budget killer. Between waterproof materials and installation costs, it felt like one of those upgrades that needed a pro—and a big chunk of cash.
But after some digging (and a few trial runs), I found out you don’t need fancy tools or deep pockets to get a floor that looks great, handles moisture, and lasts. Whether you’re into clean lines or cozy textures, these budget-friendly ideas deliver style without the stress—and yes, you can totally do them yourself.
Step 1: Peel-and-Stick Vinyl Tiles
I wasn’t expecting much from peel-and-stick tiles—but they honestly surprised me. I used them in the guest bathroom when I needed a quick fix, and they turned out to be one of the easiest upgrades I’ve done. 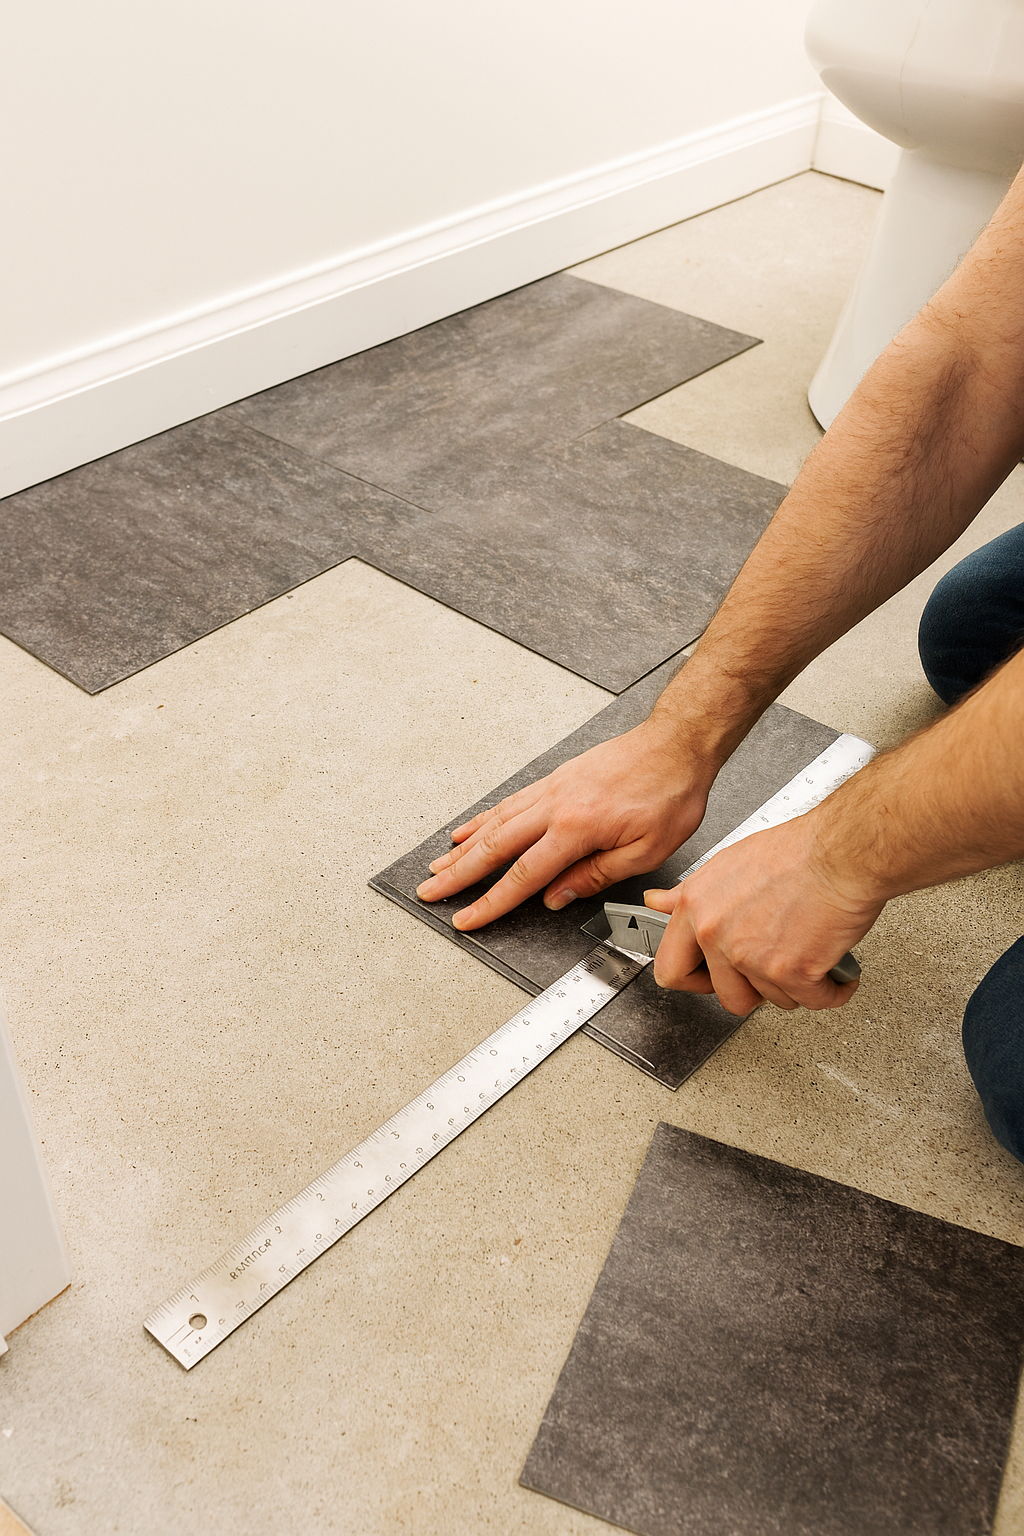
No grout, no special tools, no stress. Just a clean subfloor, a utility knife, and a bit of patience.
What I loved most was the variety—I found styles that looked like marble, wood, and even textured stone. They gave the space a fresh, finished look without the mess or the price tag.
Why they’re a go-to for budget DIYers:
- Completely waterproof and super easy to wipe clean
- You can cut them with a utility knife—no saw required
- Ideal for renters or anyone wanting a temporary but stylish fix
I laid mine down in an afternoon, and the transformation was instant. It’s one of those upgrades that looks way more expensive than it actually is. How to Install a DIY Backsplash That Transforms Your Kitchen
Step 2: Waterproof Laminate Flooring
I wanted that warm, wood-like feel in the bathroom—but without worrying about water damage. Waterproof laminate turned out to be the perfect middle ground. It clicks together easily, holds up well against moisture, and looks surprisingly close to real hardwood.
I used it in a small guest bathroom, and it instantly made the space feel cozy without compromising on durability. 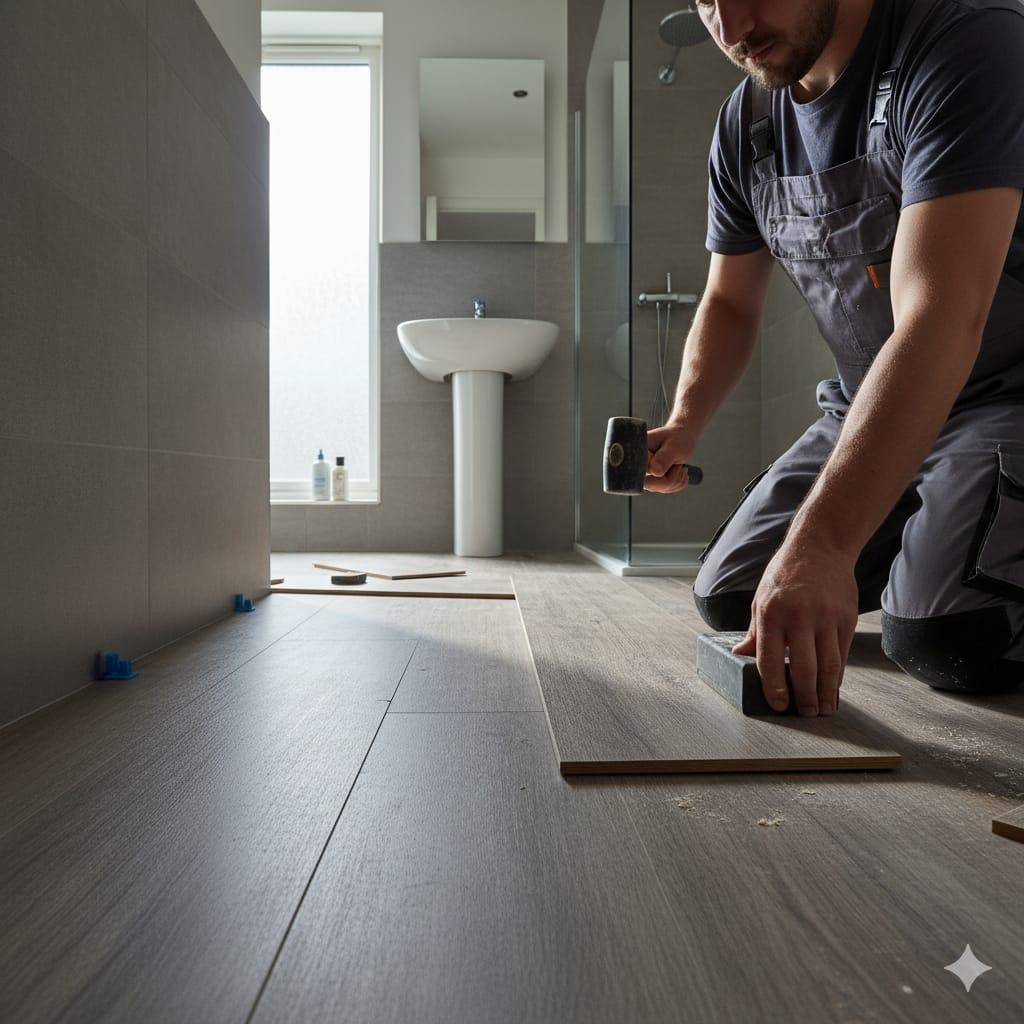
Why it worked for me:
- Gives the look of natural wood without the maintenance
- DIY-friendly thanks to the click-and-lock system
- Tough enough to handle scratches and daily wear
- Ideal for compact bathrooms where splashes are minimal Safety Tips for Kitchen Renovation Projects
Step 3: Sheet Vinyl
When I was hunting for a budget-friendly flooring option that still looked high-end, sheet vinyl stood out. It comes in large rolls, which means fewer seams—and fewer places for water to sneak in. 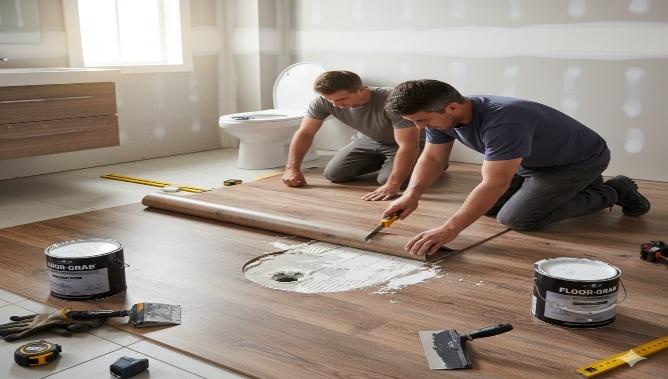
I picked a stone-look design and laid it right over the existing floor. With just a utility knife and some adhesive, I had it done in a single afternoon.
Why it works so well in bathrooms:
- Seamless surface = waterproof protection
- Super easy to clean—just a quick wipe does the job
- Ideal for oddly shaped bathrooms with tricky corners
- Can be installed over existing flooring if it’s smooth and level How to Fix Bathroom Leaks Without a Plumber
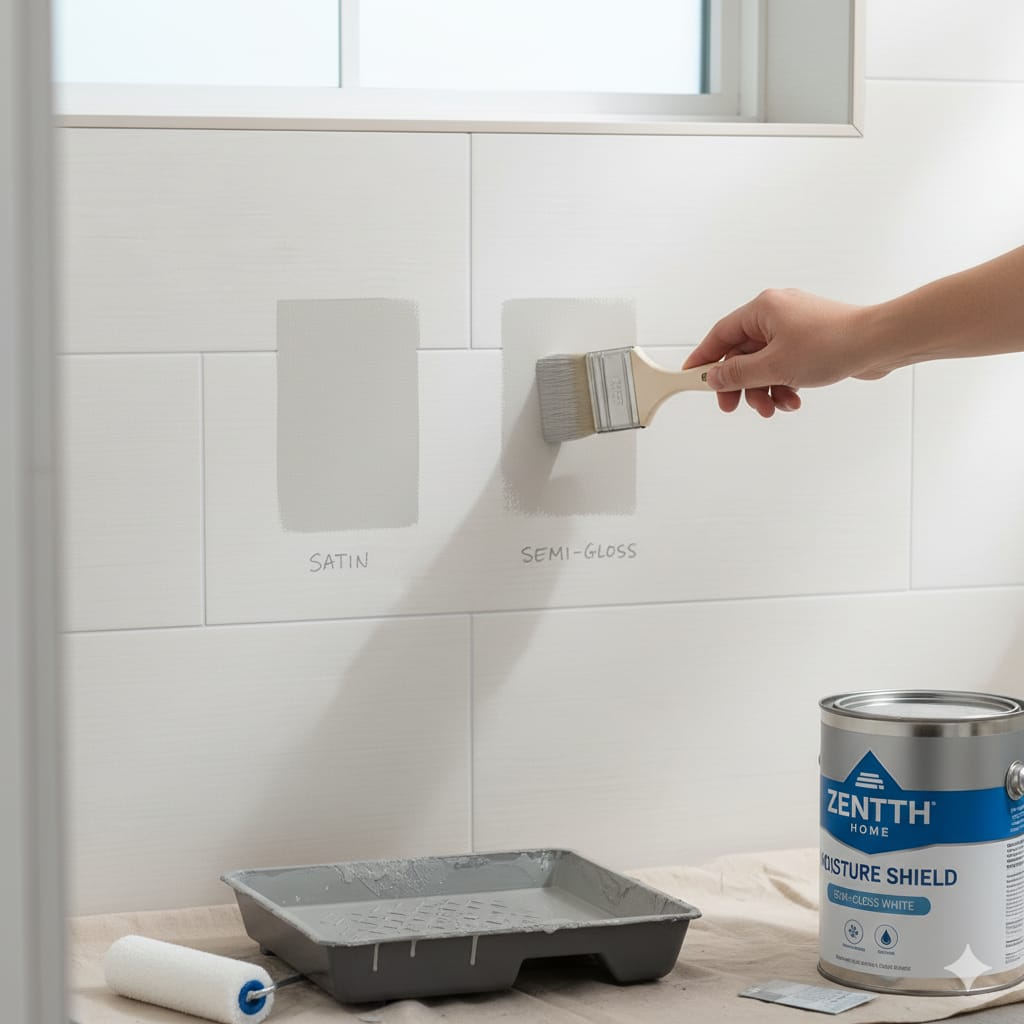
Step 4: Painted Plywood or Subfloor
When the budget’s tight and the subfloor is still in good shape, paint can actually do the trick. I went this route in a small half-bath—used floor-grade paint and a solid sealant to turn bare plywood into a clean, water-resistant surface.
It’s not a forever solution, but it works surprisingly well when done right. Plus, you can get creative with stencils or patterns if you want to add some personality. 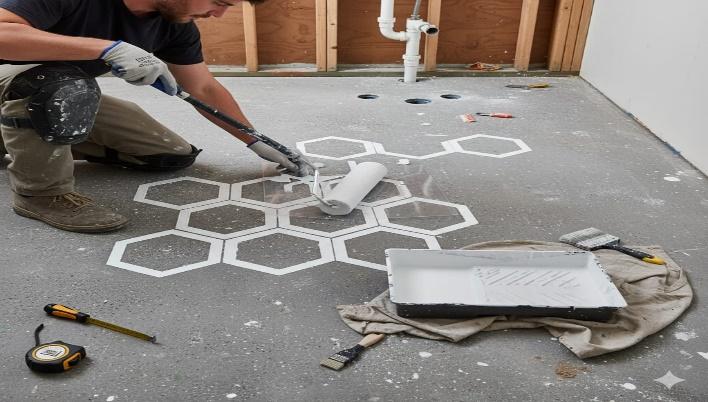
Here’s what helped:
- Stick to porch or floor paint—it’s made to handle foot traffic
- Apply multiple coats and seal thoroughly to block moisture
- Use stencils or painter’s tape to add style without extra cost
- Best for low-traffic bathrooms like powder rooms or guest spaces. Painting Bathroom Walls for Moisture
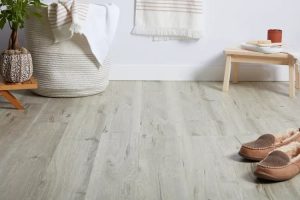
Step 5: Luxury Vinyl Plank (LVP)
If peel-and-stick feels a bit too basic, LVP is the next level up. It’s thicker, sturdier, and has a more premium look—without the premium price tag.
I used it in a main bathroom where I wanted something that looked like wood but could handle splashes, steam, and daily wear. The click-and-lock system made installation smooth, even for someone who’s not a pro.
Why it’s a favorite among DIYers: 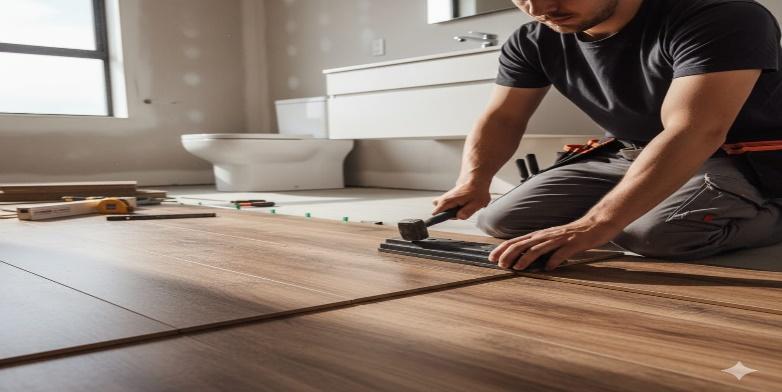
- Fully waterproof with a textured finish that feels solid underfoot
- Click-and-lock installation—no glue, no mess
- Comes in styles that mimic wood or stone beautifully
- Durable and low-maintenance, perfect for busy households
Step 6: Painted Tile with Stencils 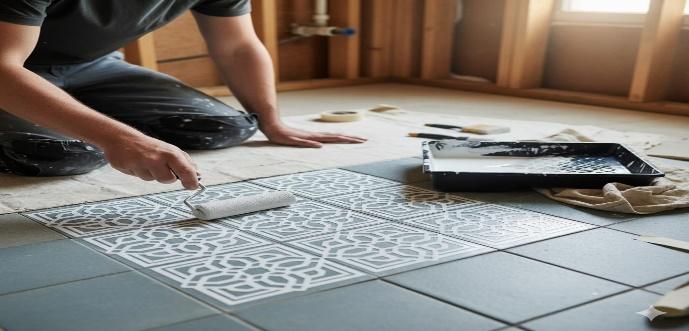
Honestly, I didn’t expect much from painting over old tiles—but it turned out to be one of the easiest and most satisfying upgrades I’ve done. The tiles were solid, just outdated. So instead of ripping them out, I gave them a facelift with paint and a stencil. No dust, no mess, no budget drama.
I kept the base color neutral, then added a bold pattern with a stencil I found online. It gave the bathroom a fresh, custom look—and no one believes it’s the same old tile.
Here’s how I did it:
- Scrubbed the tiles clean and gave them a light sanding
- Rolled on a bonding primer to help the paint stick
- Used tile-specific paint in a soft, matte finish
- Applied a stencil design for contrast and character
- Sealed everything with polyurethane to protect against moisture
If you’ve got a small bathroom or powder room that needs a refresh, this is a quick win—low cost, low effort, and high impact.
Step 7: Reclaimed or Salvaged Materials
This idea came together by pure luck—and turned out to be one of the most personal flooring projects I’ve done. A friend had leftover tiles from a renovation, all different shapes and finishes. Instead of tossing them, I used them to create a patchwork-style floor in a small bathroom. 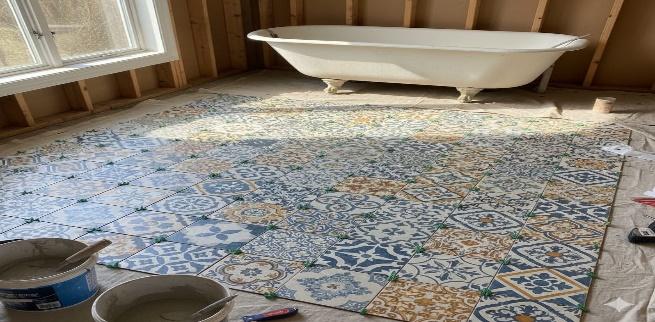
Each tile had its own story, and the mix gave the space a warm, lived-in feel that no store-bought set could match.
I also tried reclaimed wood in a powder room. After sealing it properly to handle light moisture, it added texture and character—and didn’t cost me a thing.
Why it’s worth exploring:
- Gives old materials a second life—great for the planet and your wallet
- Creates a unique, personal look that feels intentional, not random
- Works especially well in small bathrooms or guest spaces
- Lets you mix textures and finishes in a way that feels creative and custom
Final Thoughts—Style Doesn’t Have to Be Expensive
. With the right materials and a little creativity, you can transform your space in a weekend—and still have money left for towels and candles. Pick the option that fits your style, your skill level, and your budget… and get started. Your bathroom deserves it.