
Learn how to tile your shower walls like a pro. This DIY guide covers prep, waterproofing, layout, tiling, grouting, and sealing—everything you need for a flawless finish.
I used to think tiling a shower was way out of my DIY league. But once I broke it down into steps—and took my time—I ended up with a shower that looked professionally done. If you’re ready to upgrade your bathroom and want to do it yourself, this guide will walk you through every phase, from prep to polish.
Step 1: Choose Your Tile and Layout
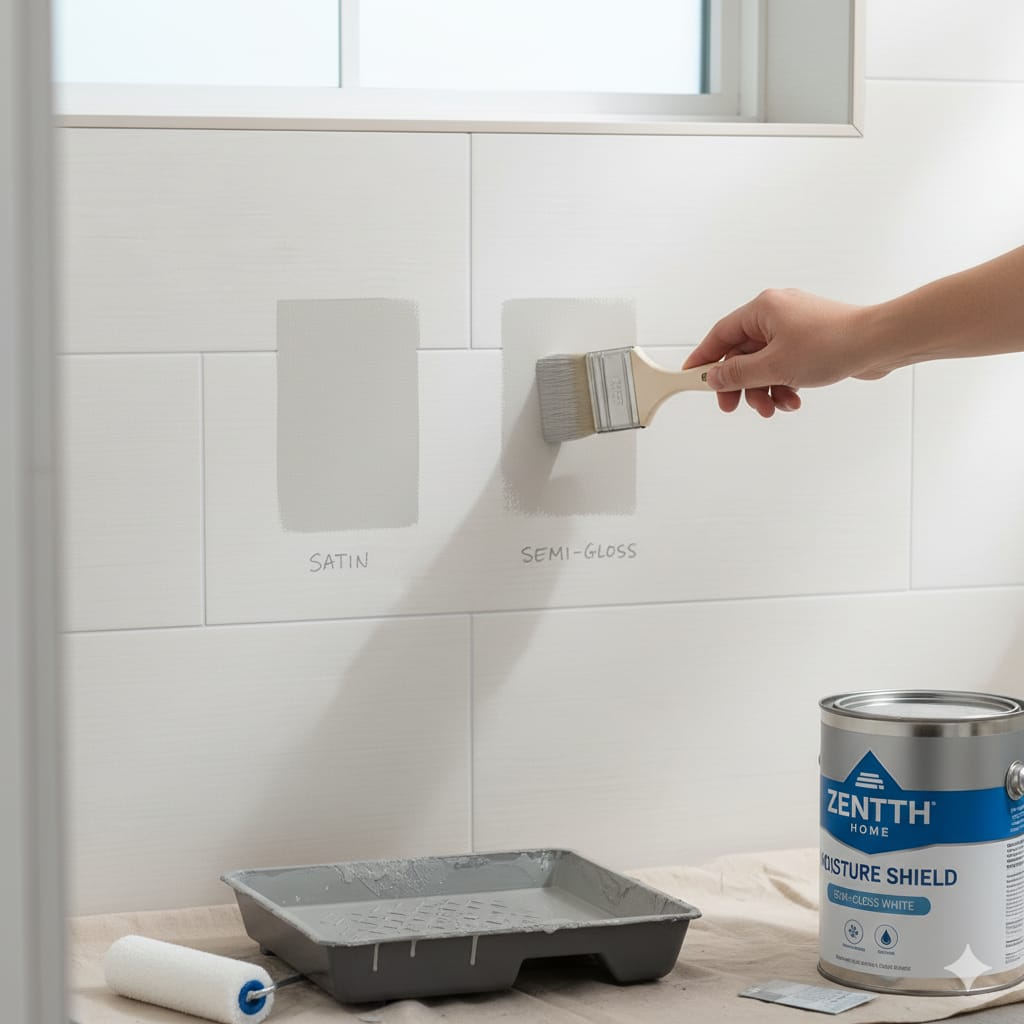
The first thing I tackled was choosing the right tile to match the look I had in mind—clean, simple, but with a bit of edge. I went for matte white subway tiles paired with dark grout, which gave the space a crisp, modern feel without looking too sterile. 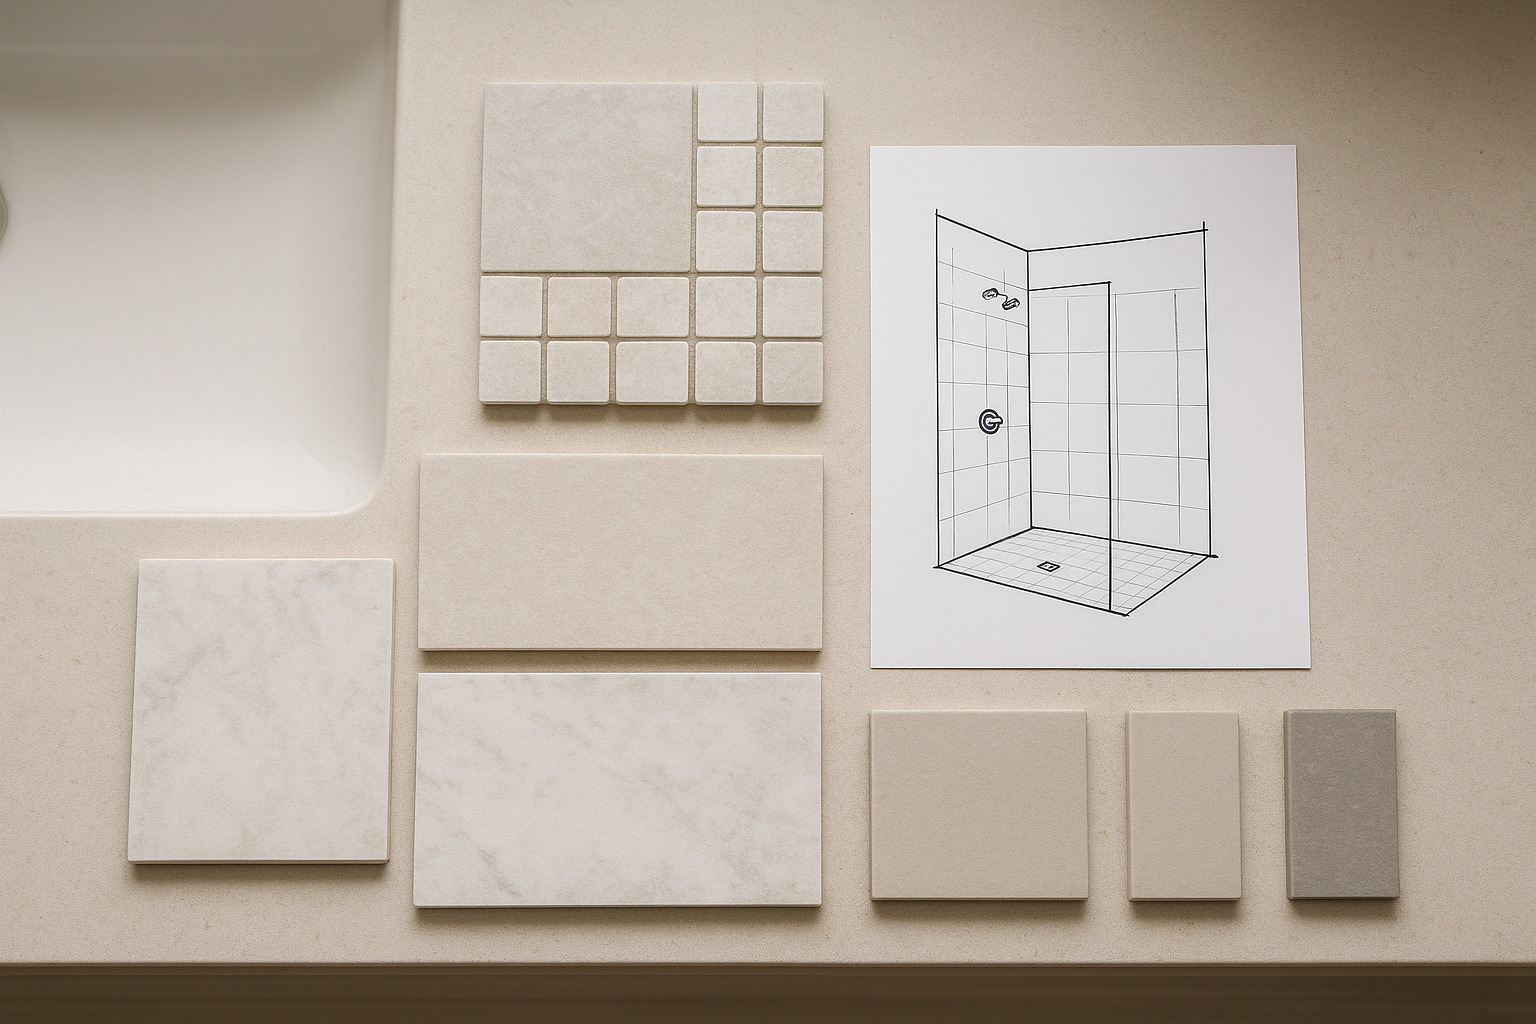
Once I had the tile picked out, I sketched a rough layout on paper. That helped me avoid awkward cuts and kept everything aligned, especially around the shower niche and plumbing fixtures.
Here’s what I kept in mind:
- Ceramic or porcelain tiles are best for wet areas—they’re durable and water-resistant
- Larger tiles mean fewer grout lines, which makes cleaning easier
- Plan your layout around niches, valves, and fixtures so cuts don’t look random
- Don’t forget edge trim or bullnose pieces to finish corners neatly
Getting this part right made the rest of the installation way smoother.
How to Replace a Toilet Yourself
Step 2: Gather Your Tools and Materials
Before laying a single tile, I paused to make sure everything I’d need was right there beside me. There’s nothing worse than being wrist-deep in mortar and realizing you forgot the level—been there, not fun.
So I laid out all the essentials and double-checked my setup before mixing anything.
Here’s what I had ready to go:
- Notched trowel—spreads the thinset evenly
- Tile spacers—keeps grout lines straight and consistent
- Tile cutter or wet saw—depends on the tile type and thickness
- Level—makes sure your rows stay aligned
- Mixing bucket—for prepping the thinset mortar
- Thinset mortar—the adhesive that holds tiles in place
- Grout and float—fills and smooths the joints once tiles are set
- Sponge—for cleanup and shaping grout lines
- Backer board and screws—creates a solid, water-resistant base
- Waterproofing membrane—protects the walls from future leaks
- Safety gear—gloves, goggles, and a mask for cutting and mixing
Having everything prepped from the start made the whole process smoother—no interruptions, no last-minute store runs, just steady progress. Essential DIY Fixes Every Homeowner Should Know
Step 3: Prep the Shower Walls
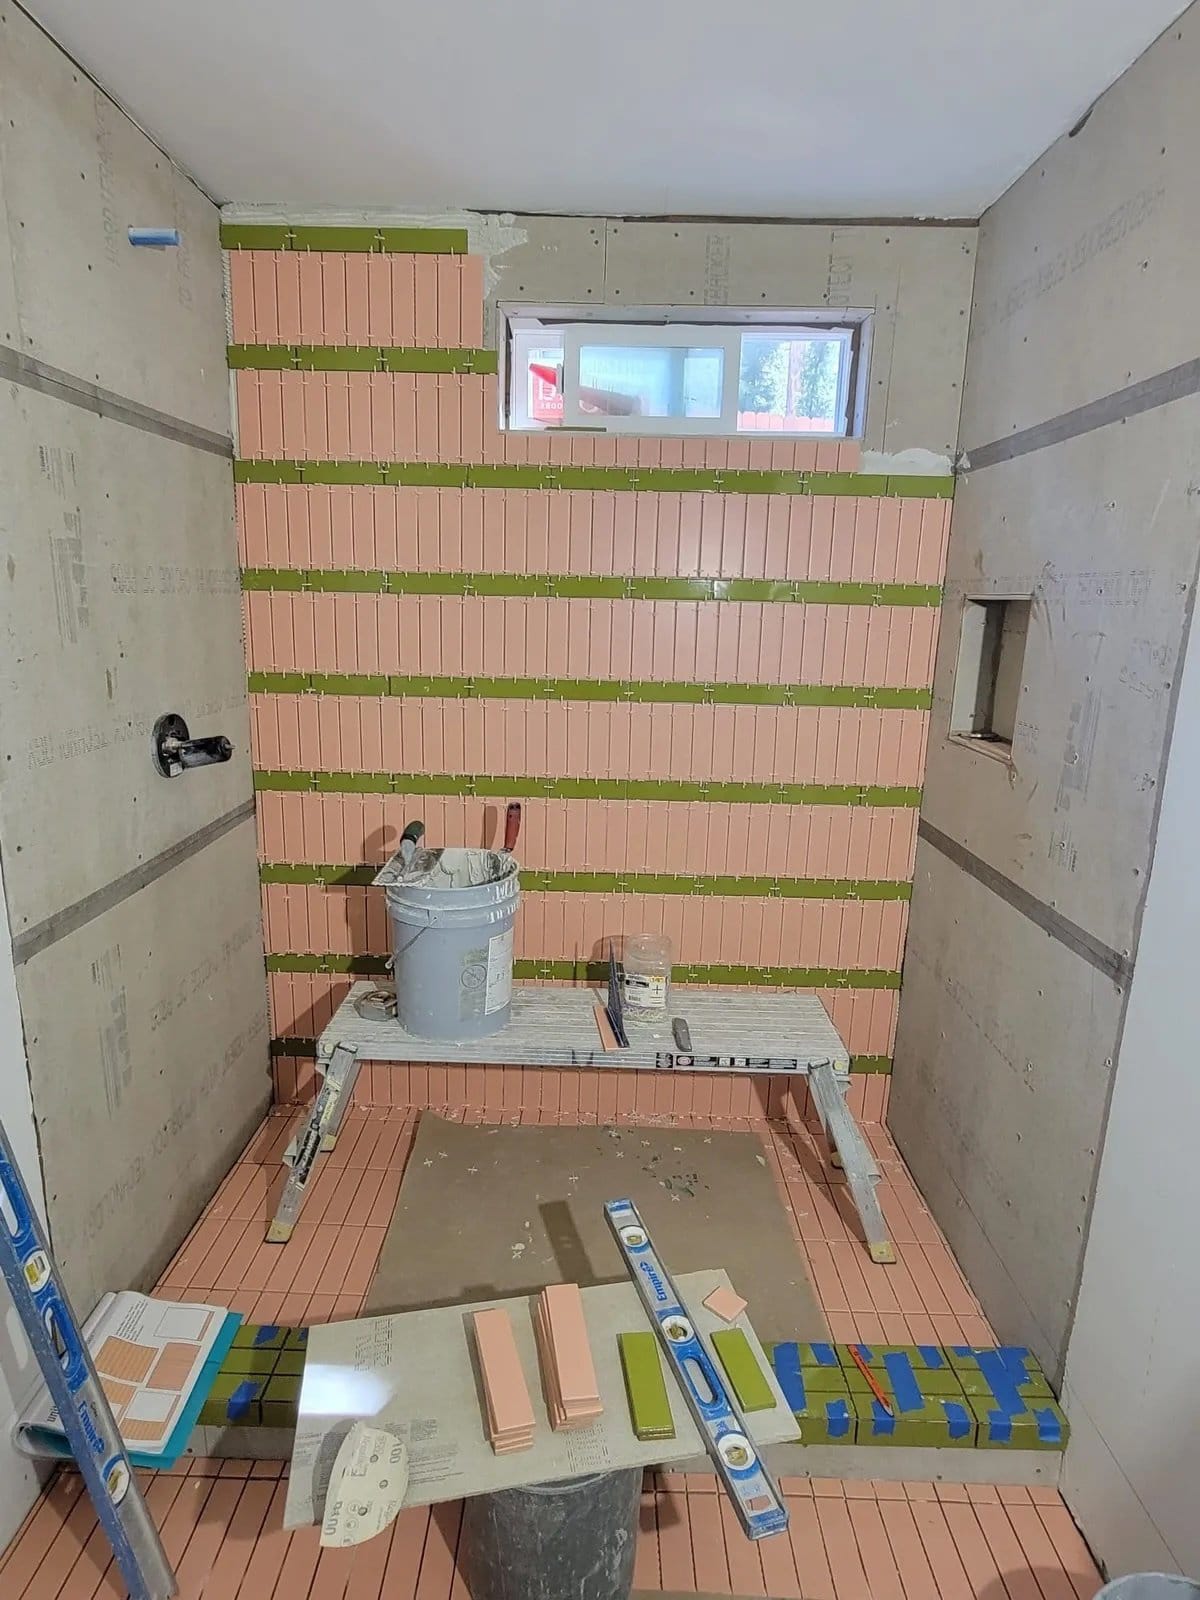
I started by removing the old tiles and checking the condition of the wall underneath. Once everything was stripped down, I installed cement backer board to create a solid, water-resistant base. 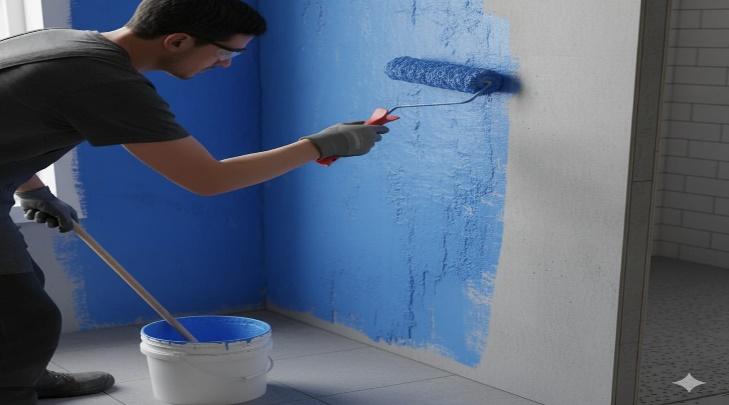
After that, I taped the seams with mesh tape and sealed them with thinset. Then came the waterproofing layer—I used a roll-on membrane that dries into a flexible, rubbery coating. It felt like painting on peace of mind.
Don’t skip this step. Waterproofing is what keeps your walls from rotting behind the scenes. It’s the invisible layer that protects everything you just built.
Step 4: Mark Your Layout and Start Tiling
Before sticking down a single tile, I took a few minutes to map out the layout. I drew a level line across the wall and started from the second row up, leaving the bottom row for last—that way, I could cut tiles to fit perfectly along the floor without awkward gaps. 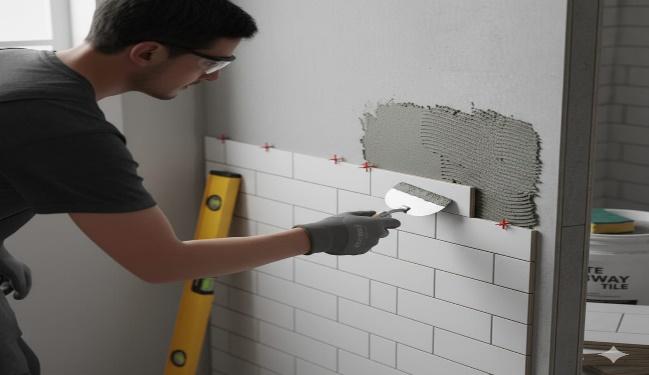
I placed spacers between each tile to keep the grout lines even, and every few rows, I stepped back to check alignment with a level. It’s easy to get off track if you don’t keep checking.
A few tips that helped me stay on point:
- Mix small batches of thinset so it doesn’t dry out while you work
- Apply mortar in manageable sections, not the whole wall at once
- Press each tile firmly and evenly to avoid air pockets
- Use a story pole (a marked stick or board) to keep grout lines consistent across rows How to Fix a Leaky Faucet DIY
Step 5: Cut Tiles for Edges and Fixtures 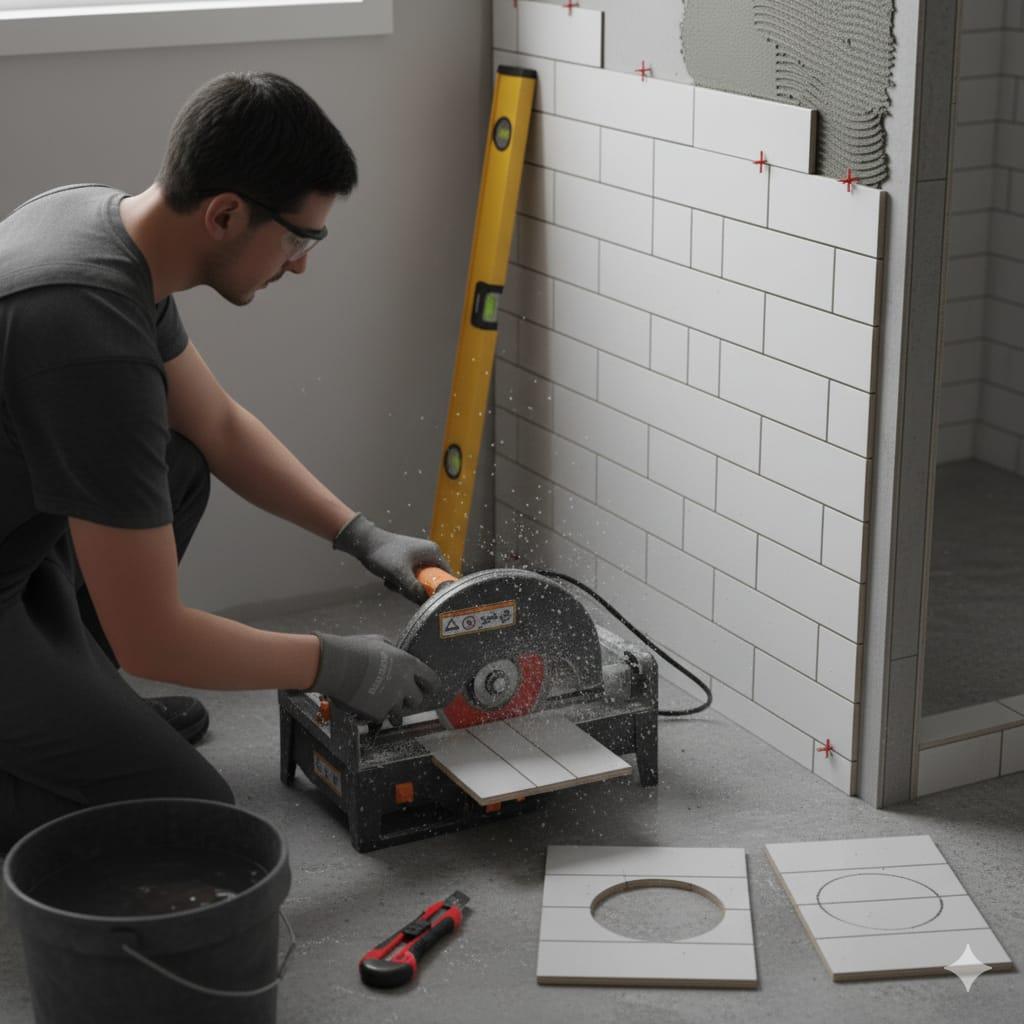
This part took the most patience—but it’s also what made the final result look clean and professional. I used a wet saw for straight cuts and a hole saw attachment to work around plumbing fixtures like the shower valve and pipe outlets.
It wasn’t fast, but taking my time here saved me from crooked edges and chipped tiles later.
Here’s what helped:
- Marking each cut with a pencil before heading to the saw
- Adding painter’s tape over the tile surface to reduce chipping
- Wearing goggles while cutting—tile dust isn’t something you want near your eyes
- Dry-fitting tricky pieces before applying mortar, just to be sure they sit right
Step 6: Let Tiles Set, Then Grout
Once I placed the final tile, I left it alone and gave it the night to set. No shortcuts here—the thinset needed time to fully cure before I could take the next step
The next day, I mixed up a batch of grout and used a float to press it deep into the joints. It was messy at first, but once I wiped off the excess with a damp sponge (and repeated that a few times), the tiles started to look polished and finished. 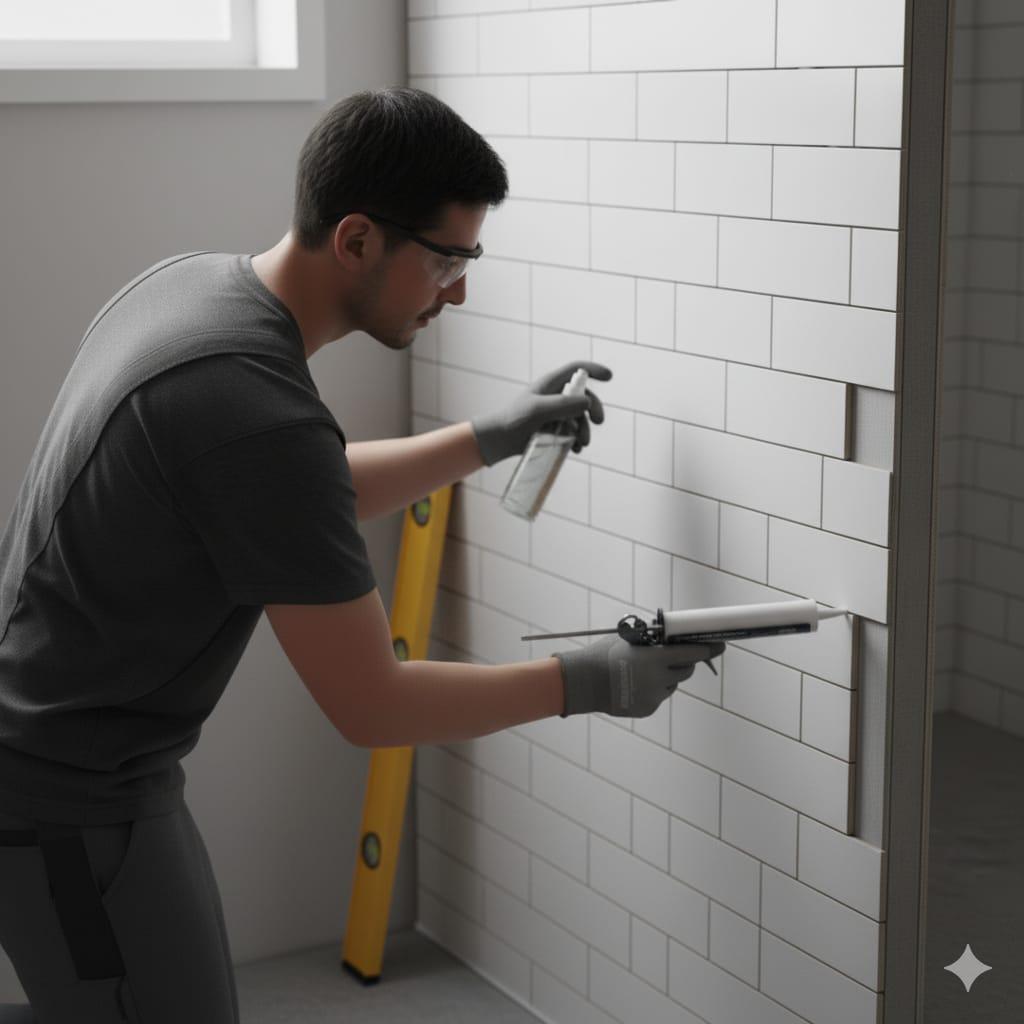
A few grout tips that made the job easier:
- Use unsanded grout for narrow joints—it’s smoother and less likely to crack
- Work diagonally across the tiles to push grout in without pulling it out
- Let the grout cure fully before applying any sealer—patience pays off here
Step 7: Seal and Finish
Once the grout had fully cured — I gave it a solid 24 hours — I applied a grout sealer to lock out moisture, stains, and mold. It’s a quick step, but it seriously extends the life of your tile work.
Then I grabbed a tube of waterproof silicone caulk and ran clean, smooth lines along all the corners and edges. That sealed the joints where tiles meet the wall and floor, and gave the whole shower a crisp, finished look.
After the caulk dried, I wiped down the tiles one last time, reinstalled the fixtures, and stepped back to admire the result. From bare studs to a spa-worthy shower — the transformation was real, and totally worth the effort.
From Bare Walls to Spa-Worthy Finish
Tiling a shower isn’t just a home upgrade—it’s a personal project. You planned it, prepped it, made the cuts, and laid every single tile with your own hands. Now, every time you step into that space, it’s more than just a bathroom—it’s a reflection of your style, your effort, and your vision.
From bare walls to a spa-worthy finish, you didn’t just build a shower. You built something that’s yours.