Foggy windows or cold drafts? Learn how to replace window seals yourself with simple tools and clear steps. No contractor needed—just better insulation and comfort.
Tired of Foggy Windows and Cold Drafts? Let’s Fix That
You’re sitting by the window, and instead of sunlight, you get fog. Or maybe there’s a chill in the room, even with the heat on. Chances are, your window seals are shot—and they’re letting in air, moisture, and noise.
But here’s the good news: you don’t need to replace the whole window. You can fix the seal yourself. It’s a simple DIY job that makes a big difference in comfort and energy bills.
And if you’re tackling multiple home fixes, check out Essential DIY Fixes Every Homeowner Should Know—it’s full of beginner-friendly wins.
Step 1: Gather Your Tools and Materials
Here’s what you’ll need:
- Replacement weatherstripping or seal (foam, rubber, or silicone)
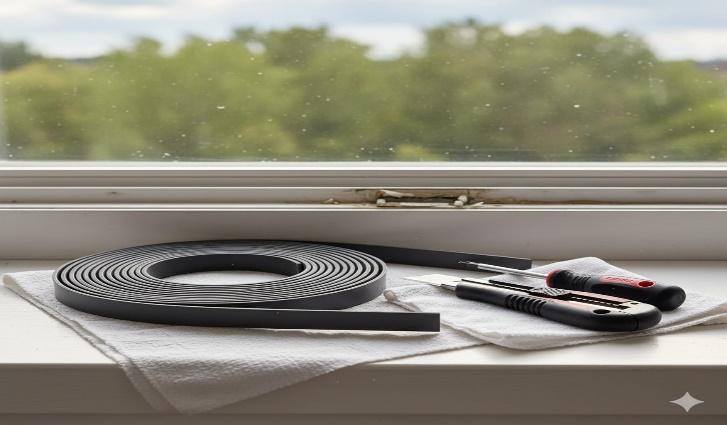
- Utility knife or scissors
- Screwdriver
- Putty knife or scraper
- Rubbing alcohol or mild cleaner
- Cloth or sponge
- Measuring tape
- Caulk and caulking gun (optional for frame sealing)
Need help choosing the right seal type? Check Safety Tips for Kitchen Renovation Projects—it breaks down foam vs rubber vs silicone.
Step 2: Inspect the Window and Identify the Problem
Before you start replacing anything, figure out what’s wrong.
- Look for condensation between glass panes—that’s a failed seal.

- Feel around the edges for drafts.
- Check for visible cracks, gaps, or peeling sealant.
- Open and close the window—does it feel loose or rattle?
If the issue is deep inside a double-pane window, you may need professional help. But for surface seals and weatherstripping, DIY works great.
Step 3: Remove the Old Seal or Weatherstripping
Time to clear the way. 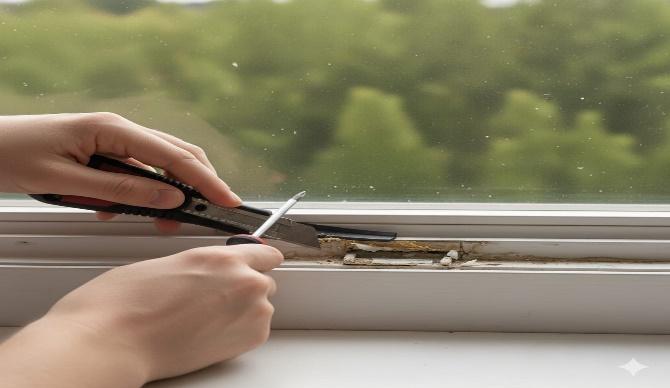
- Use a utility knife or scraper to peel off the old seal.
- Remove any adhesive residue with rubbing alcohol or cleaner.
- Wipe the area clean and let it dry completely.
Take your time—a clean surface is key to a strong new seal.
Step 4: Measure and Cut the New Seal 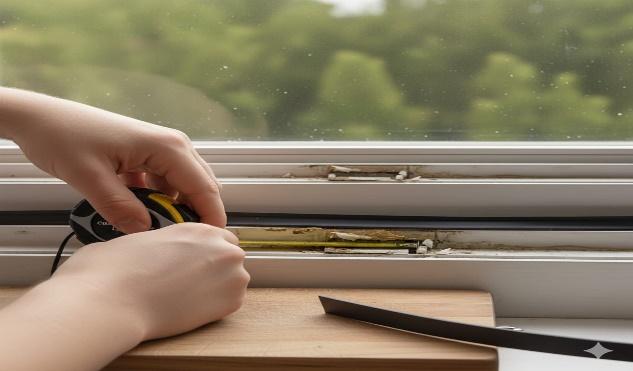
Measure twice, cut once.
- Use a measuring tape to get the exact length of each side.
- Cut the new seal or weatherstripping to size using scissors or a knife.
- If it’s adhesive-backed, peel a small section first—don’t expose the whole strip yet.
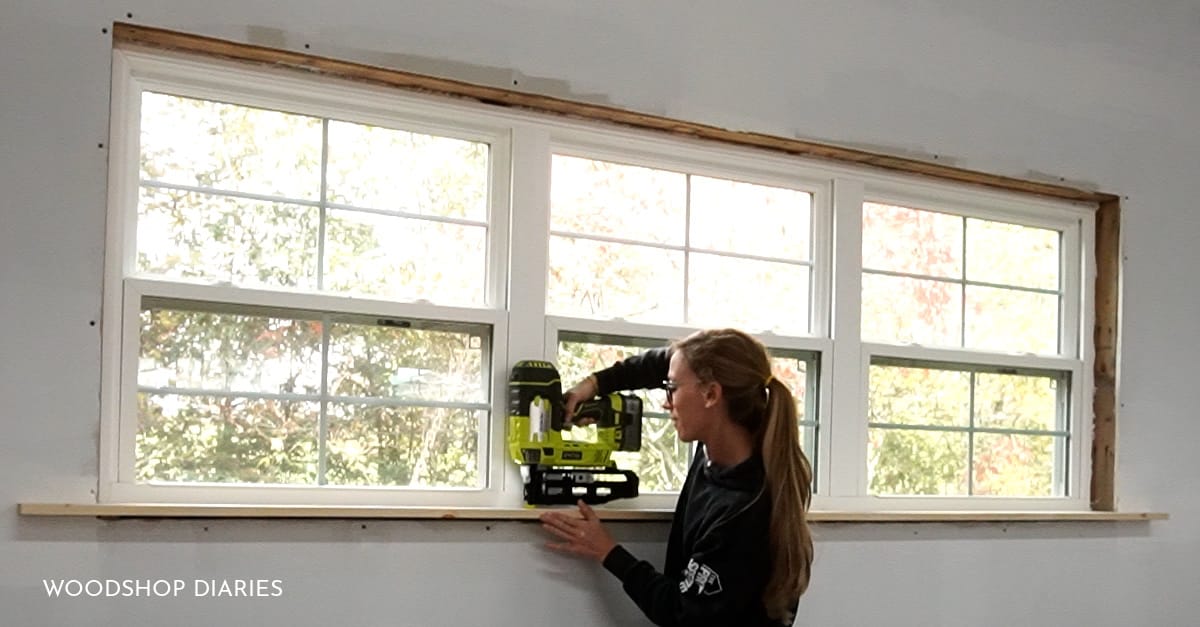
Step 5: Apply the New Seal
Now for the satisfying part. 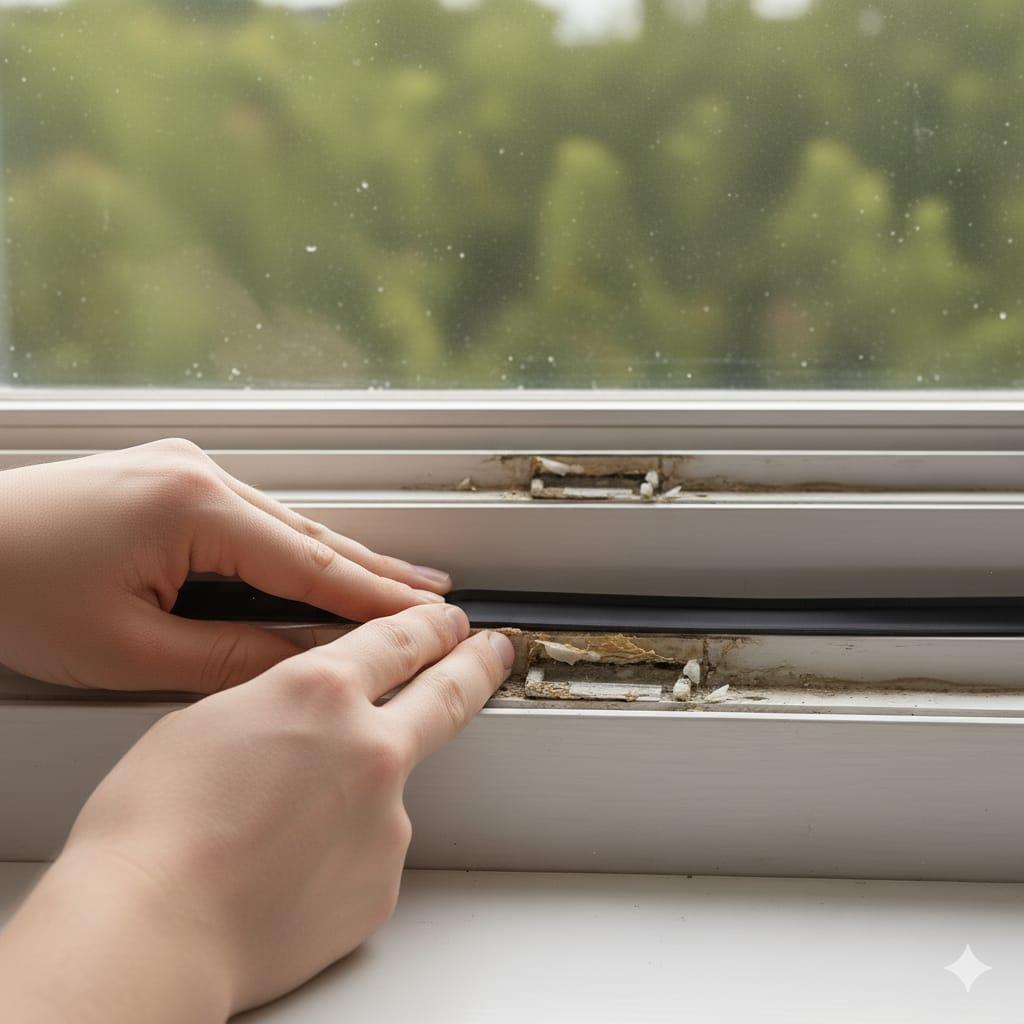
- Start at one corner and press the seal firmly into place.
- Work slowly along the edge, pressing as you go.
- If using caulk, apply a thin bead along the frame and smooth it with a finger or tool.
- Make sure there are no gaps or bubbles.
Step 6: Test the Seal and Finish Up
Once the seal is in place: 
- Close the window and check for tightness.
- Feel for drafts again—there shouldn’t be any.
- If needed, add caulk around the outer frame for extra insulation.
- Clean the glass and frame to finish the job.
Extra Tips That Make a Big Difference
- Choose the right seal for your climate—foam is great for dry areas, rubber for moisture.
- Don’t stretch the seal while applying—it can shrink later.
- Use clear caulk for a clean finish around visible edges.
- Replace seals every few years—they wear out with time and weather.
And if you’re dealing with moisture buildup, check How to Replace a Toilet Yourself—it helps prevent future seal damage.
Done—and Your Windows Feel Brand New
No more fog. No more drafts. Just clean, sealed windows that keep your home comfortable and quiet.
You didn’t just fix a seal—you improved your insulation, saved on energy, and made your space feel better.
Want to keep going? Try How to Install a DIY Backsplash That Transforms Your Kitchen—it’s the perfect seasonal upgrade.