Want to create a cozy outdoor vibe? Learn how to install outdoor lighting for ambience with this step-by-step DIY guide. From layout planning to fixture choices, we’ve got you covered.
A Step-by-Step Guide to Creating a Backyard That Glows
I used to avoid my backyard after sunset. It felt dark, flat, and kind of lifeless—like a space that shut down once the sun went down. But I kept seeing these dreamy patios online: string lights overhead, lanterns glowing softly, and pathways lit just enough to guide your steps.
So I decided to try it myself. No electrician. No fancy system. Just a few lights, a plan, and a weekend.
Here’s how I installed outdoor lighting that actually made my backyard feel like a place to be—not just during the day, but long after dark.
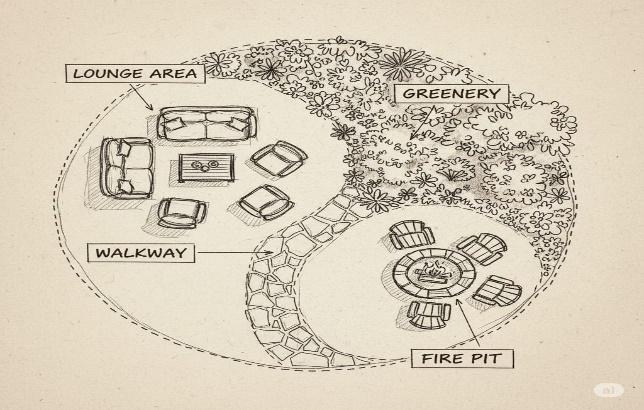
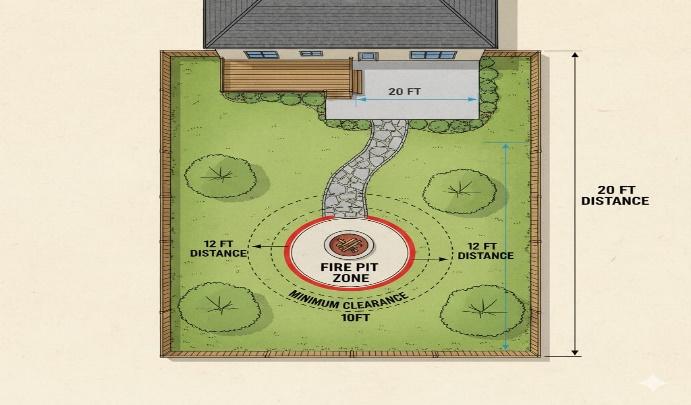
Step 1: Plan Your Lighting Layout
Before buying anything, I walked around the yard at dusk. I noted the dark corners, the spots I wanted to highlight, and the areas where people usually sit or walk.
Here’s what helped: 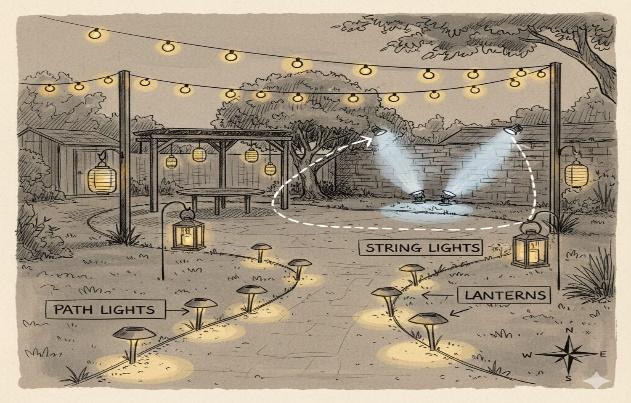
- Pathways: Add low lights for safety
- Seating areas: Use warm ambient lighting overhead or nearby
- Plants or trees: Accent with spotlights or uplights
- Walls or fences: Hang string lights or sconces for glow. DIY Backyard Makeover: From Lawn to Lounge
Step 2: Choose the Right Types of Lights
Not all outdoor lights are created equal. I mixed a few types to get the right balance of function and mood: 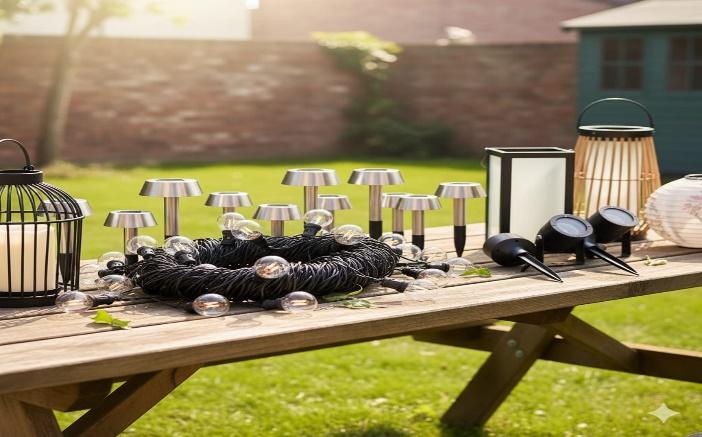
- String lights: Perfect for ambience over seating areas
- Solar stake lights: Easy to install along paths and borders
- Lanterns: Great for tables or corners
- Spotlights: Highlight trees, plants, or architectural features
- Wall sconces: Add style and light to fences or exterior walls
Budget-Friendly Patio Furniture Ideas
Step 3: Pick Power Sources
I didn’t want to deal with wiring, so I leaned heavily on solar and battery-powered options. But if you’re comfortable with basic wiring, low-voltage systems are safe and efficient. 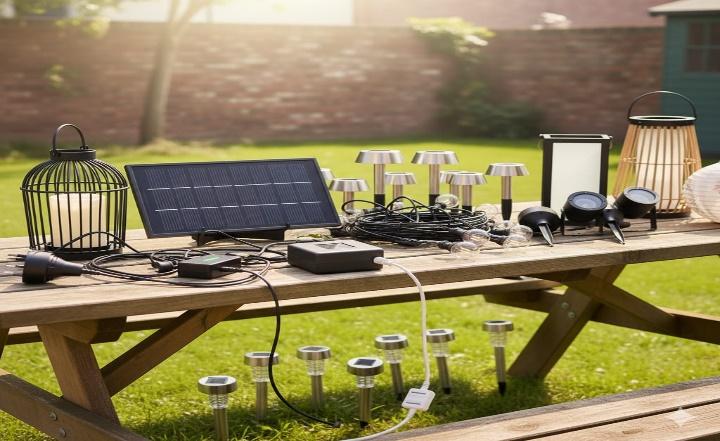
Options to consider:
- Solar-powered: Easy and eco-friendly, but needs sun exposure
- Battery-operated: Flexible placement, but needs replacements
- Plug-in: Reliable, but requires outdoor outlets
- Hardwired: Best for permanent fixtures—may need a pro
Essential DIY Fixes Every Homeowner Should Know
Step 4: Install Pathway Lights
I started with the basics—lighting the walkway. I used solar stake lights spaced about 1 meter apart. They were easy to push into the soil and gave off just enough glow to guide the way. 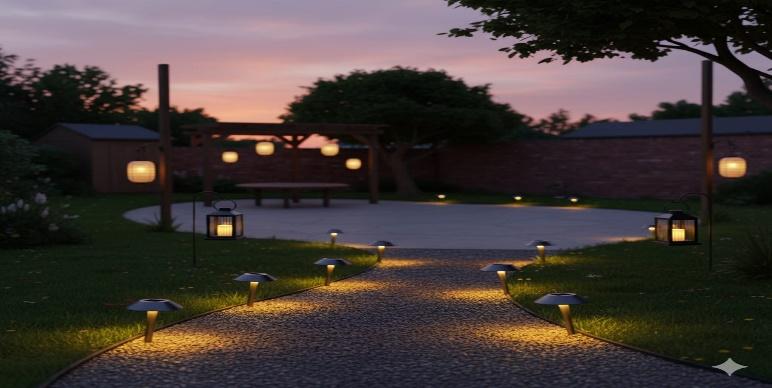
Tips that helped:
- Test placement before installing
- Keep lights consistent in height and spacing
- Avoid placing them where they’ll get kicked or mowed
Step 5: Hang String Lights Over Seating Areas
This was the game-changer. I hung string lights from the fence to the house using hooks and tension wire. Suddenly, the seating area felt like a cozy outdoor room. 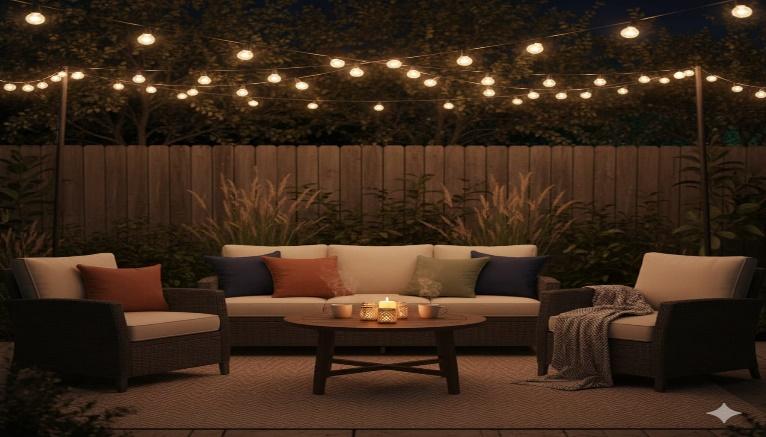
What worked:
- Use warm white bulbs for a soft glow
- Hang them high enough to walk under
- Secure with hooks, clips, or poles
- Test the layout before committing Building a simple wooden deck yourself.
Step 6: Add Lanterns and Accent Lights
To soften the corners and add depth, I placed lanterns on tables and tucked battery-powered lights into planters. 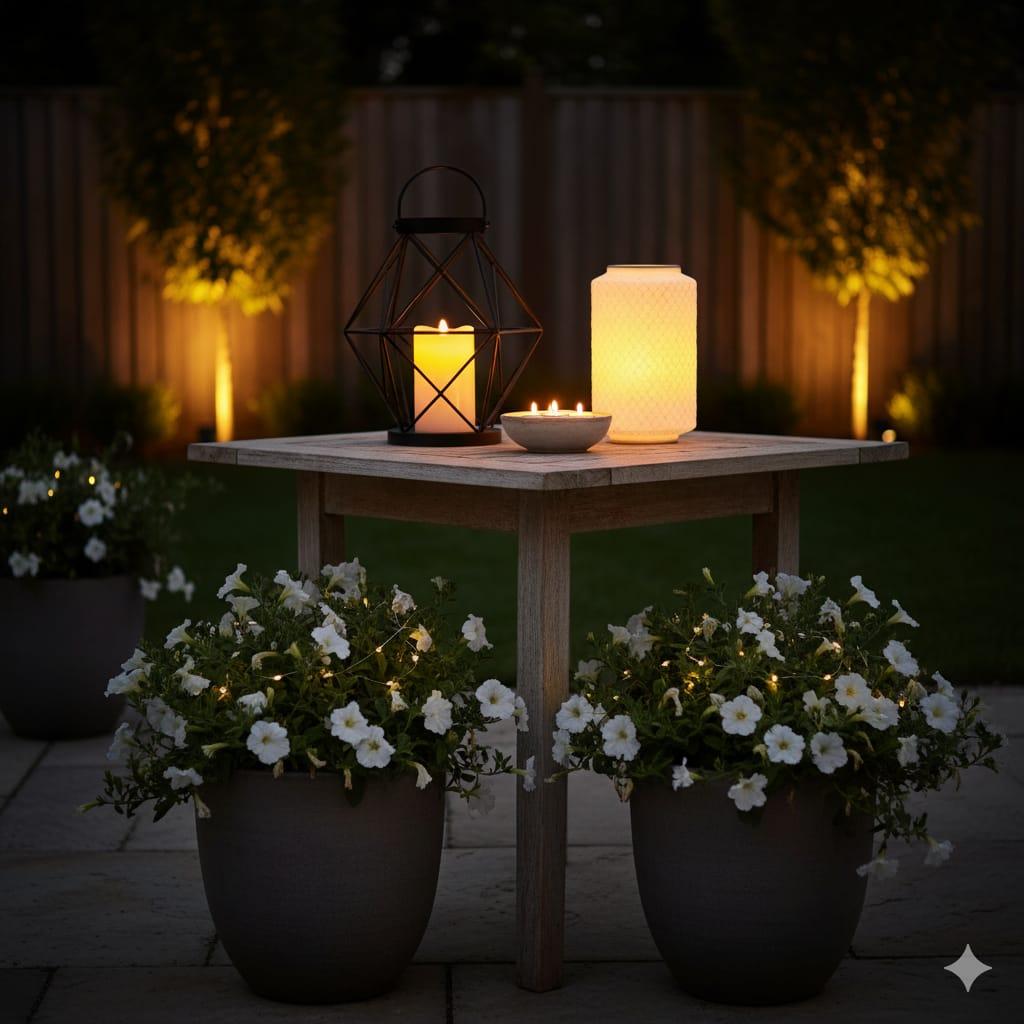
Ideas to try:
- LED candles inside lanterns
- Hanging lanterns from tree branches
- Spotlights aimed at trees or garden beds
- Small lights behind pots or sculptures
Step 7: Mount Wall Lights or Sconces
If you’ve got a fence or exterior wall, wall-mounted lights add both style and function. I installed two sconces beside the back door—they light the space and look great.
Tips: 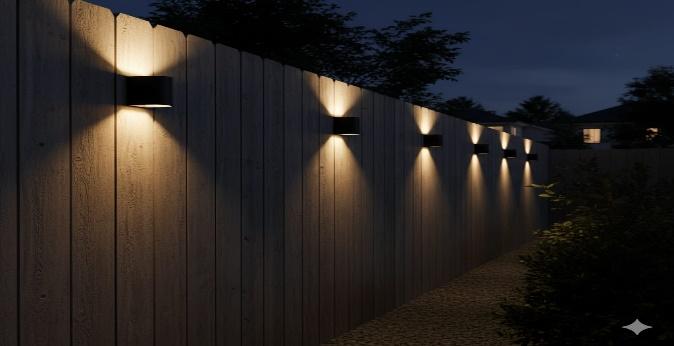
- Choose weatherproof fixtures
- Use warm bulbs to avoid harsh glare
- Mount at eye level for best effect.
Step 8: Hide Cables and Secure Fixtures
Nothing ruins the vibe like messy wires. I used cable clips, buried cords where possible, and tucked battery packs behind planters.
What helped: 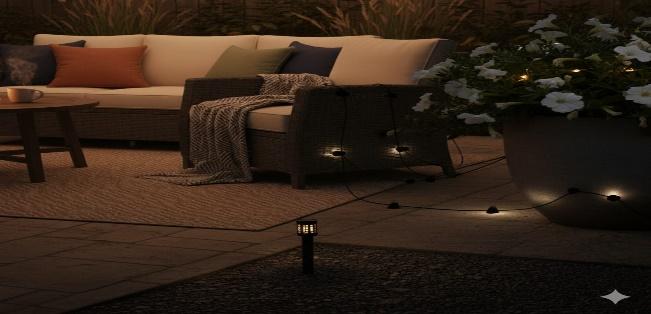
- Use outdoor-rated extension cords
- Hide wires behind furniture or under mulch
- Secure lights against wind or movement
- Label switches or remotes for easy control.
Step 9: Test and Adjust at Night
Once everything was installed, I waited until sunset and walked through the yard. I adjusted angles, swapped a few bulbs, and moved lights that felt too harsh or too dim. 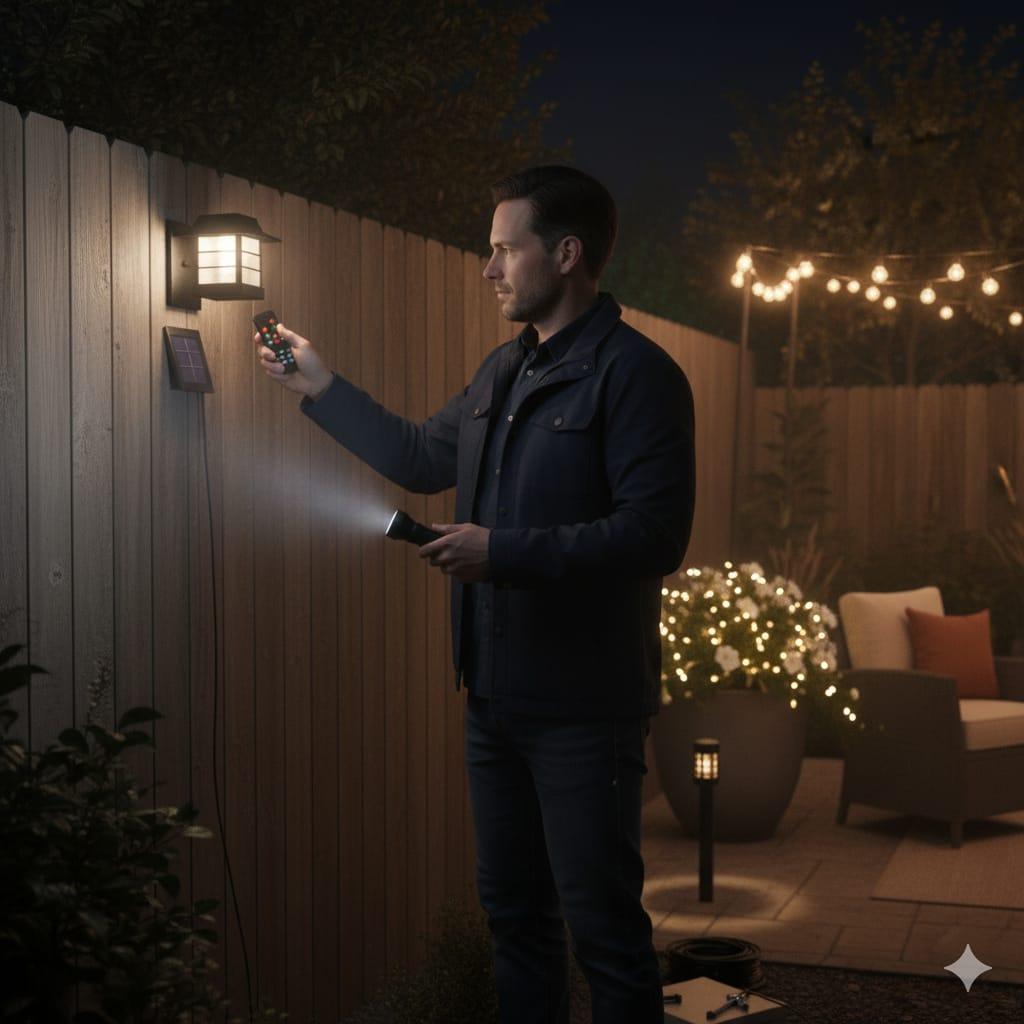
Final tweaks:
- Dim or reposition bright spots
- Add more lights if areas feel too dark
- Check for shadows or glare
- Make sure everything feels balanced
Final Thoughts
Installing outdoor lighting isn’t just about visibility—it’s about creating a mood. I didn’t realize how much it would change the way I use my backyard. Now I sit outside more often, host evening hangouts, and actually enjoy the space after dark.
You don’t need a huge budget or a professional crew. Just a plan, a few lights, and the willingness to experiment.
Start small. Focus on ambience. And light your space in a way that makes you want to stay a little longer.