
Learn how to build a simple wooden deck yourself with this step-by-step guide. From planning and materials to installation and finishing touches—no contractor needed.
How I Turned a Bare Backyard Corner into a Solid Outdoor Platform
I used to think building a deck was a contractor-only job. Something that needed permits, power tools I didn’t own, and a crew of people who knew what they were doing. But after spending one too many weekends staring at the empty corner of my backyard, I decided to give it a shot myself.
No fancy blueprints. No construction background. Just a clear goal: build a simple, solid wooden deck I could actually use.
And guess what? It worked. Here’s exactly how I did it—step by step—and how you can too.
Step 1: Choose the Right Spot and Size
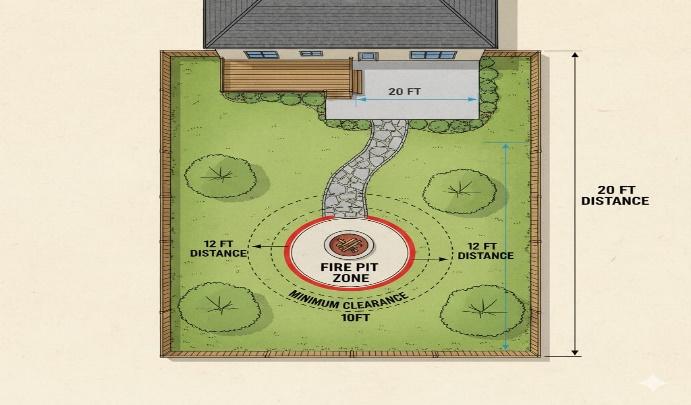
Before anything else, I had to figure out where the deck would go. I picked a flat area near the back fence—close enough to the house for easy access, but far enough to feel like its own space.
Here’s what helped: 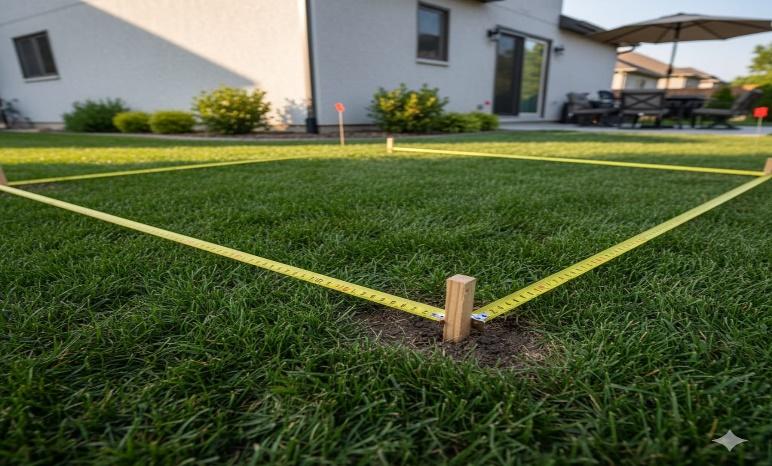
- Measure the space and sketch a rough layout
- Make sure the ground is level or easy to level
- Avoid placing it directly under trees or over roots
- Keep it simple—I went with a 3×3 meter square DIY Backyard Makeover: From Lawn to Lounge
Step 2: Gather Your Materials
I didn’t want to overcomplicate things, so I stuck to basic materials:
- Pressure-treated lumber (for durability)
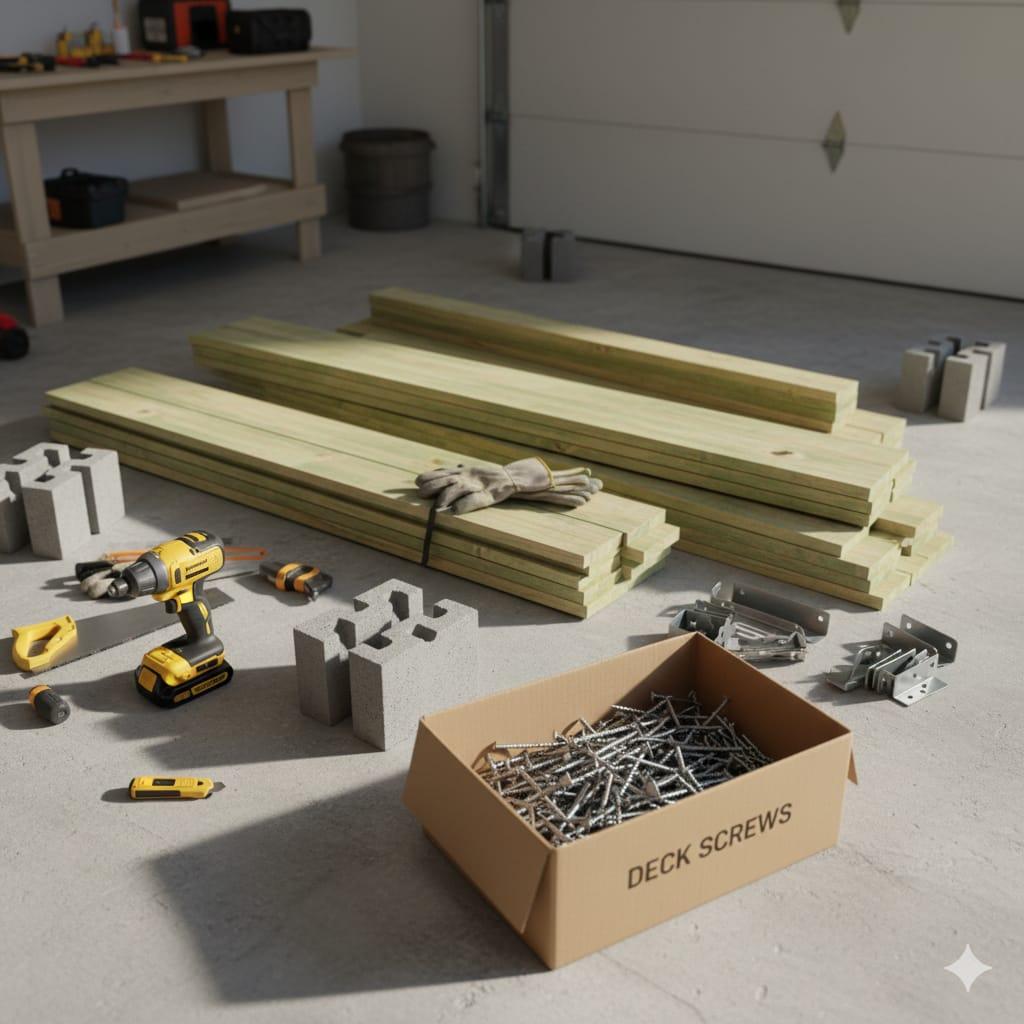
- Deck boards (I chose 2×6 planks)
- Concrete deck blocks (no digging required)
- Joist hangers and galvanized screws
- Drill, saw, level, tape measure, and safety gear Essential DIY Fixes Every Homeowner Should Know
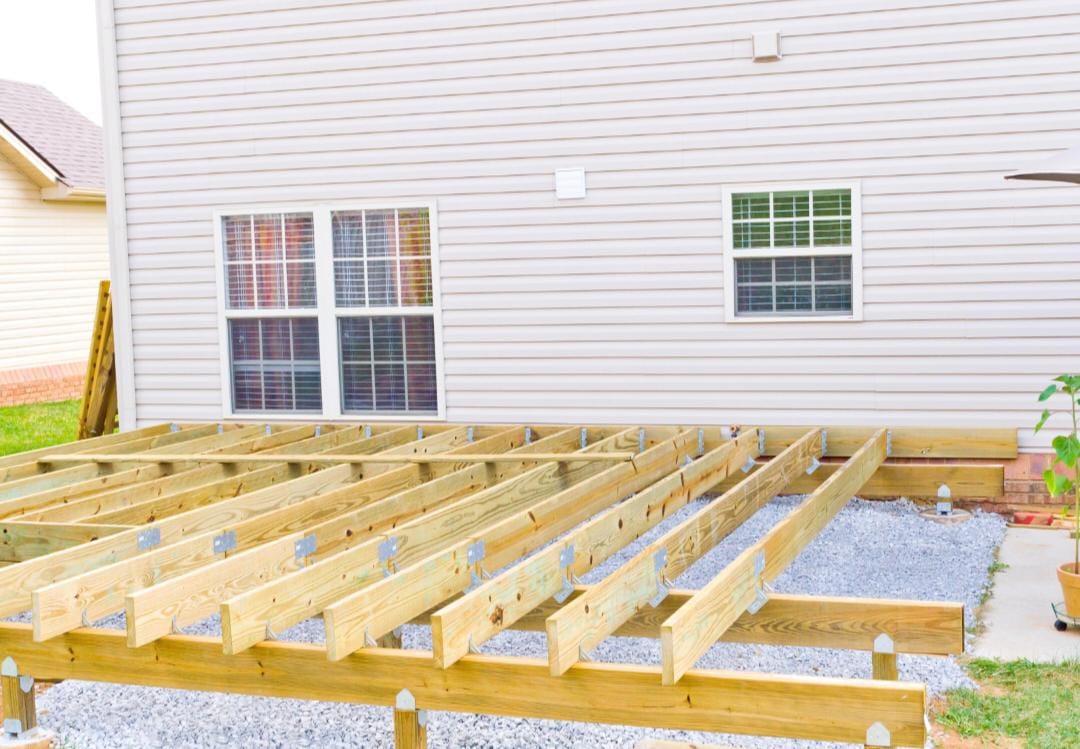
Step 3: Build the Frame
This part felt intimidating at first—but once I laid out the boards, it started to make sense. I built a simple rectangular frame using 2×6 boards, secured with joist hangers and screws.
Tips that helped: 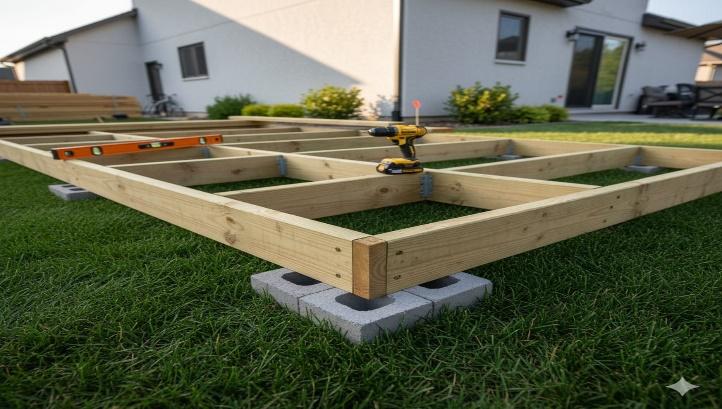
- Lay out the boards on the ground before assembling
- Use a square to keep corners tight
- Double-check measurements before drilling
- Keep everything level—it makes the rest easier
Step 4: Set the Foundation
Instead of digging holes and pouring concrete, I used deck blocks. They’re sturdy, easy to place, and perfect for small DIY decks.
Here’s what I did:
- Placed blocks at each corner and along the sides
- Adjusted them until the frame sat level
- Added gravel underneath for drainage
- Checked stability before moving on. How to Build a Raised Garden Bed
Step 5: Install the Deck Boards
Once the frame was solid, I started laying the deck boards. I spaced them evenly using a scrap piece of wood and screwed them down one by one. 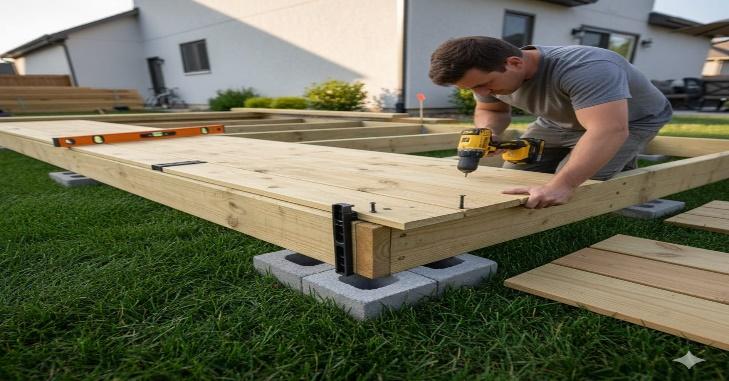
What helped:
- Start from one edge and work across
- Leave small gaps between boards for drainage
- Use corrosion-resistant screws
- Trim edges after installation for a clean finish
Step 6: Sand and Seal
I didn’t want splinters or water damage, so I gave the surface a quick sanding and sealed it with a weatherproof wood stain. 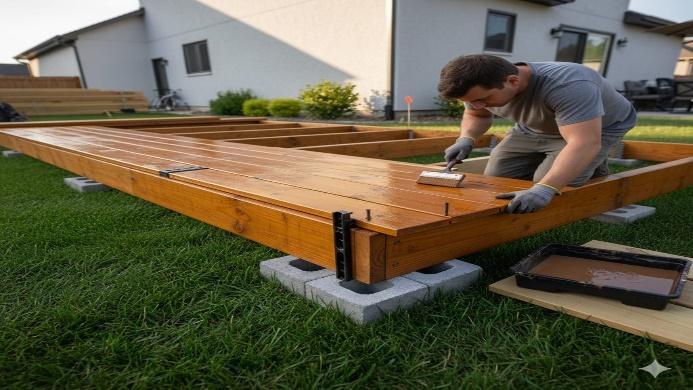
Steps I followed:
- Sanded rough edges and corners
- Wiped down the surface to remove dust
- Applied stain with a roller and brush
- Let it dry for 24 hours before using
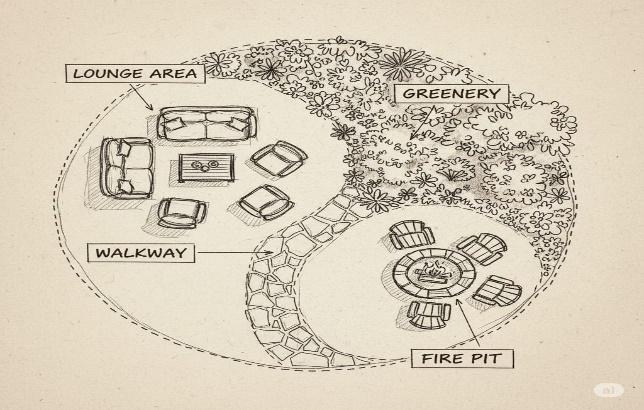
Step 7: Add Finishing Touches
Once the deck was dry, I added a few personal touches: a couple of chairs, a small table, and string lights overhead. Suddenly, it wasn’t just a platform—it was a place to be. 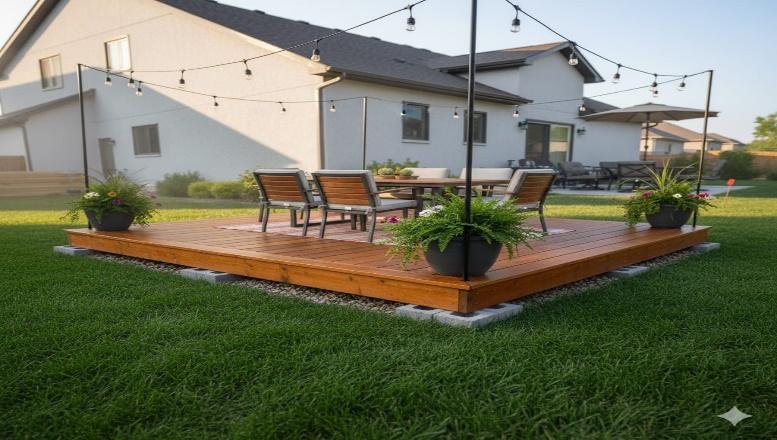
Ideas to try:
- Outdoor rug for warmth
- Planters or railing boxes
- Solar lights or lanterns
- Foldable furniture for flexibility
Step 8: Maintain It
A wooden deck needs care—but not much. Here’s how I keep mine in shape: 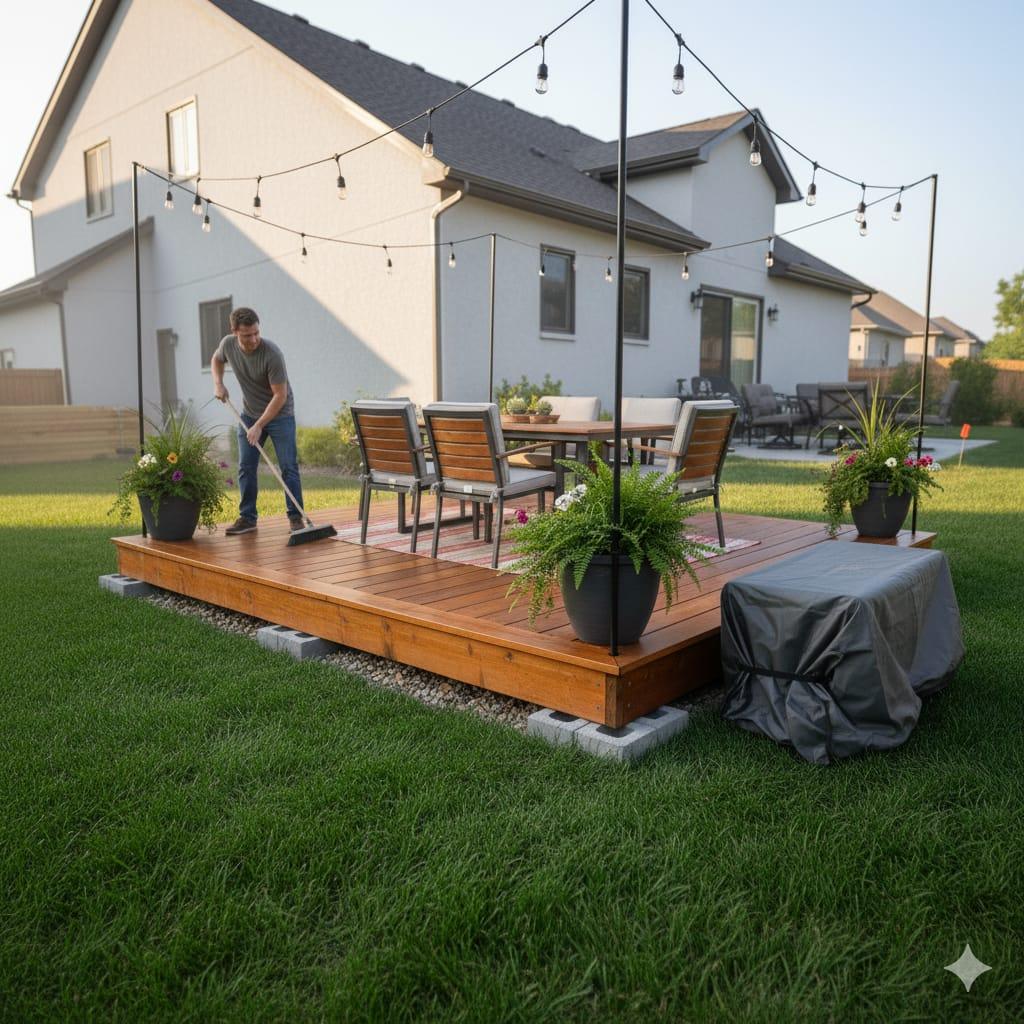
- Sweep weekly to remove leaves and dirt
- Reapply sealant every 1–2 years
- Check for loose boards or screws
- Cover furniture during heavy rain
Final Thoughts
Building a wooden deck yourself isn’t just doable — it’s empowering. I didn’t have a crew, a blueprint, or a huge budget. Just a weekend, some basic tools, and the drive to make my backyard more usable.
Now I have a space I actually enjoy. Morning coffee, evening chats, weekend hangouts—all on a deck I built with my own hands.
If you’ve got a patch of yard and a bit of motivation, go for it. Start small, stay safe, and enjoy the process.