Stop the drip and save water with this easy DIY guide. Learn how to fix a leaky faucet using basic tools and simple steps—no plumber required.
That Drip Is Costing You More Than You Think
It starts with a soft drip. Then another. Before you know it, your sink is singing all night—and your water bill is creeping up. A leaky faucet isn’t just annoying. It can waste thousands of liters of water a year and lead to mold, rust, or even cabinet damage.
But here’s the good news: you don’t need a plumber to fix it. With a few basic tools and a little patience, you can stop the drip yourself—and feel like a total boss doing it.
This guide walks you through the exact steps to fix the most common types of faucet leaks. And if you’re new to home repairs, don’t miss Essential DIY Fixes Every Homeowner Should Know—it’s the perfect starting point.
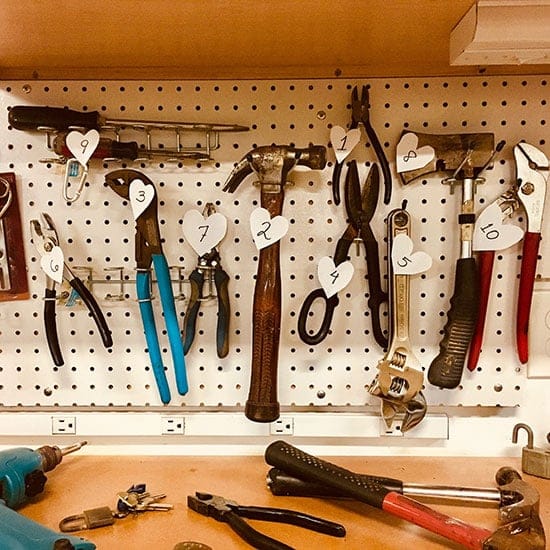
Step 1: Gather Your Tools and Identify Your Faucet Type
Before you start, make sure you have:
- Adjustable wrench
- Flathead and Phillips screwdrivers
- Replacement parts (washer, O-ring, or cartridge—depending on faucet type)
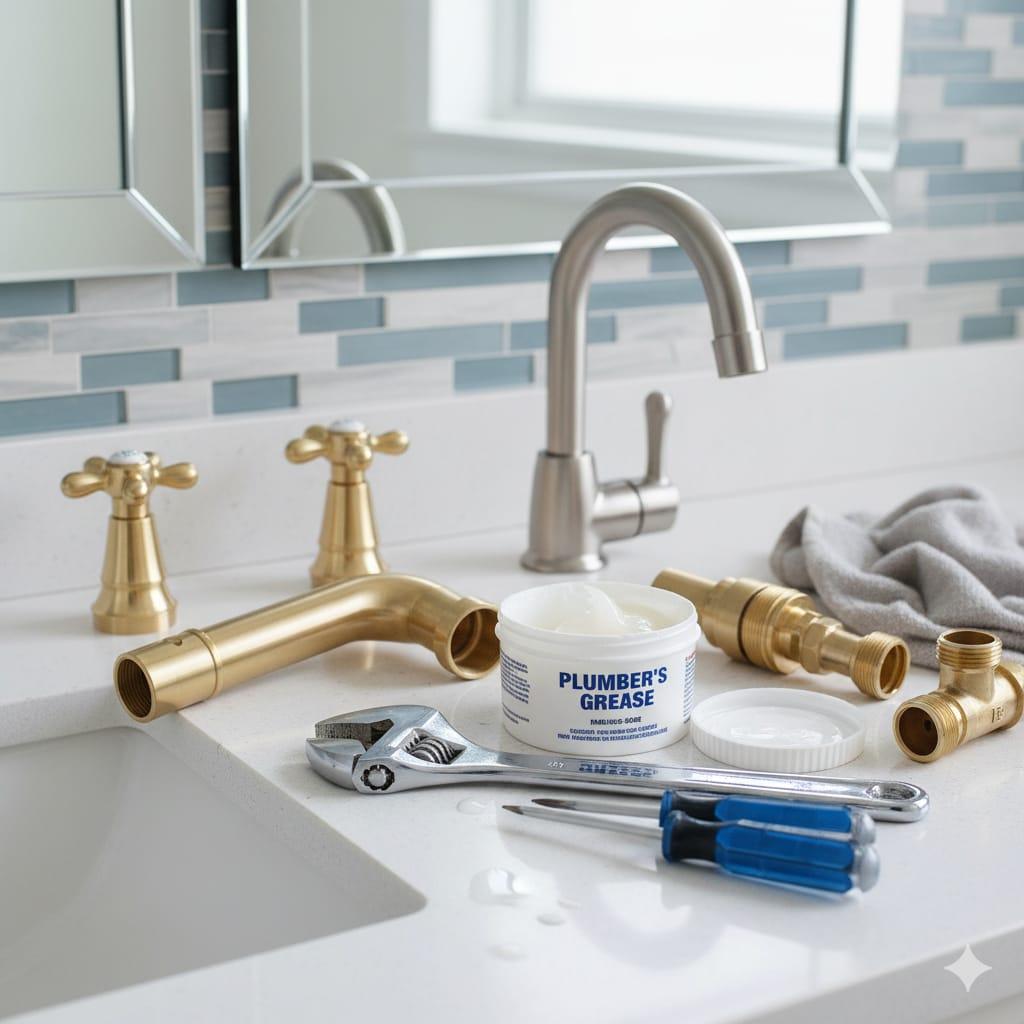
- Plumber’s grease
- Old towel or rag
- Bowl or tray for small parts
Now, identify your faucet type. The four most common are
- Compression (two handles, older style)
- Cartridge (single or double handle, smooth motion)
- Ball (single handle, rounded cap)
- Ceramic disc (single handle, wide body)
Not sure which one you have? Our Beginner’s Plumbing Tools Checklist includes visuals and tool tips to help you figure it out.
Step 2: Shut Off the Water Supply 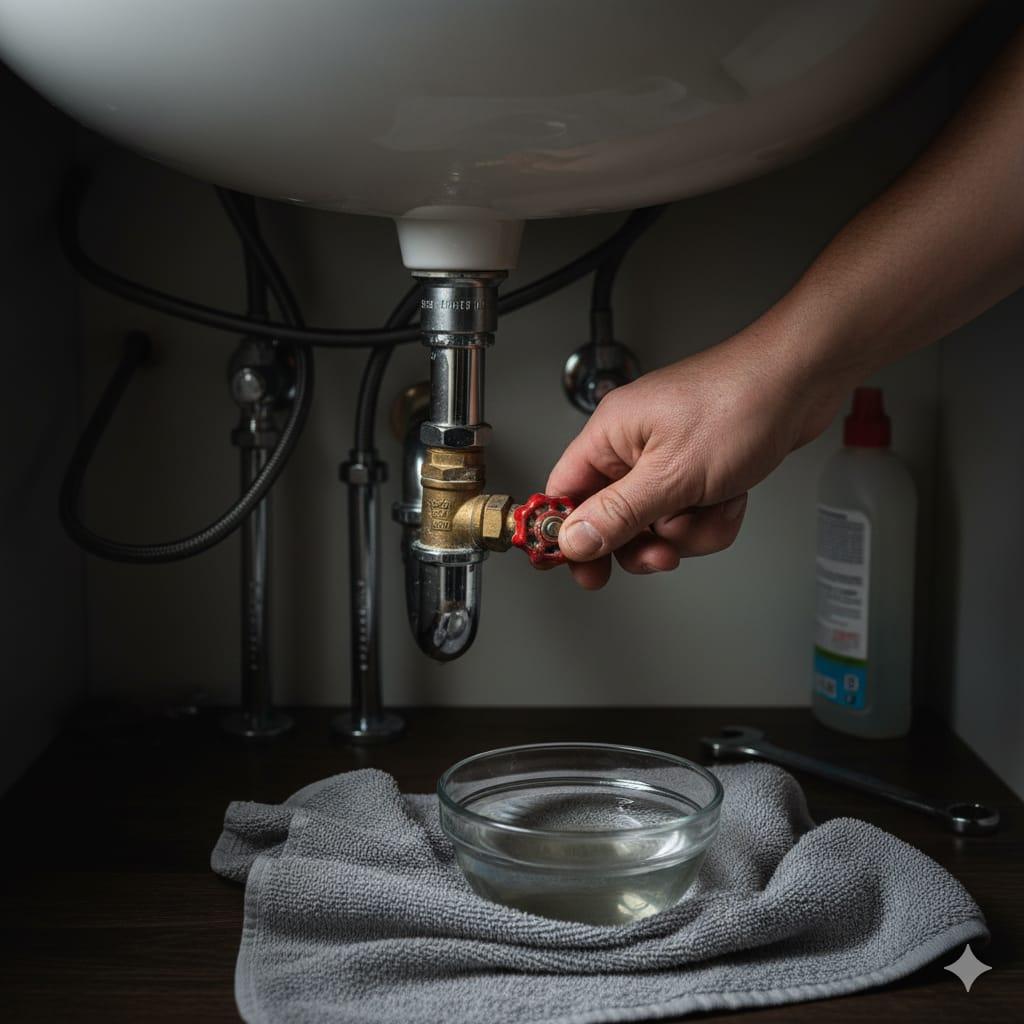
This is non-negotiable. Look under the sink for two small valves — one for hot, one for cold. Turn them clockwise to shut off the water.
Then, open the faucet to release any remaining pressure and drain the lines. Place a towel or bowl under the sink to catch drips.
Need help locating or testing your shut-off valves? SeeHow to Install a DIY Backsplash That Transforms Your Kitchen
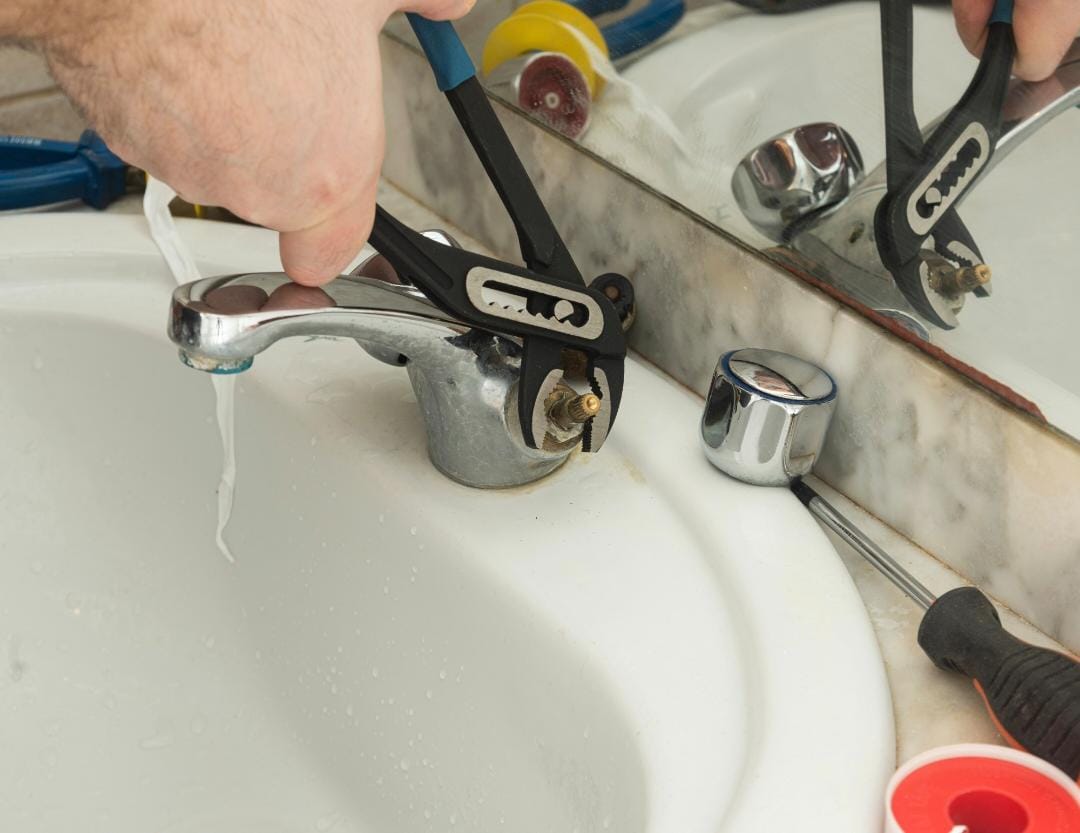
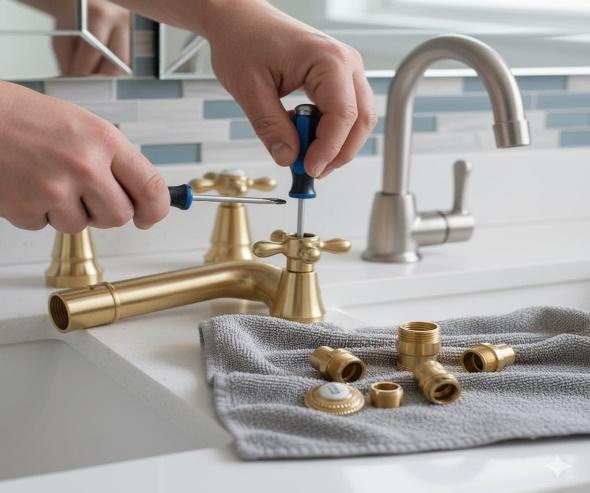
Step 3: Disassemble the Faucet
Now it’s time to open things up.
- Use a flathead screwdriver to gently pop off the decorative cap on the handle.
- Unscrew the handle and remove it.
- Depending on your faucet type, you’ll now see a nut, cartridge, or valve stem.
- Use your wrench to loosen and remove the retaining nut.
- Carefully pull out the cartridge or valve.
Take photos as you go—they’ll help you remember how to reassemble everything later.
Step 4: Inspect and Replace the Faulty Part
This is where the magic happens.
- Compression faucet? Replace the rubber washer at the base of the valve stem.

- Cartridge faucet? Replace the cartridge with a matching one.
- Ball faucet? Replace the rubber seats and springs.
- Ceramic disc faucet? Replace the seals or the entire disc cartridge.
Take the old part to a hardware store to find an exact match — or order online using the model number.
Need help with cartridge replacement? How to Replace a Toilet Yourself for a detailed walkthrough.
Step 5: Reassemble and Lubricate
Before putting everything back together:
- Clean any mineral buildup with vinegar or a soft brush.
- Apply a small amount of plumber’s grease to the new parts—especially O-rings and threads.
- Reinsert the cartridge or valve, tighten the nut, and reattach the handle.
Make sure everything is snug, but don’t overtighten—you don’t want to crack anything.
Not sure how to use plumber’s grease or tape? See How to Unclog Drains Without Chemicals for tips.
Step 6: Turn the Water Back On and Test 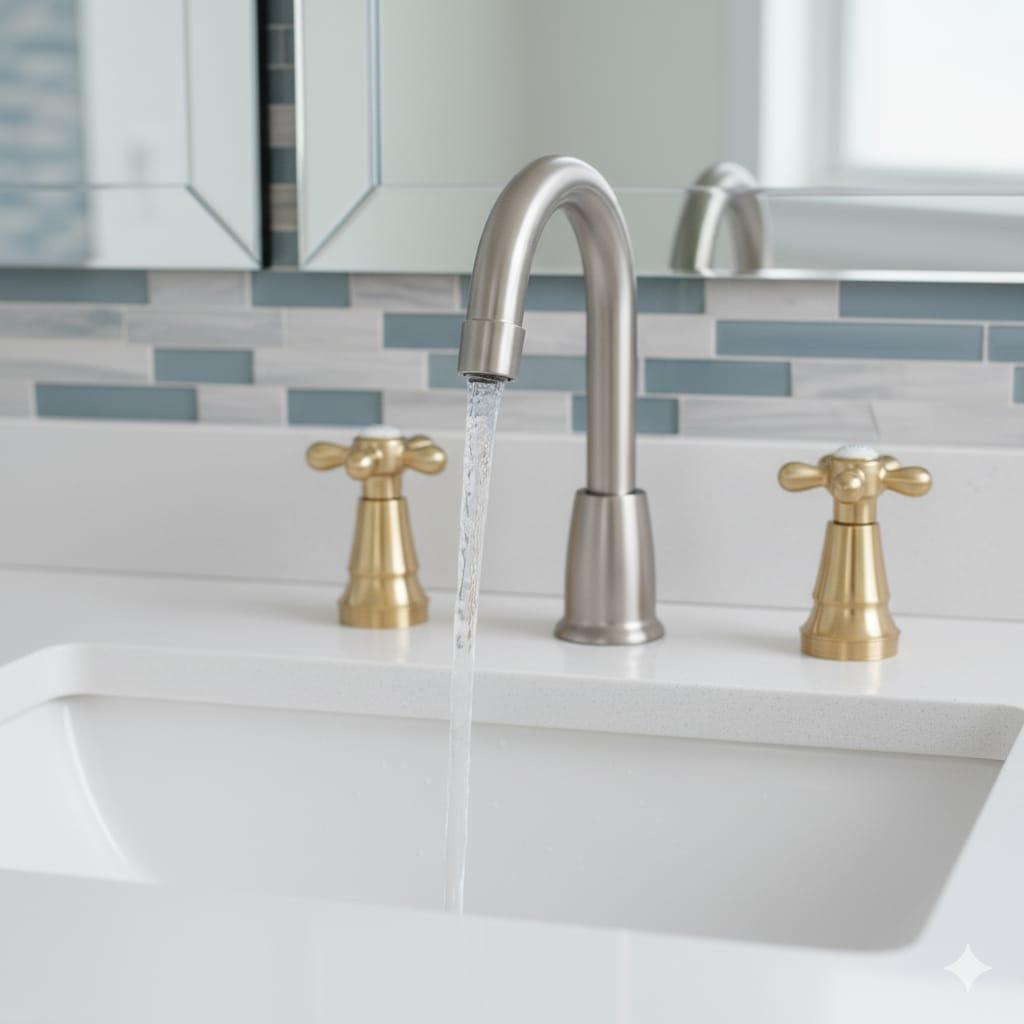
Slowly turn the water supply valves back on. Then, turn on the faucet and check for leaks.
Let the water run for a minute or two. If everything’s dry and the drip is gone—congrats, you did it!
Still leaking? Double-check that the parts are seated properly and that nothing’s loose. If the leak is coming from underneath, jump to How to Build a Raised Garden Bed for next steps.
Bonus Fixes for Related Faucet Problems
If your faucet is dripping from the spout even after replacing the cartridge or leaking around the base, it might be a deeper issue.
These guides cover common plumbing issues that often show up alongside faucet problems—and they’re just as beginner-friendly.
You Just Fixed It—Like a Pro
That’s it. You just fixed a leaky faucet—and saved yourself a plumber’s fee, a higher water bill, and a whole lot of frustration.
It’s a small win, but it’s a powerful one. Because every time you fix something yourself, you’re not just saving money — you’re building confidence.