
Skip the harsh stuff. Learn how to unclog drains using simple tools and natural methods that actually work. No plumber, no chemicals—just clean water flow again.
That Slow Drain? You Don’t Need a Bottle of Chemicals
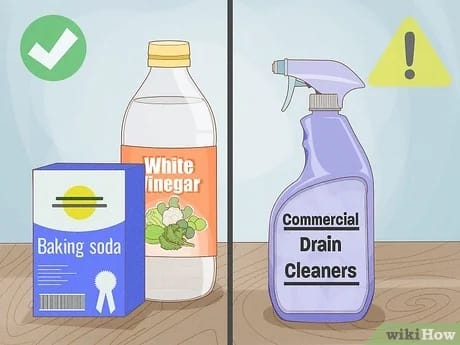
We’ve all been there. The sink’s not draining. The shower’s backing up. You try to ignore it, but it’s getting worse. And the first instinct? Grab a bottle of drain cleaner and hope for the best.
But here’s the truth: those chemical cleaners are harsh. They smell awful, they can damage your pipes over time, and they’re not always effective. The good news? You can fix most clogs with basic tools and stuff you already have at home.
This guide walks you through real, chemical-free ways to unclog drains — whether it’s the kitchen sink, bathroom basin, or shower. And if you’re tackling multiple home fixes, check out Essential DIY Fixes Every Homeowner Should Know — it’s full of beginner-friendly wins.
Step 1: Grab What You’ll Need
You don’t need much. Most of this is already in your kitchen or under the sink:
- Plunger (cup-style for sinks, flange-style for toilets)
- Baking soda
- White vinegar
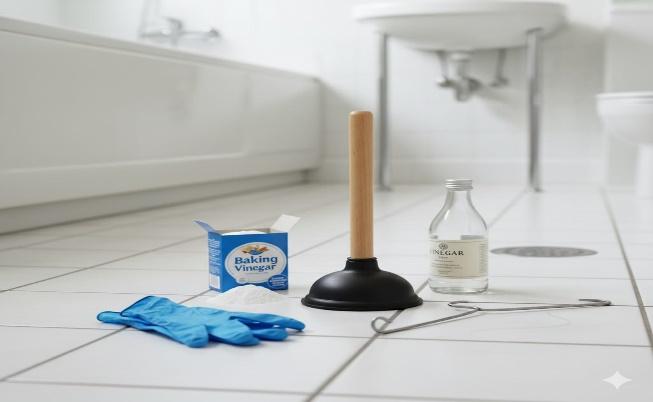
- Boiling water
- Bucket or bowl
- Old towel or rag
- Wire coat hanger or drain snake
- Rubber gloves
Need help choosing the right plunger? Check Painting and Sealing Outdoor Wood—it’ll save you from buying the wrong one.
Step 2: Try the Boiling Water Method First
Sometimes, the simplest fix works best. 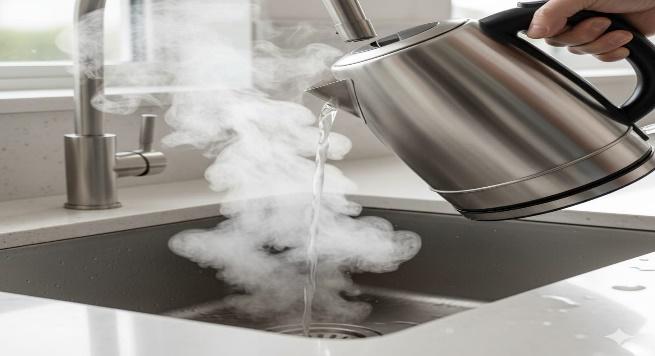
- Boil a kettle or pot of water.
- Slowly pour it down the drain in stages—not all at once.
- Wait a few seconds between pours to let the heat work through the gunk.
- Repeat if needed.
This works best for grease buildup in kitchen sinks or soap scum in bathroom drains.
Step 3: Use Baking Soda and Vinegar
This combo is a classic—and it actually works. 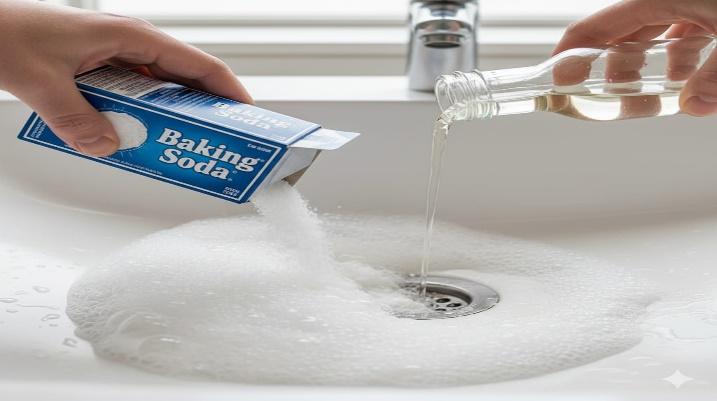
- Pour about half a cup of baking soda into the drain.
- Follow with one cup of white vinegar.
- Cover the drain with a plug or cloth to keep the reaction inside.
- Wait 15–30 minutes.
- Flush with boiling water.
You’ll hear fizzing—that’s the chemical reaction breaking down the clog.
Step 4: Use a Plunger (Yes, It Works for Sinks Too)
If the clog’s still there, it’s time to get physical.
- Fill the sink with enough water to cover the plunger’s cup.
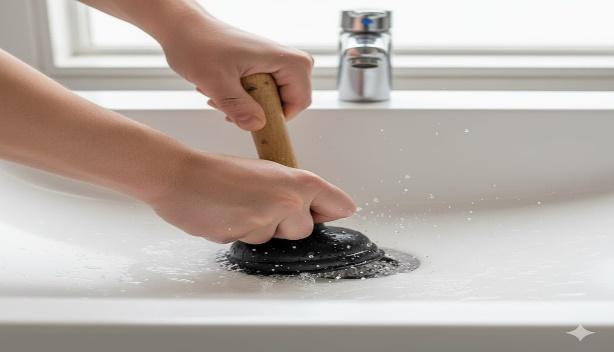
- Position the plunger over the drain and press down firmly.
- Pump up and down with quick, strong motions.
- After 10–15 pumps, lift the plunger and check the flow.
If water rushes out, you’ve cleared it. If not, try again or move to the next method.
Step 5: Use a Wire Hanger or Drain Snake
For deeper clogs, you’ll need to go in.
- Straighten a wire coat hanger, leaving a small hook at the end.
- Insert it gently into the drain and twist to catch hair or debris.
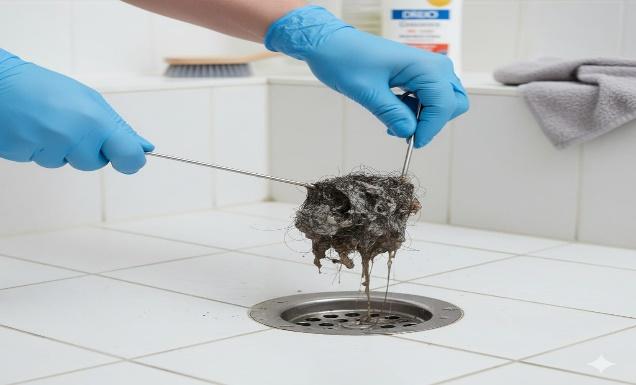
- Pull out slowly—it might get messy.
- Repeat until the drain feels clear.
If you have a drain snake, even better—it’s designed for this job.
Need help with stubborn shower clogs? Check How to Fix Bathroom Leaks Without a Plumber—it’s a common issue with long hair and soap buildup.
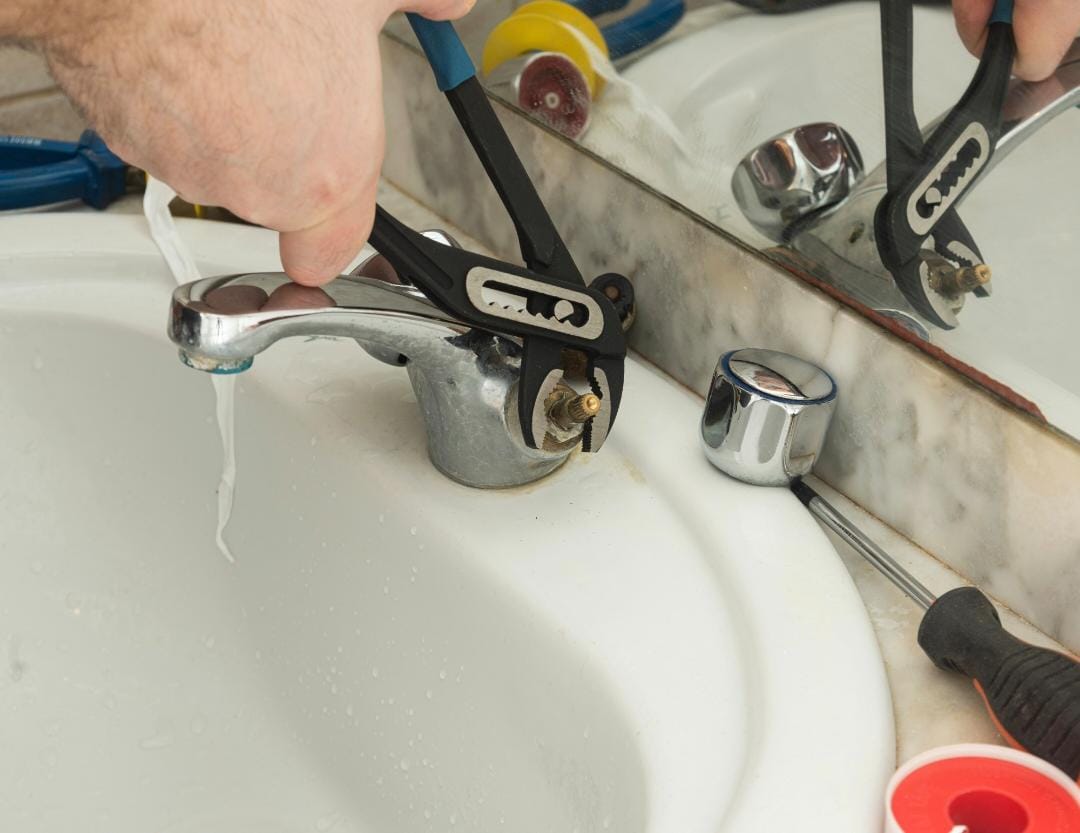
Step 6: Clean the Drain Stopper or Trap 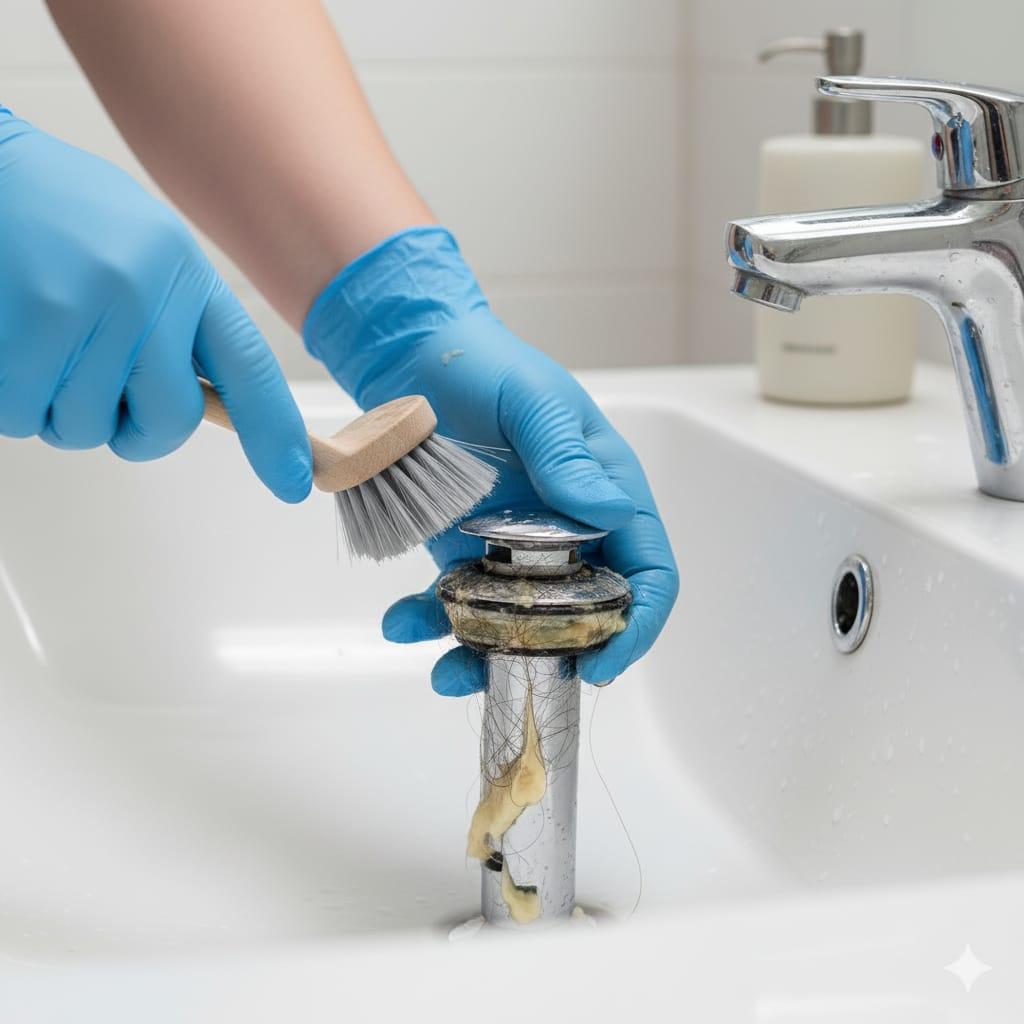
Sometimes the clog isn’t deep—it’s right under the stopper.
- Remove the drain stopper (twist or lift depending on type).
- Clean off any hair, soap scum, or buildup.
- For kitchen sinks, check the P-trap under the sink.
- Place a bucket underneath, unscrew the trap, and clean it out.
Extra Tips That Make a Big Difference
- Avoid pouring grease down the drain—it hardens and causes clogs.
- Use a drain screen to catch hair and food bits.
- Flush drains weekly with hot water to keep them flowing.
- Keep baking soda and vinegar on hand—they’re cheap and effective.
And if you’re dealing with recurring clogs, it’s full of practical tips.
Done—And Your Drain’s Flowing Again
No chemicals. No plumber. No stress. Just clean water flowing like it should.
You didn’t just fix a clog—you learned how to handle it naturally. And next time the sink slows down, you’ll know exactly what to do.
Want to keep going? Try How to Measure for Kitchen Flooring—it’s the perfect follow-up.