Learn how to safely repair minor electrical issues at home—from switches to outlets—with simple tools and clear steps. No shocks, no stress.
Lights Flickering? Outlet Loose? You Can Fix That—Safely
Electrical issues can feel intimidating. A flickering light. A switch that doesn’t respond. A loose outlet that wiggles when you plug something in. It’s tempting to call an electrician—and sometimes you should. But for small, surface-level problems, you can fix them yourself—safely.
This guide walks you through minor electrical repairs you can handle without touching live wires or risking a shock. And if you’re tackling multiple home fixes, check out Essential DIY Fixes Every Homeowner Should Know—it’s full of beginner-friendly wins.
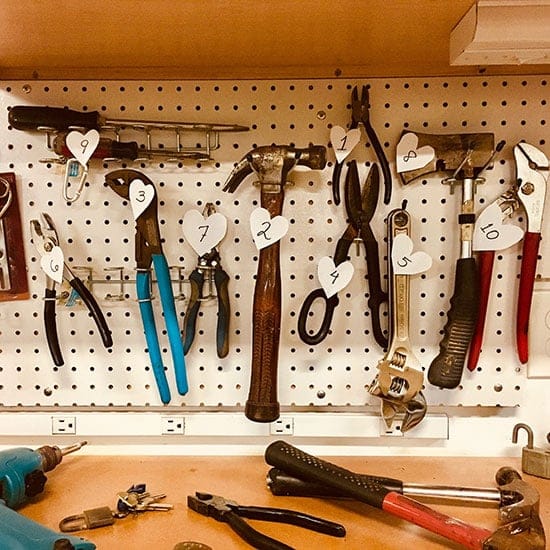
Step 1: Gather Your Tools and Safety Gear
Before you touch anything, get your setup right:
- Voltage tester
- Screwdriver set
- Needle-nose pliers
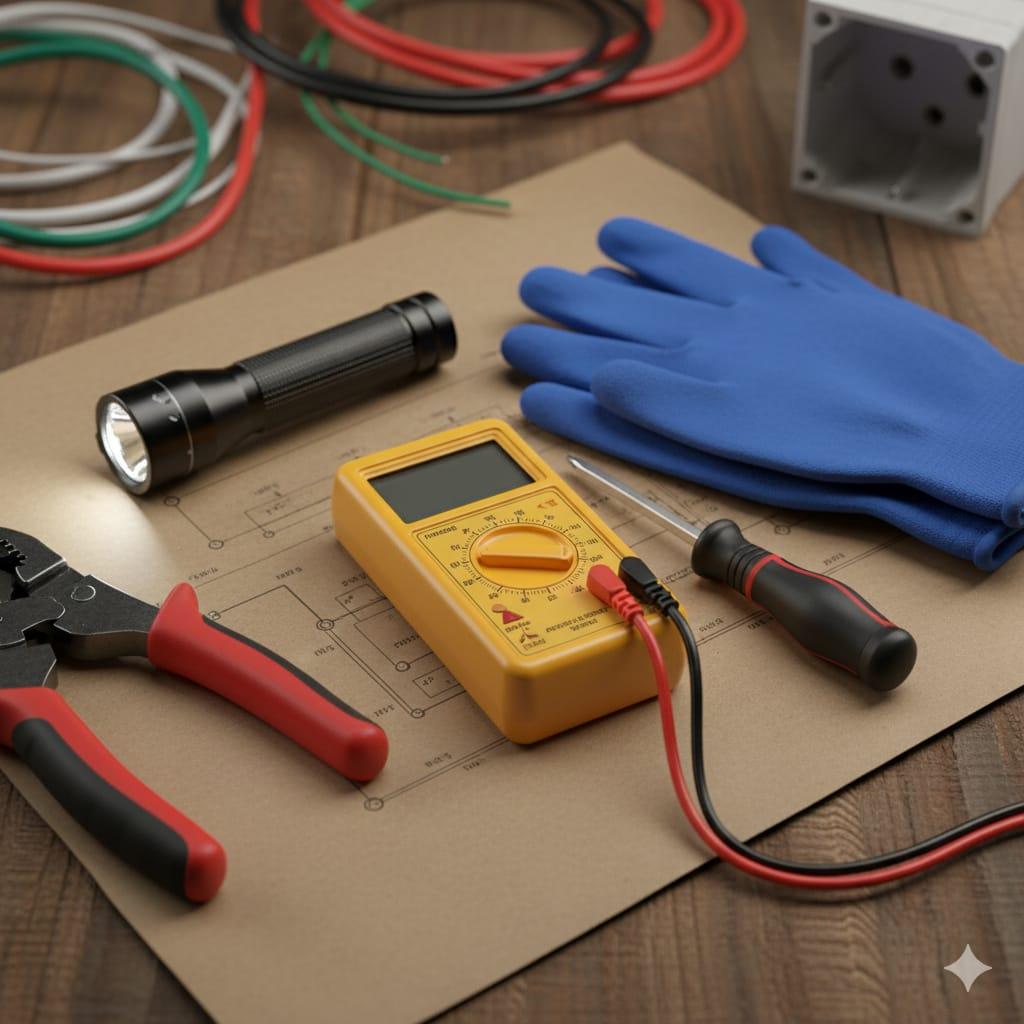
- Wire stripper (if needed)
- Replacement switch or outlet
- Electrical tape
- Safety gloves
- Flashlight
- Circuit breaker map (if available)
Need help identifying your breaker layout? Check out How to Install Outdoor Lighting for Ambience—it’ll save you time and confusion.
Step 2: Turn Off the Power—Always 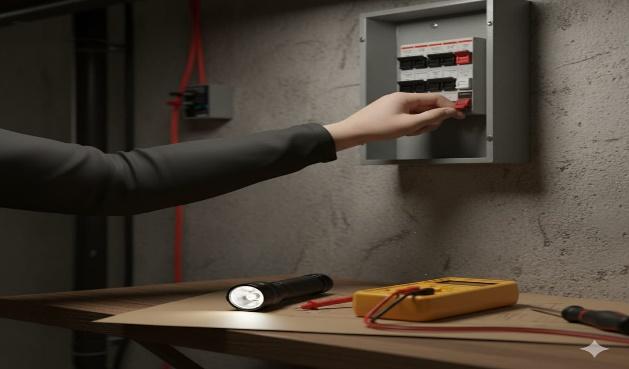
This is non-negotiable.
- Go to your circuit breaker and turn off the power to the area you’re working on.
- Use a voltage tester to confirm the outlet or switch is dead.
- Never rely on just flipping the switch—test everything.
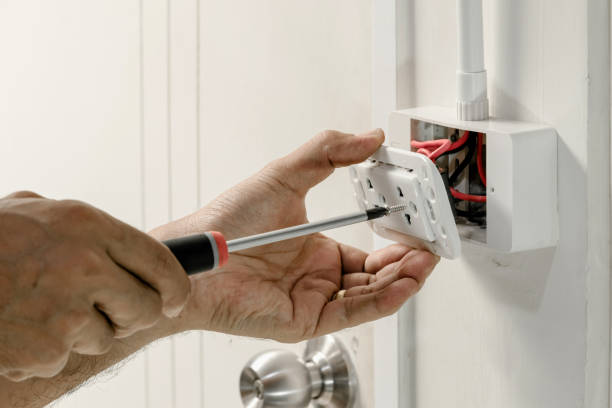
Step 3: Replace a Faulty Light Switch
If your switch clicks but doesn’t work or feels loose: 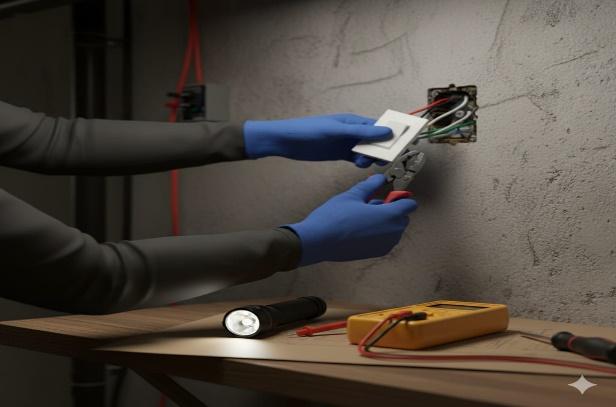
- Unscrew the faceplate and remove the switch.
- Take a photo of the wire layout before disconnecting.
- Disconnect wires and attach them to the new switch in the same order.
- Screw it back in, replace the faceplate, and restore power.
Want to upgrade while you’re at it? Check out How to Build a Raised Garden Bed—it’s a great way to add ambiance.
.”
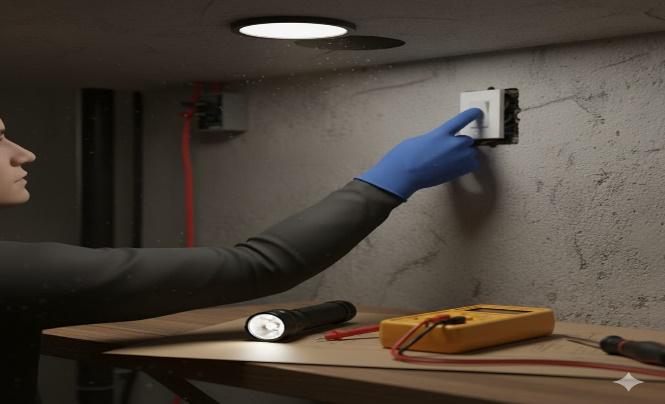
Step 4: Fix a Loose or Dead Outlet
Loose outlets are annoying—and unsafe.
- Remove the faceplate and check the screws holding the outlet to the box.
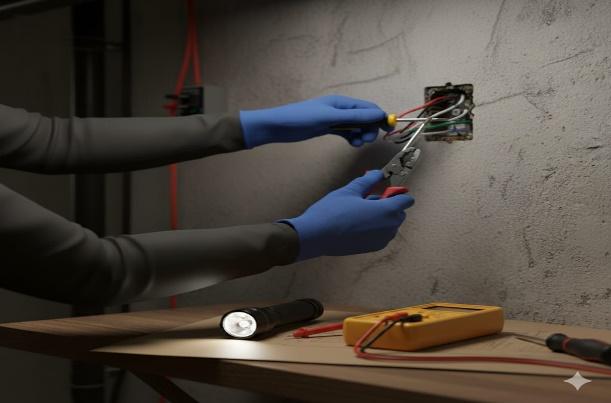
- Tighten them gently.
- If the outlet is dead, test it with a voltage tester.
- If there is no power, replace the outlet following the same wire layout.
Step 5: Replace a Light Fixture Safely 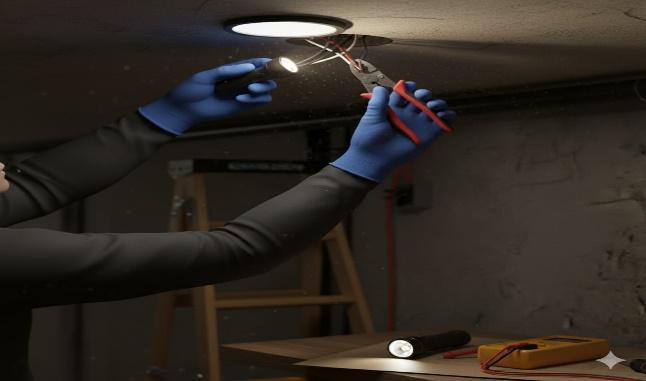
If a ceiling light flickers or won’t turn on:
- Turn off power at the breaker.
- Remove the fixture and disconnect the wires.
- Match wire colors (black to black, white to white, and ground to ground).
- Install the new fixture and secure it properly.
Need help choosing fixtures? Check Best Paint Brushes and Rollers for Beginners—it’s full of ideas that work.
Step 6: Secure and Test Everything
Once you’ve replaced or tightened components:
- Restore power at the breaker.
- Test switches, outlets, and fixtures one by one.
- If anything sparks, flickers, or feels warm — turn off the power and recheck connections.
- Use electrical tape to secure any exposed wire ends.
Extra Tips That Make a Big Difference
- Always test wires before touching—even if the breaker is off.
- Use wire nuts and electrical tape to secure connections.
- Don’t force wires—if they’re too short, use extenders.
- If unsure, stop and call a pro—safety first.
- Label your breaker box clearly—it saves time and avoids mistakes.
And if you’re dealing with flickering lights, it’s often simpler than you think. Also, if your outlets spark when unplugging devices, read How to Fix Sparking Outlets Safely—it’s a common issue with older homes.
Done—And Your Home Is Safer
No more flickers. No more loose outlets. Just solid, safe electrical fixes you handled yourself.
You didn’t just repair a switch—you learned how to work with electricity safely. And next time something stops working, you’ll know what to check first.
Want to keep going? Try it—it’s a great upgrade for any room.