
Learn how to replace a light switch safely and easily. Step-by-step guide with tools, tips, and no electrician needed.
That Switch That Doesn’t Click Right? Time to Swap It
You flip the switch and… nothing. Or maybe it works but feels loose or makes a weird sound. Light switches wear out—it’s normal. But replacing one is easier than you think.
This guide walks you through how to safely replace a standard light switch. No fancy tools. No electrical license. Just a few steps and a better-looking, better-working switch.
And if you’re tackling multiple home fixes, check out Essential DIY Fixes Every Homeowner Should Know—it’s full of beginner-friendly wins.
Step 1: Gather Your Tools and Materials
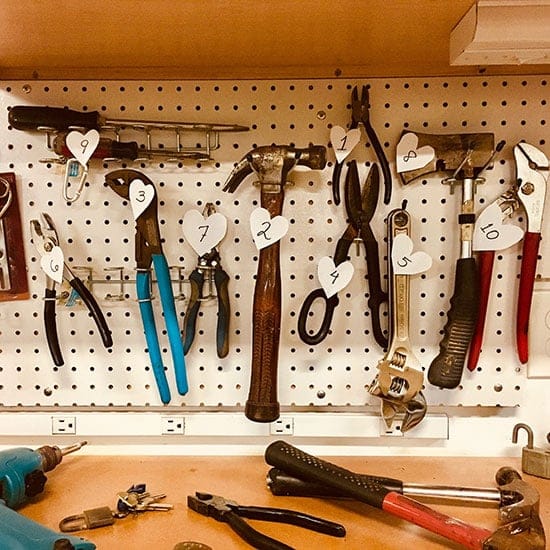
You’ll need:
- New light switch (single-pole, 3-way, or dimmer—match your old one)
- Screwdriver (flat and Phillips)
- Voltage tester
- Wire stripper
- Electrical tape
- Safety gloves
- Flashlight (if working in dim areas)
Need help choosing the right switch type? Check Building a Simple Wooden Deck Yourself—it breaks down single-pole vs 3-way vs dimmer.
Step 2: Turn Off the Power 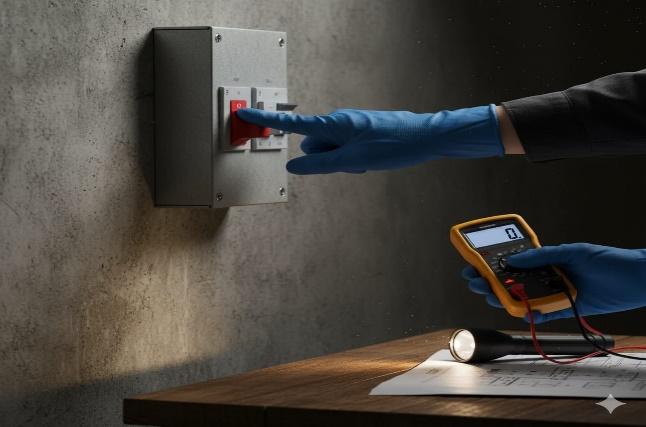
This is the most important step—don’t skip it.
- Go to your circuit breaker and turn off the power to the room.
- Use a voltage tester to confirm the switch is dead.
- Flip the switch a few times—nothing should happen.
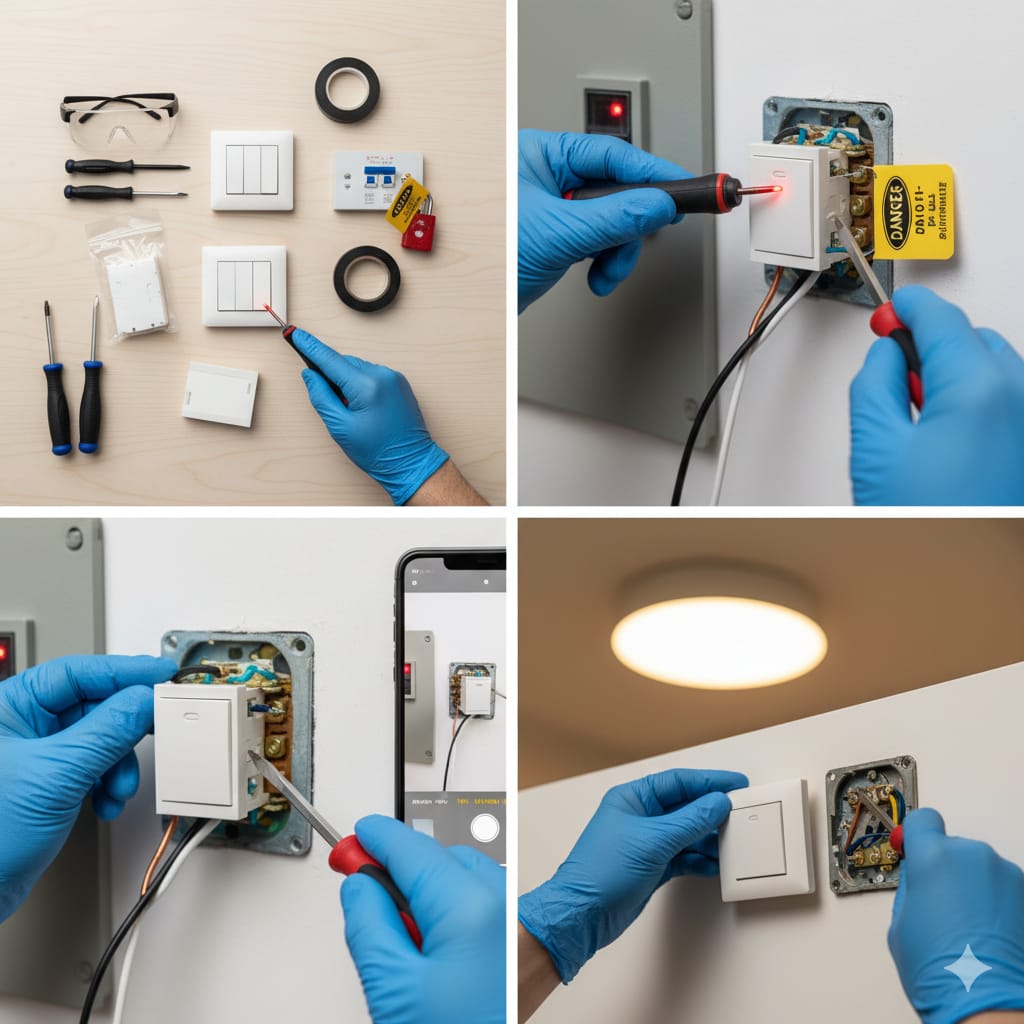
Step 3: Remove the Old Switch
Let’s get that faulty switch out. 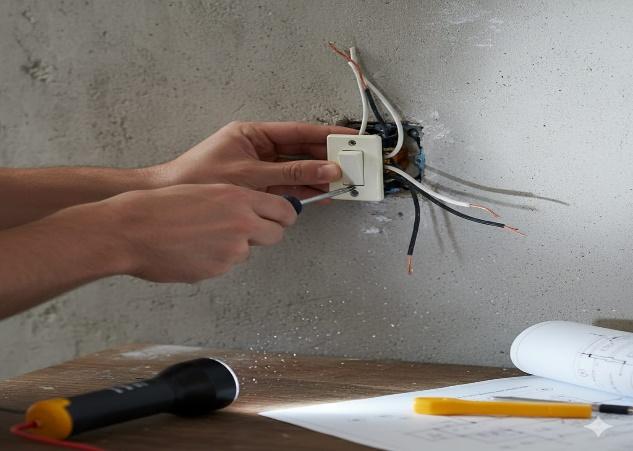
- Unscrew the faceplate and set it aside.
- Unscrew the switch from the electrical box.
- Gently pull it out to expose the wires.
- Take a photo of the wire layout—it helps during reinstallation.
Step 4: Disconnect and Prep the Wires 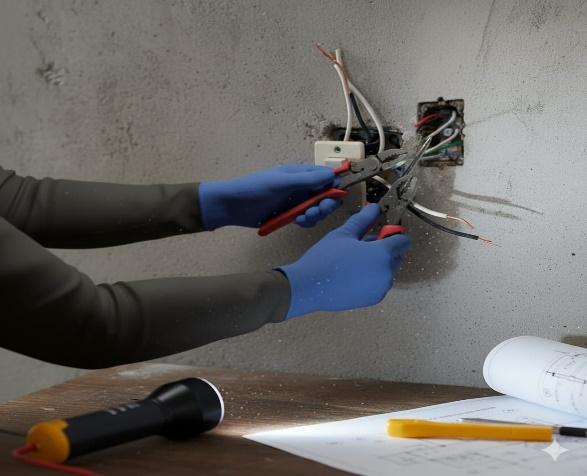
Now you’re working with the guts.
- Use your screwdriver to loosen the terminal screws.
- Disconnect the wires—usually black (hot), white (neutral), and ground (green or bare).
- Inspect wire ends—if frayed, trim and strip fresh ends.
- Keep wires separated and safe while you prep the new switch.
Step 5: Connect the New Switch
Time to install the upgrade. 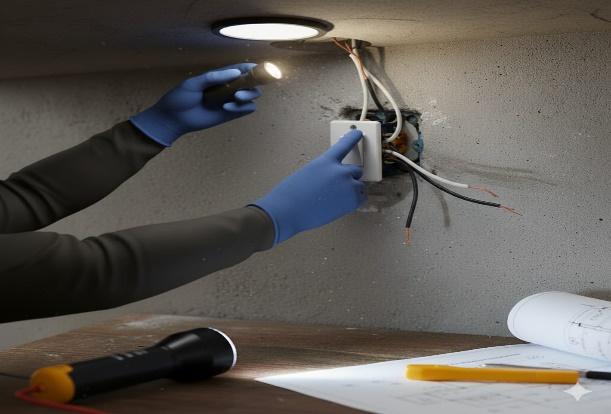
- Match wire positions from your photo.
- Connect black to the brass terminal, white to silver (if present), and ground to green.
- Tighten screws firmly.
- Wrap electrical tape around terminals for extra safety.
Want to upgrade to a dimmer? How to Install Outdoor Lighting for Ambience—it’s a great way to add ambience.
Step 6: Secure and Test 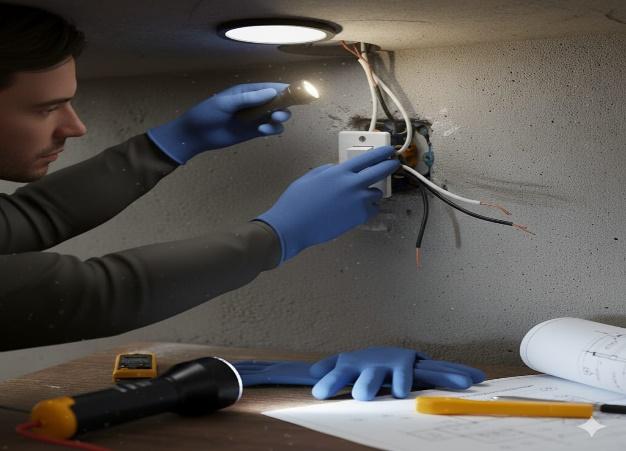
Let’s finish up.
- Push the switch back into the box carefully.
- Screw it in, and reattach the faceplate.
- Restore power at the breaker.
- Flip the switch—light on? You nailed it.
Extra Tips That Make a Big Difference
- Always test wires before touching—even if the breaker is off.
- Use wire nuts if your switch has push-in connectors—they’re safer.
- Label your breaker box clearly—saves time next time.
- Don’t overtighten screws—it can crack the switch or strip the threads.
And if your switch sparks or feels hot, check How to Fix a Leaky Faucet DIY—it’s a common issue in older homes.
Done—and Your Lights Are Back in Action
No more flickers. No more clicks that don’t work. Just a clean, responsive switch that does its job.
You didn’t just fix a light—you learned how to handle basic electrical work safely. And next time a switch goes bad, you’ll know exactly what to do.
Want to keep going? Try it—it’s a smart upgrade for any room.