 DIY Indoor Basketball Hoop Setup
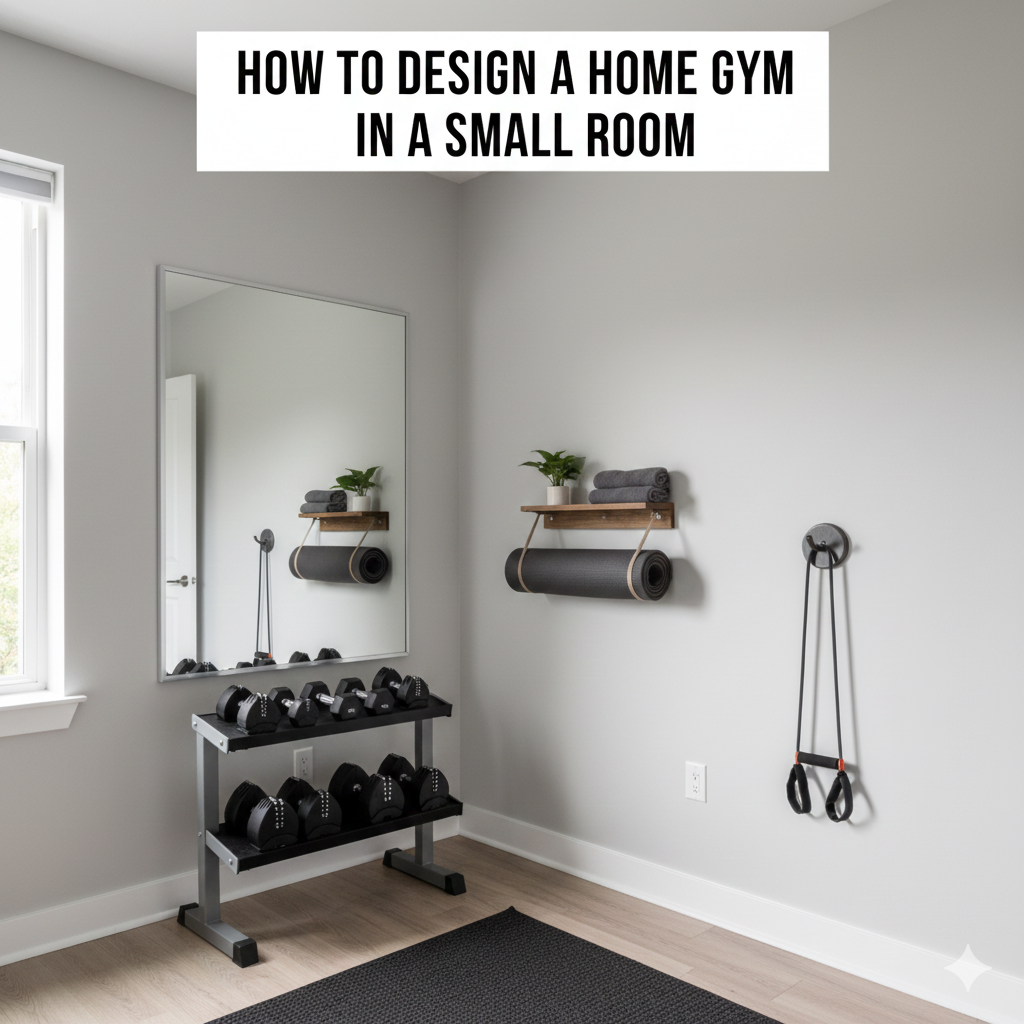
Bringing basketball indoors is a fun way to stay active, practice skills, and add energy to your home. You don’t need a full court—just a clever DIY hoop setup that fits your space. Whether it’s a kids’ play area, a small bedroom corner, or part of your home gym, an indoor hoop can be both practical and stylish. The secret is choosing the right spot, safe materials, and adding personal touches that make the setup feel exciting.
 Step 1: Pick the Right Location
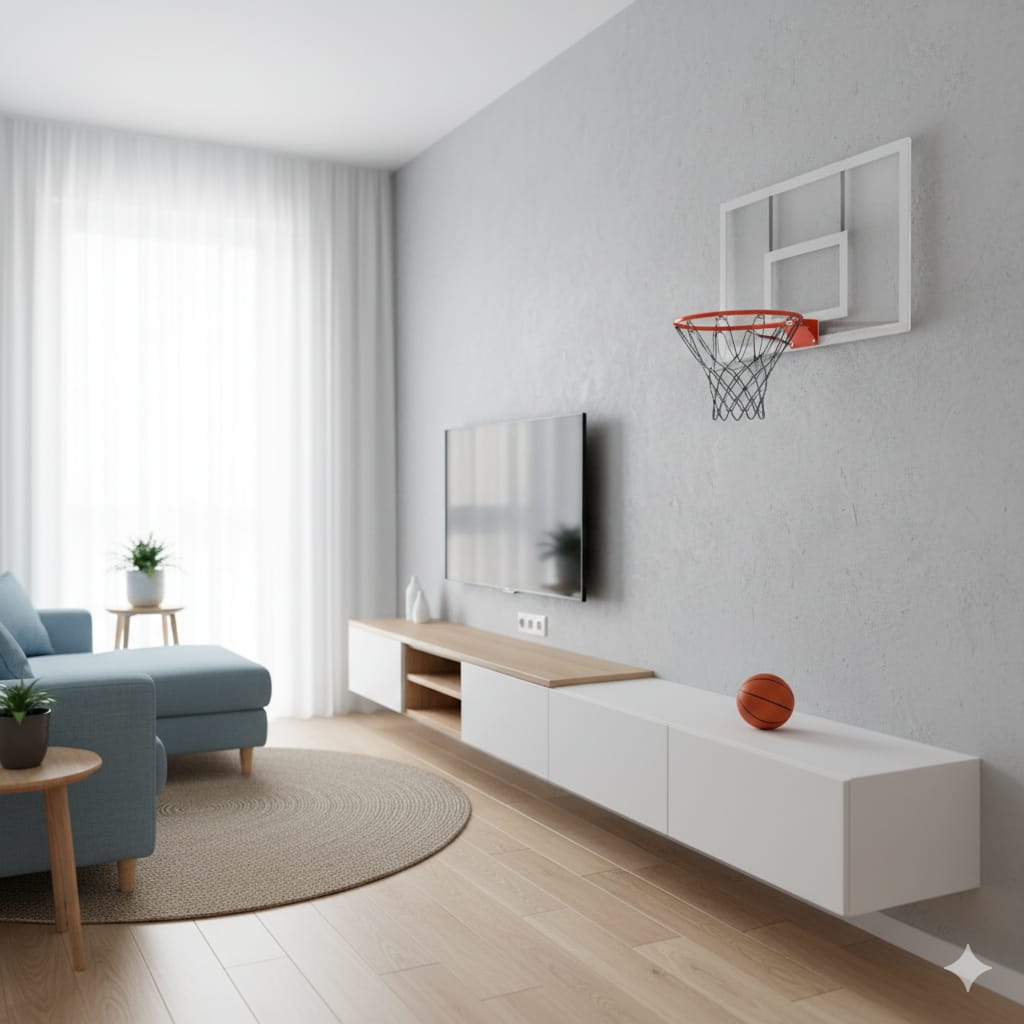
Choose a wall or door with enough clearance for shooting. Avoid areas with fragile decor or breakable items. Bedrooms, playrooms, or home gyms work best.
For guidance, see Room Design Mistakes to Avoid in Every Home.
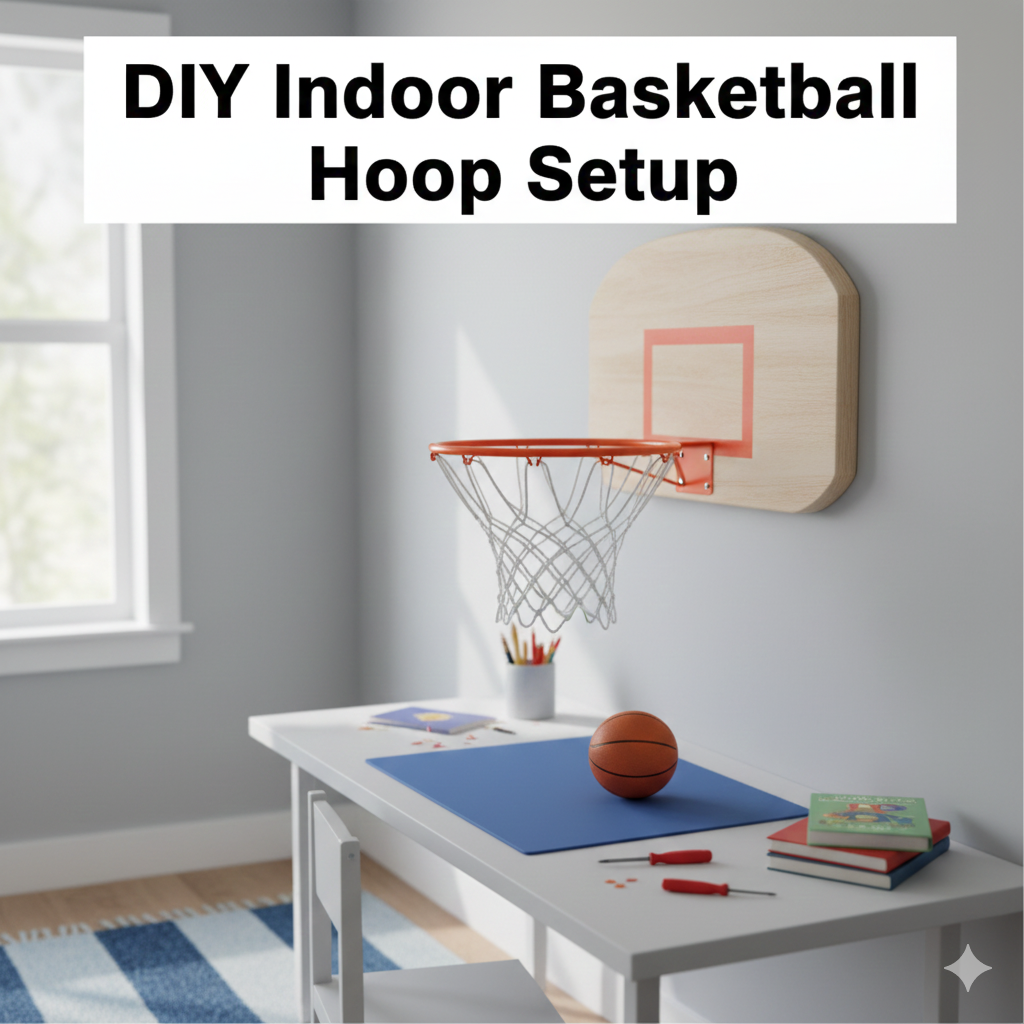
Step 2: Select the Hoop Style
 Indoor hoops come in different styles:
- Over‑the‑door hoops (easy to install, removable).
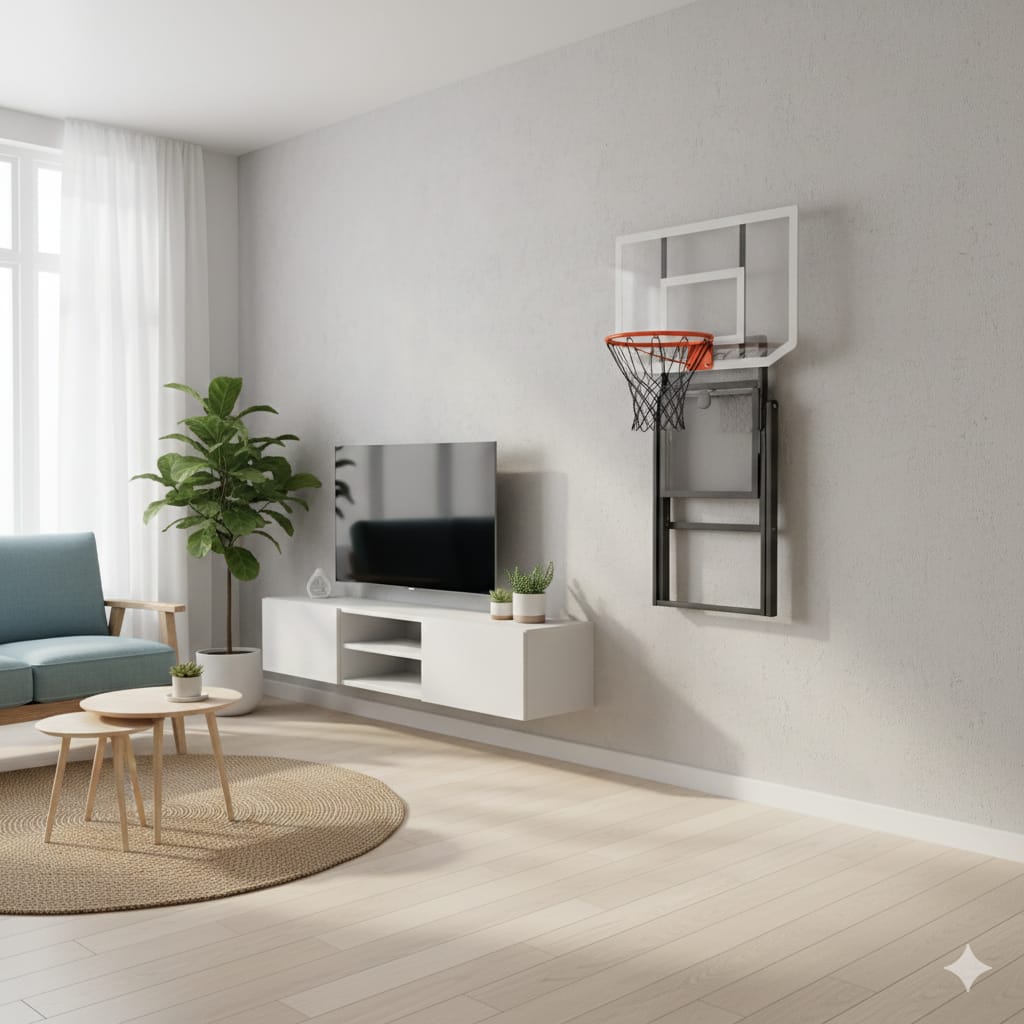
- Wall‑mounted hoops (more permanent, sturdier).
- Freestanding mini hoops (portable, great for kids).
For inspiration, check Smart Furniture Choices for Tiny Homes.
 Step 3: Gather DIY Materials
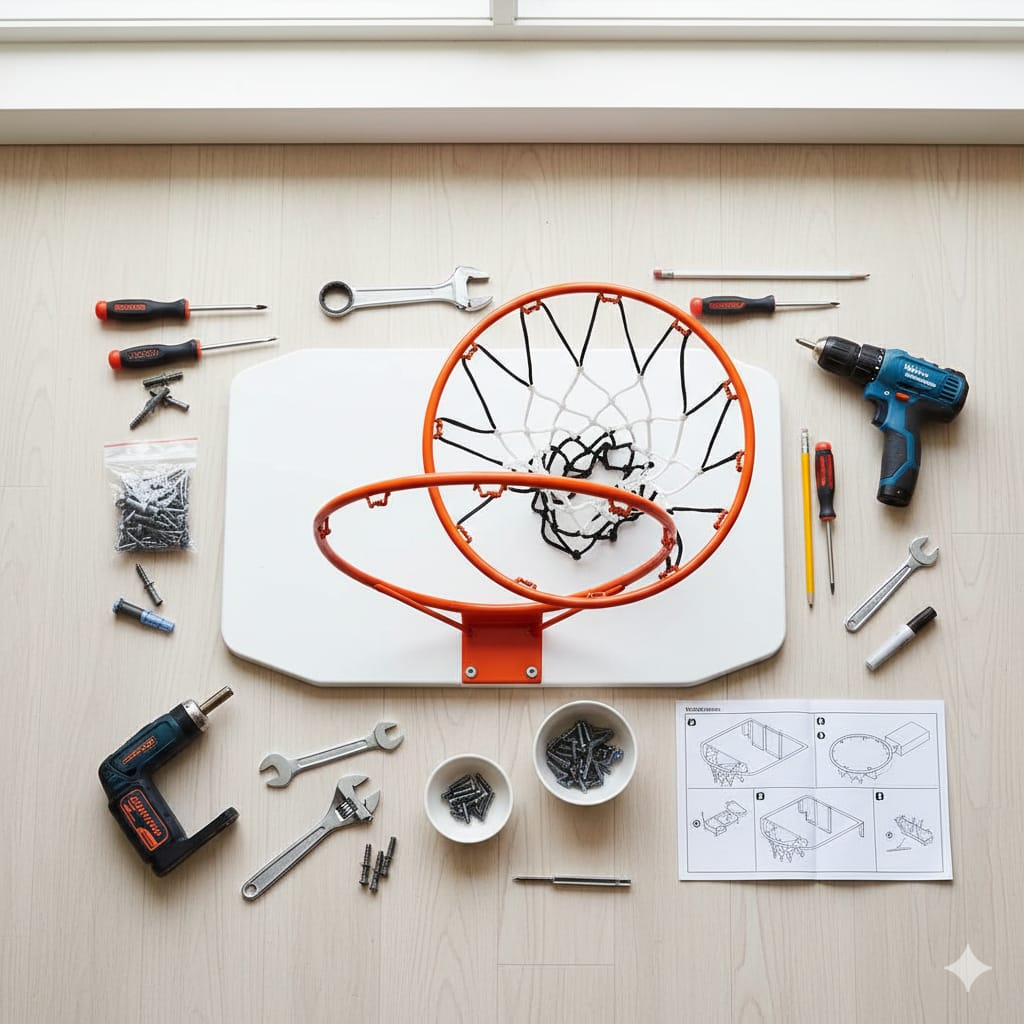
If you’re building your own hoop, you’ll need:
- A sturdy backboard (wood, acrylic, or repurposed material).
- A rim (metal ring or repurposed bike wheel).
- Screws, brackets, or adhesive hooks for mounting.
- A soft indoor basketball (foam or rubber).
For guidance, see DIY Decor Projects That Make a Big Impact.
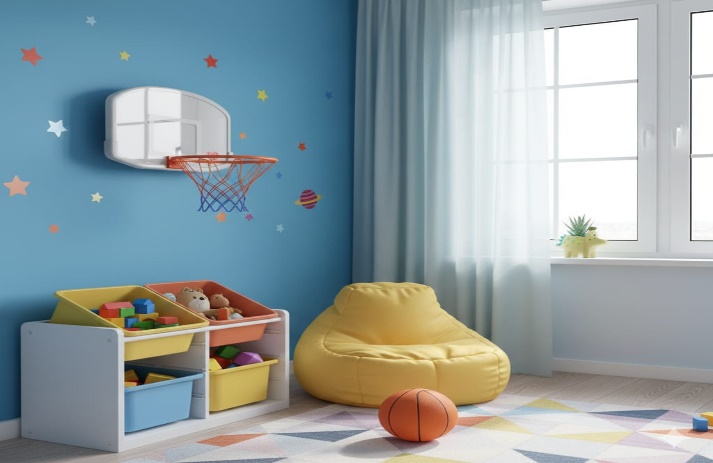
Step 4: Ensure Safety First
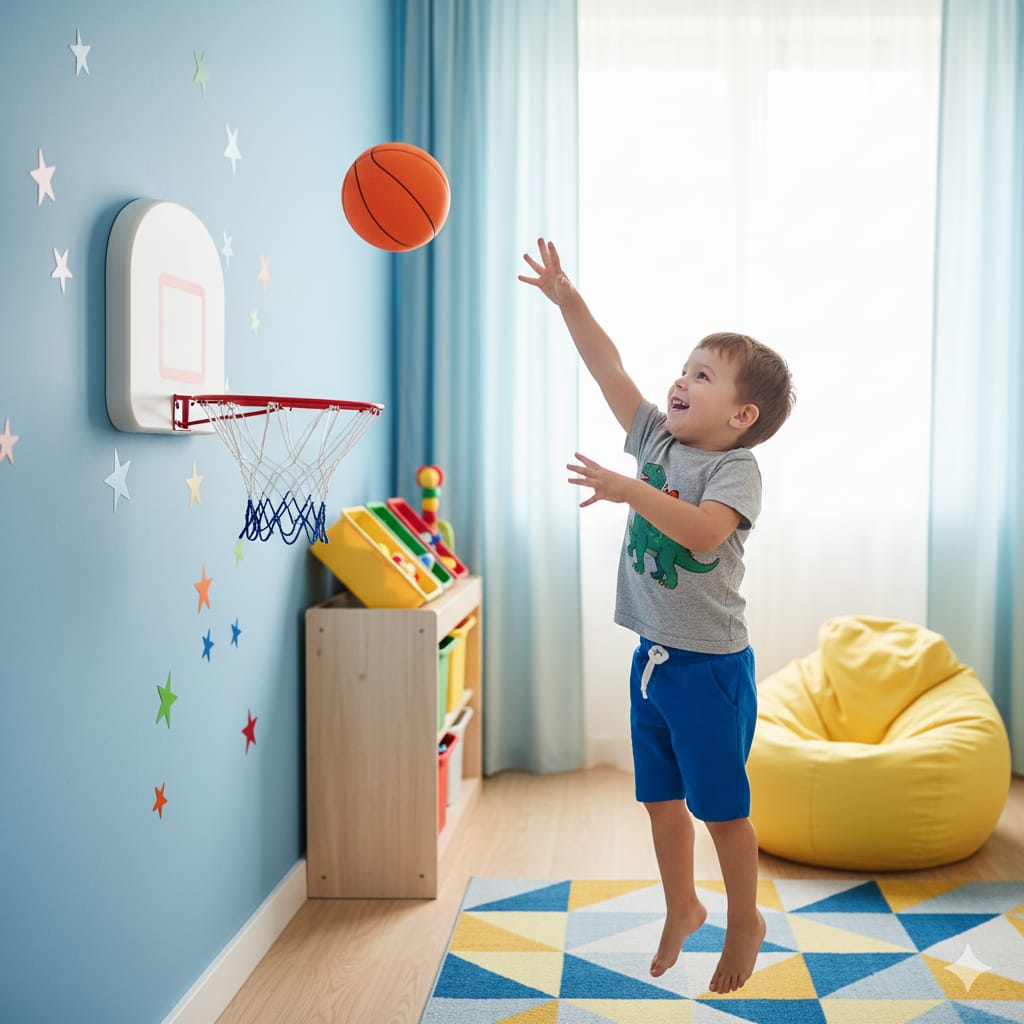
Indoor hoops should be safe for both players and the room. Use soft balls to avoid damage, and make sure the hoop is securely mounted. If kids are playing, keep the setup at a lower height.
For inspiration, check out Organizing Small Spaces Without Sacrificing Style.
 Step 5: Add Floor Protection
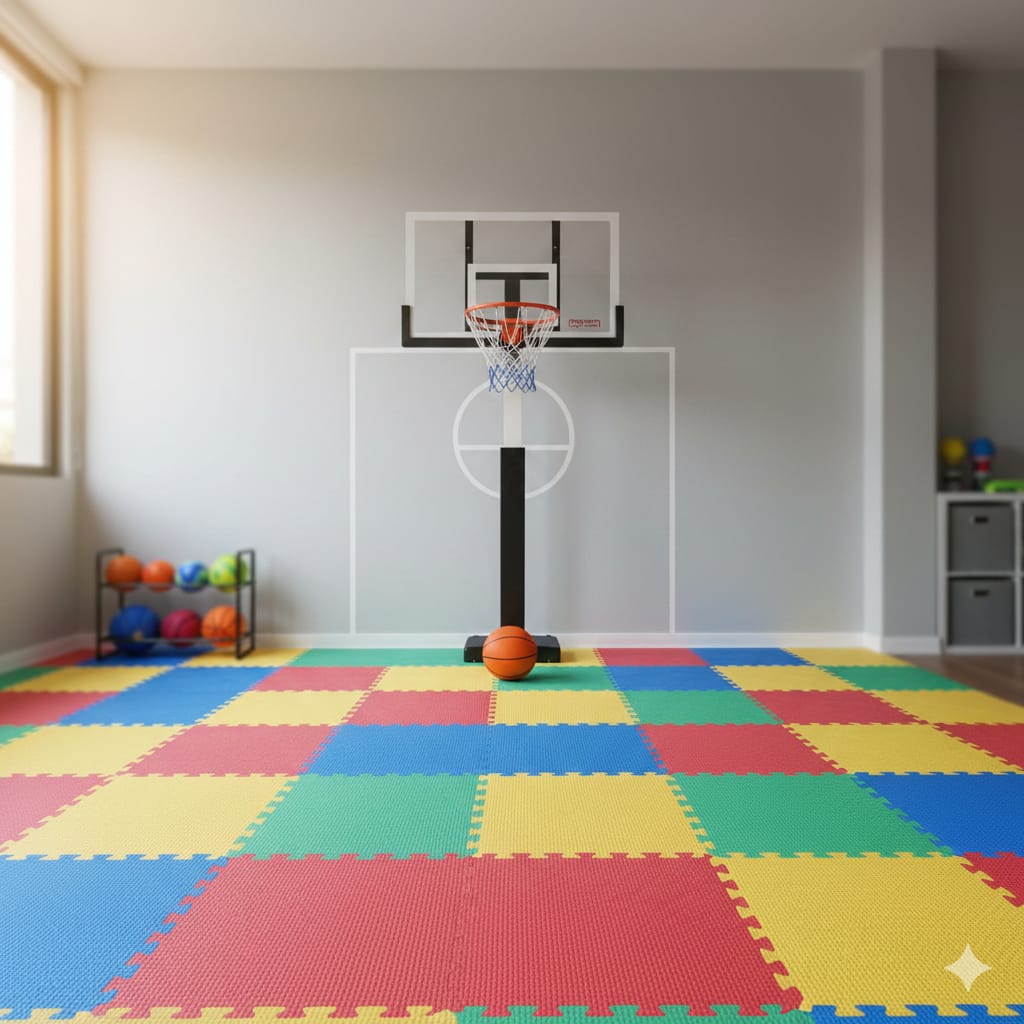
Place a rug, mat, or foam tiles under the hoop area. This protects floors from scuffs and cushions falls. It also defines the “court” visually.
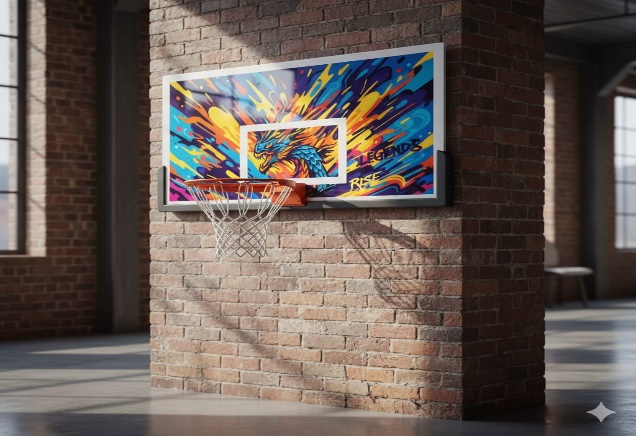 Step 6: Personalize the Backboard
Make the hoop yours by painting the backboard, adding stickers, or even using chalkboard paint for scorekeeping. Personal touches make the setup feel fun and unique.
For inspiration, check Wall Art Placement Rules Designers Swear By.
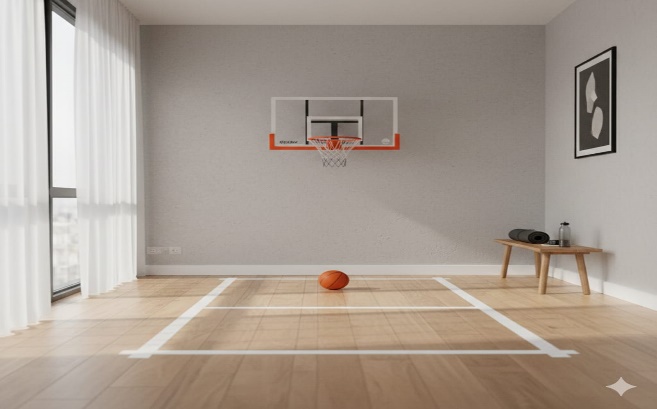
Step 7: Create a Mini Court Zone
Define the area with tape lines or decals on the floor. Even a small “free throw line” adds realism and makes the game more engaging.
For guidance, see How to Zone Open-Plan Spaces Effectively.
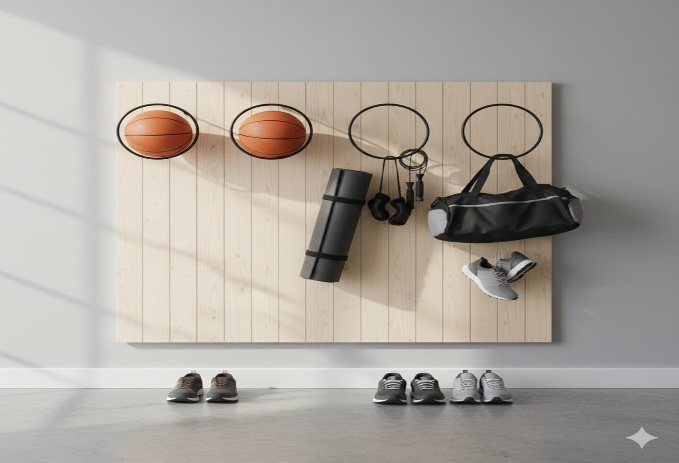
Step 8: Add Storage for Gear
Keep balls and accessories organized with baskets or wall hooks. This prevents clutter and keeps the space stylish.
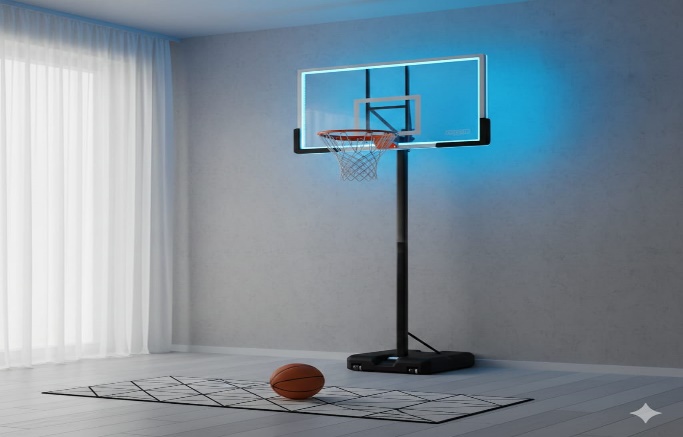 Step 9: Incorporate Lighting
Good lighting makes the hoop area feel bigger and more exciting. Use spotlights, LED strips, or pendant lights to highlight the “court.”
For guidance, see DIY Accent Lighting Ideas.
.
 Step 10: Keep It Flexible
Your hoop should adapt to your lifestyle. Use removable mounts if you want to change locations or foldable designs if space is tight. Flexibility ensures the hoop works for both kids and adults.
For inspiration, check Small Room Design Hacks That Actually Work.
Final Thoughts
A DIY indoor basketball hoop setup proves that you don’t need a big court to enjoy the game. With smart planning, safe materials, and personal touches, you can create a space that feels exciting and stylish. Done right, your hoop will be a centerpiece of fun, fitness, and family time.