Get your home winter-ready with easy DIY weatherproofing tips. Learn how to seal drafts, insulate windows, and protect pipes—no contractor needed.
Why It Matters
Winter has a way of sneaking in—through cracks, gaps, and forgotten corners. If your home feels chilly no matter how high the thermostat goes, chances are you’re losing heat in places you didn’t expect. The good news? You don’t need a big budget or a professional crew to fix it. With a few smart DIY moves, you can keep the warmth in, the cold out, and your energy bills under control.
Step 1: Seal Up Drafts Around Doors and Windows
Start with the obvious: if cold air is getting in, warm air is getting out. 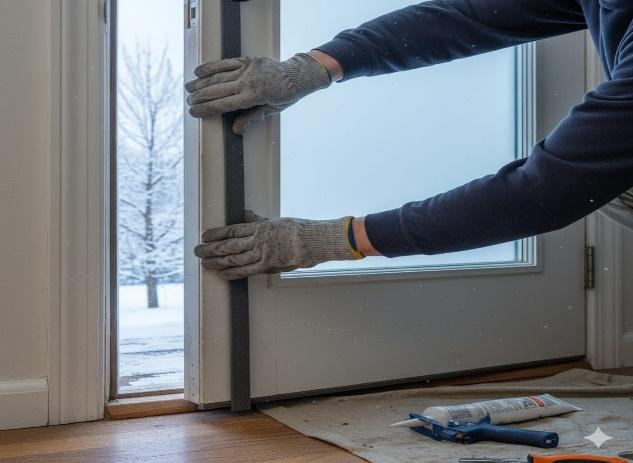
- Add weatherstripping to door frames and window edges. Foam or rubber strips work great and are easy to install.
- Use caulk to seal cracks between window frames and walls. Go for paintable latex caulk indoors.
- Install a door sweep at the bottom of exterior doors to block drafts. How to Replace a Light Switch
Step 2: Insulate Windows Without Replacing Them
New windows are pricey—but you can still make the old ones work harder.
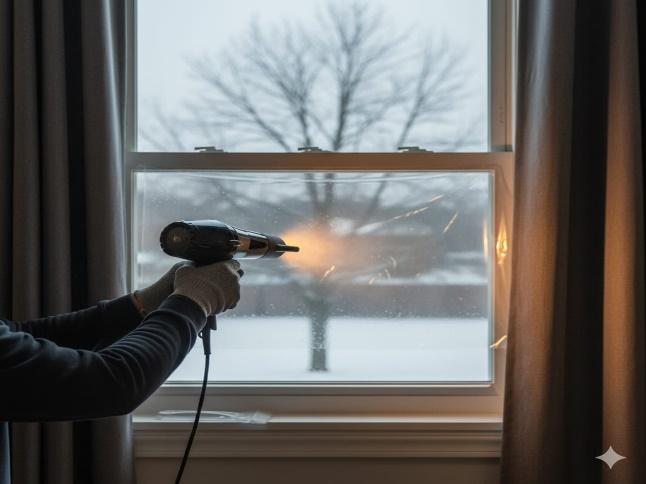
- Apply window insulation film that shrinks tight with a hairdryer.
- Hang thermal curtains to trap heat and block cold air.
- Use rope caulk or draft stoppers for older windows with noticeable gaps. Repairing Minor Electrical Issues Safely
Step 3: Check the Attic and Basement for Leaks
Heat rises, so if your attic isn’t sealed, it’s like leaving a window open. The same goes for cold air creeping in from below. 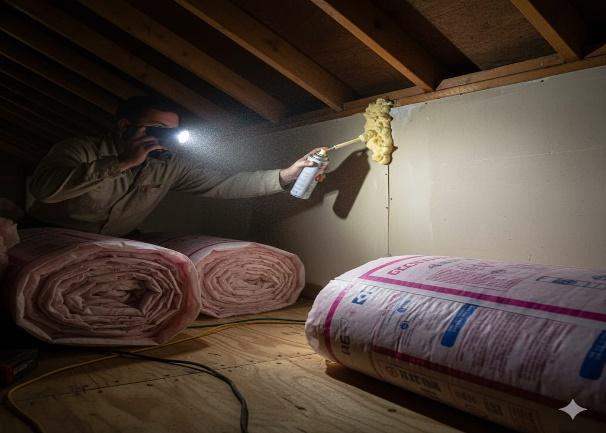
- In the attic, seal gaps around vents, chimneys, and light fixtures with expanding foam.
- In the basement, use masonry caulk to seal cracks in the foundation and insulate rim joists with rigid foam.
Step 4: Insulate Exposed Pipes
Frozen pipes aren’t just inconvenient—they’re expensive to fix. Prevention is simple: 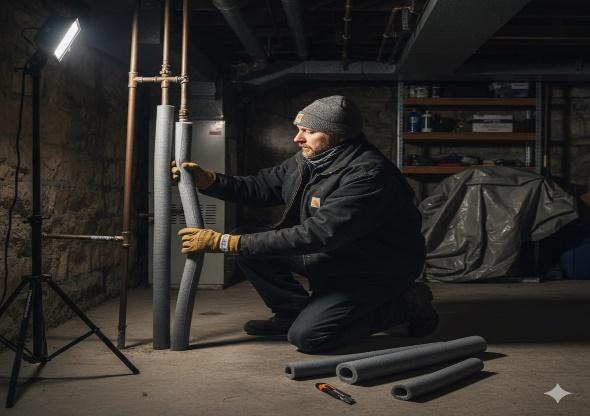
- Wrap exposed pipes with foam sleeves or fiberglass insulation.
- Use heat tape for pipes in unheated areas like garages or crawlspaces.
- Seal gaps where pipes enter walls to block cold air.
Step 5: Block Air Leaks Through Outlets and Switches
It sounds strange, but outlets on exterior walls can leak cold air. 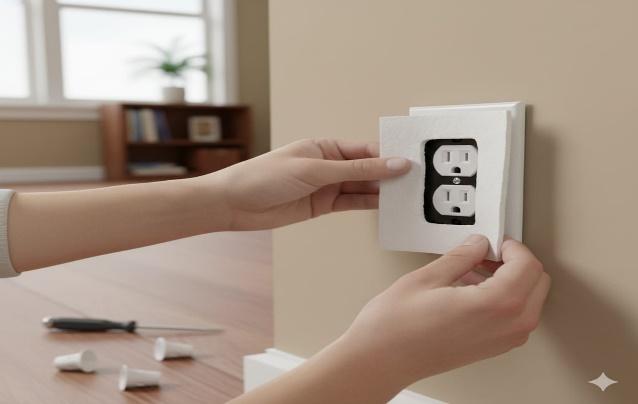
- Install foam gaskets behind outlet and switch plates.
- Use childproof outlet plugs to block airflow when not in use How to Unclog Drains Without Chemicals
Step 6: Weatherproof the Outside 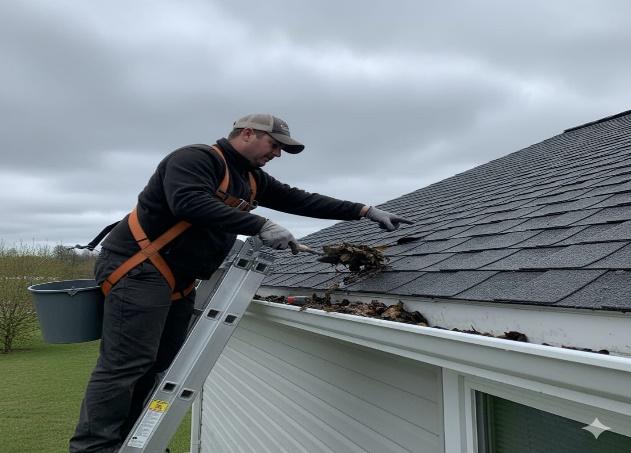
Before the first freeze, take a walk around your house:
- Check for missing roof shingles or damaged flashing.
- Clean out gutters to prevent ice dams.
- Seal gaps around vents, pipes, and cable entry points.
Step 7: Tune Up Your Heating System
Even the best insulation won’t help if your heating system isn’t running efficiently. 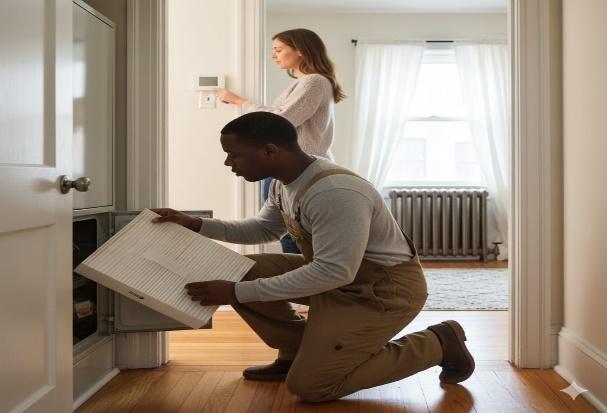
- Replace furnace filters every 1–3 months.
- Bleed radiators to remove trapped air.
- Schedule a quick inspection if it’s been a while.
Step 8: Add Insulation Where It Counts 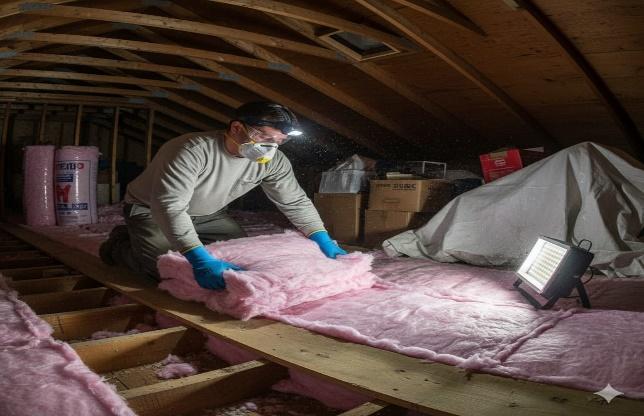
If your home still feels cold, it might need more insulation.
- Add fiberglass batts or blown-in cellulose to the attic floor.
- Consider blown-in insulation for older walls.
- Insulate floors over crawlspaces with rigid foam or fiberglass batts.
Step 9: Use Smart Heating Strategies 
You don’t need to heat every room all the time.
- Install a smart thermostat to lower temps while you sleep or are away.
- Use space heaters in rooms you use most.
- Close vents in unused rooms to redirect warmth.
Step 10: Do a Final Walkthrough
Before winter hits hard, do a quick check:
- Are windows and doors sealed?
- Are pipes insulated?
- Is the attic draft-free?
- Are outdoor faucets covered?
- Is your heating system ready?
Final Thoughts
Weatherproofing isn’t about perfection—it’s about progress. Every small fix adds up. Whether you’re sealing a drafty door or insulating your attic, you’re making your home warmer, safer, and more efficient.
Start with what you can do today. The sooner you begin, the cozier your winter will be.