Cracked or chipped tiles? Learn how to replace broken tiles in any room with simple tools and clear steps. No contractor needed—just follow this guide and get it done.
That One Broken Tile? It’s Time to Fix It
You’ve seen it every day—that cracked tile in the kitchen, the chipped one in the hallway, or the loose piece in the bathroom. It catches your eye, collects dirt, and makes the whole space feel unfinished.
But here’s the thing: you don’t need a tiler. You don’t need to redo the whole floor. You just need a few tools, a bit of patience, and this guide.
And if you’re tackling multiple home fixes, check out Essential DIY Fixes Every Homeowner Should Know—it’s packed with beginner-friendly wins.
Step 1: Gather Your Tools and Materials
Before you start, make sure you’ve got everything you need:
- Replacement tile (same size and style)
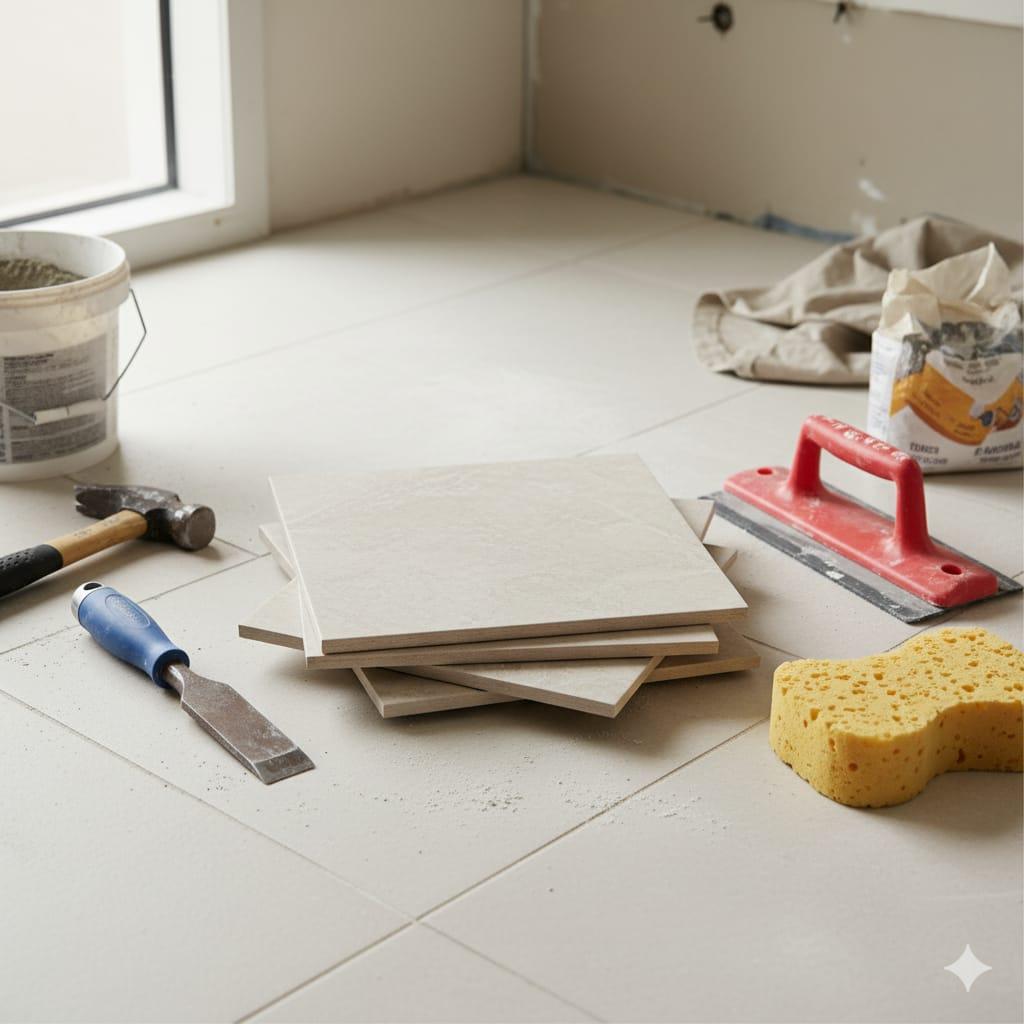
- Grout (matching color)
- Tile adhesive or thin-set mortar
- Hammer
- Chisel or flathead screwdriver
- Utility knife
- Notched trowel
- Grout float
- Sponge and bucket
- Safety goggles and gloves
Need help choosing grout color? Check How to Replace a Toilet Yourself—it’ll save you from mismatched patches.
Step 2: Remove the Broken Tile
Put on your safety goggles—this part gets a little dusty. 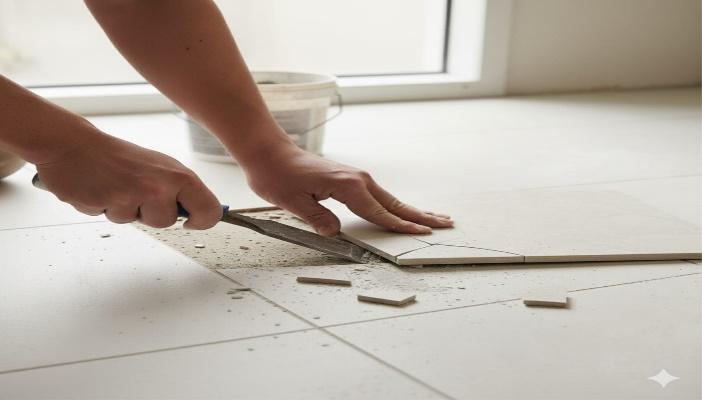
- Start by scoring the grout around the broken tile with your utility knife.
- Use your chisel and hammer to gently tap and lift pieces of the broken tile.
- Work slowly from the center outward. If the tile’s stubborn, break it into smaller chunks.
- Once it’s out, scrape away any leftover adhesive or debris from the surface.
Step 3: Prep the Surface
Clean the exposed area thoroughly. You want a smooth, dust-free surface before laying the new tile. 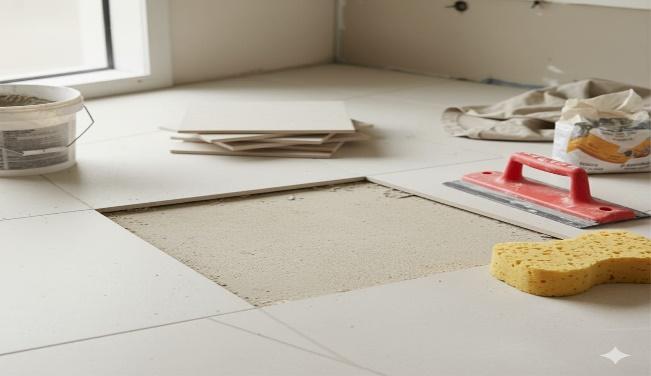
- Use a damp cloth to wipe away dust.
- Scrape off any old adhesive until the surface feels flat.
- Let it dry completely before moving on.
Step 4: Apply Adhesive and Set the New Tile
Now it’s time to install the new tile. 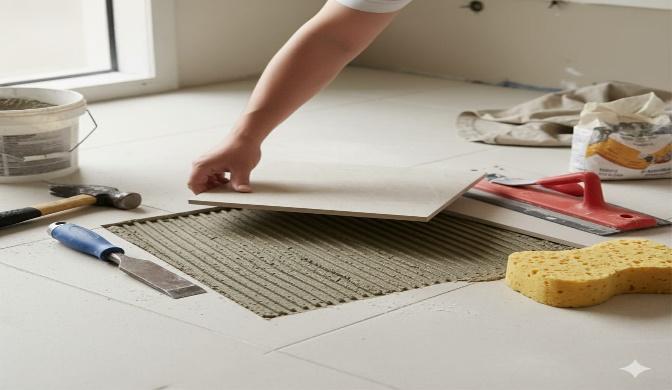
- Spread tile adhesive evenly using a notched trowel.
- Press the replacement tile into place, making sure it’s level with surrounding tiles.
- Wiggle it gently to set it — but don’t push too hard.
- Wipe off any excess adhesive around the edges.
Let it sit for at least 24 hours before grouting.
Step 5: Grout the Tile
Once the adhesive is dry, it’s time to grout.
- Mix your grout according to the package instructions.
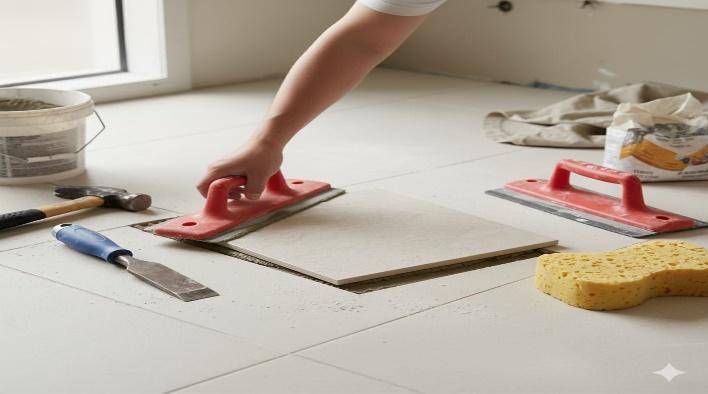
- Use a grout float to press grout into the gaps around the tile.
- Hold the float at a 45° angle and work diagonally across the joints.
- Wipe off excess grout with a damp sponge — rinse and repeat until clean.
Let the grout cure for 24–48 hours.
Step 6: Final Clean and Seal (Optional)
Once the grout is fully cured: 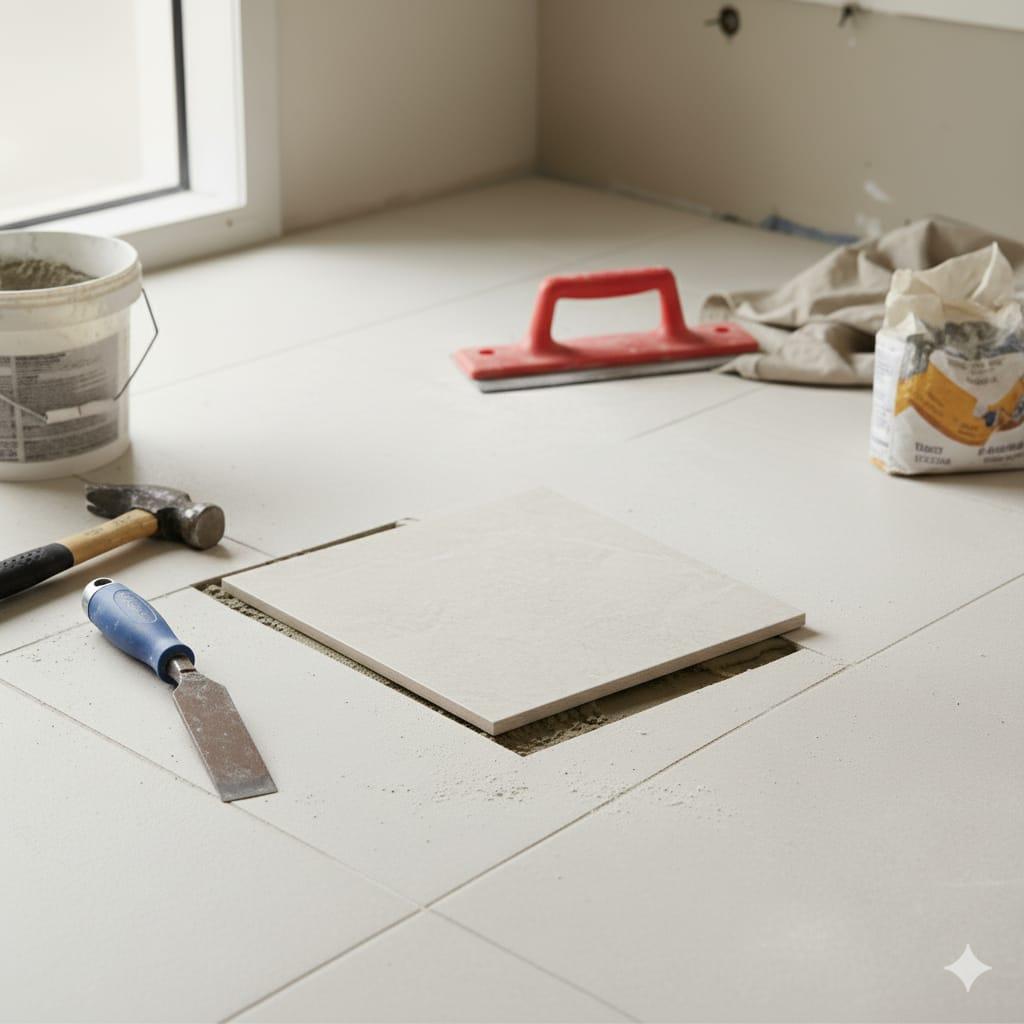
- Buff the tile surface with a dry cloth to remove haze.
- If you’re in a moisture-prone area (like a bathroom), consider sealing the grout to prevent future stains.
- Stand back and admire—it’s like the damage never happened.
Extra Tips That Make a Big Difference
- Always buy a few extra tiles when installing—they’re lifesavers for future repairs.
- If you can’t find an exact match, take a tile to the store for comparison.
- For wall tiles, use painter’s tape to protect surrounding tiles during removal.
- If the tile is part of a pattern, double-check alignment before setting it.
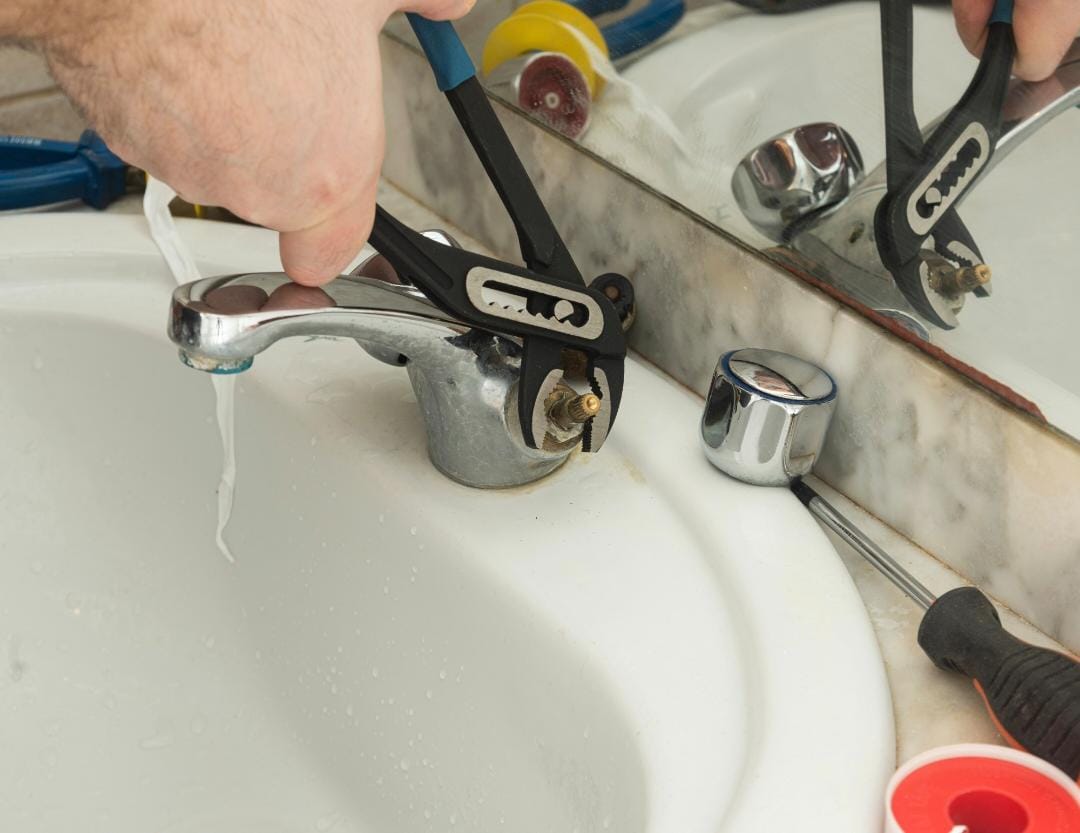
Need help fixing tile edges or corners? Check How to Fix a Leaky Faucet DIY—it’s a common follow-up fix.
Done—and it looks like nothing ever happened.
That broken tile? Gone. No cracks. No chips. No mismatched grout. Just a clean, solid surface that blends right in.
You didn’t just fix a tile—you kept your space looking sharp. And next time something cracks, you’ll know exactly what to do.
Want to keep going? Try How to Replace a Light Switch—it’s a great way to refresh your whole floor or wall.