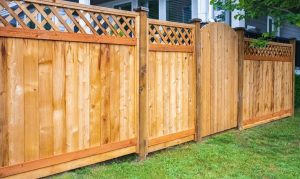
Learn how to build a privacy fence from scratch—with real-life tips, tools, and lessons from a DIY backyard project. No contractors, no fluff. Just practical steps and honest advice.
How I Built My Own Fence and Got My Backyard Back
I didn’t plan to build a fence. It started with one uncomfortable afternoon—I was sitting outside, trying to read, and I could feel my neighbor watching me from their kitchen window. Not intentionally, just… there. Present. Visible.
That’s when I realized: I needed privacy. Not a wall. Not a fortress. Just something that made the space feel like mine.
Hiring someone wasn’t an option. The quotes I got were ridiculous. So I decided to build it myself. No prior experience. No fancy tools. Just a weekend, a few YouTube videos, and a lot of determination.
Here’s exactly how I did it—what worked, what didn’t, and what I’d do differently next time.
Step 1: Define Your Purpose Before You Touch a Tool
I didn’t start with measurements or materials. I started with a question: What do I want this fence to do? 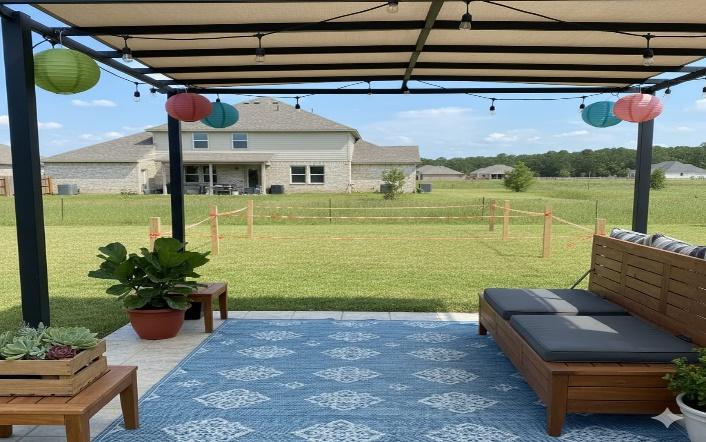
For me, it was about privacy and comfort. I didn’t need to block sound or keep pets in. I just wanted a visual barrier—something that made the backyard feel enclosed and personal.
That decision shaped everything: the height, the style, and the materials.
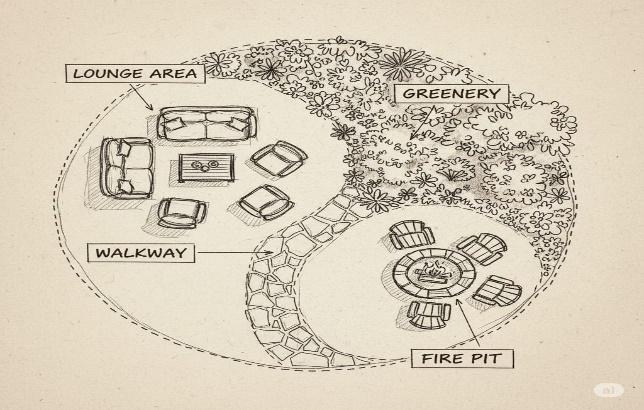
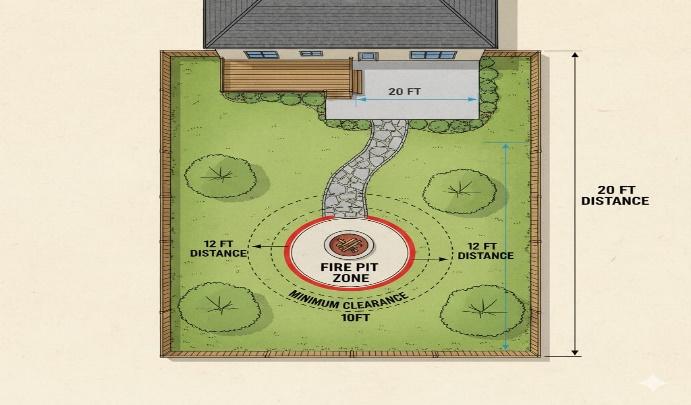
If you’re building for security, you’ll need sturdier posts and maybe metal reinforcements. If it’s for pets, you’ll want to avoid gaps. If it’s just for looks, you can go lighter and more decorative. DIY Backyard Makeover: From Lawn to Lounge
Step 2: Measure Your Space and Mark It Clearly
I grabbed a measuring tape, some garden stakes, and string. Started at one corner and worked my way around, marking where each post would go. 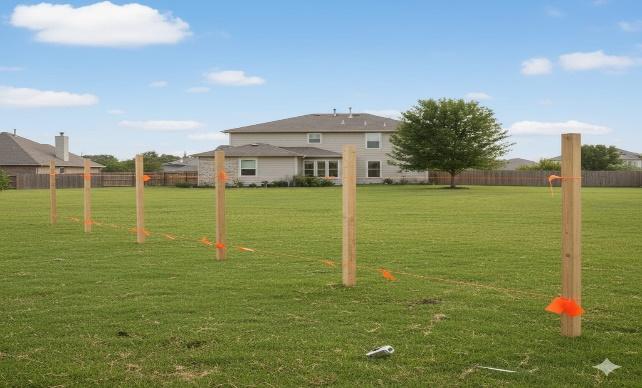
I didn’t trust my eye—I measured everything twice. Turns out, my yard wasn’t perfectly rectangular. I had to adjust the spacing slightly to keep the fence straight.
I also checked local regulations. In my area, I had to stay 30 cm inside the property line and keep the fence under 2.5 meters unless I got a permit.
Painting and Sealing Outdoor Wood
Step 3: Choose Materials That Match Your Skill Level
I went with pressure-treated wood. It’s affordable, durable, and forgiving if you make mistakes. I considered vinyl panels, but they were expensive and harder to customize.
Here’s what I bought: 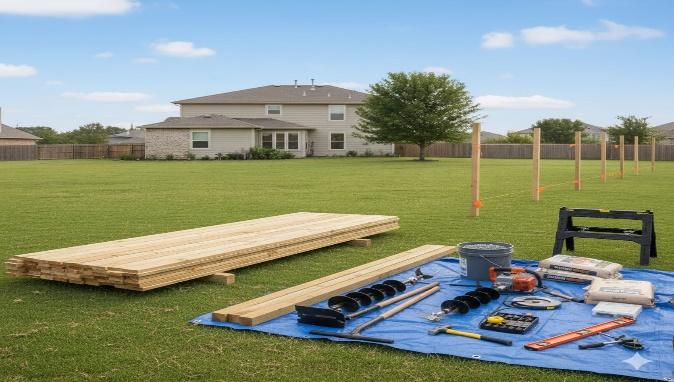
- 4×4 posts for the corners and support
- 2×4 rails for horizontal framing
- 1×6 boards for the vertical slats
- Galvanized screws
- Concrete mix for the post holes
- Wood stain and sealant
I didn’t buy everything at once. I started with the posts and boards, then added more as I went. Building a Simple Wooden Deck Yourself
Step 4: Digging Post Holes—The Hardest Part
This was brutal. I used a manual post-hole digger, and each hole took about 20–30 minutes. They needed to be at least 60 cm deep and 30 cm wide. I spaced them 2.4 meters apart. 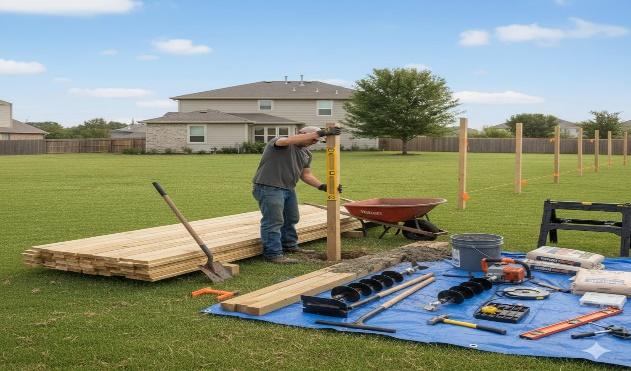
I mixed concrete in a wheelbarrow and poured it into each hole after setting the post. Used a level to make sure everything was straight, then braced the posts with scrap wood until the concrete set.
I let them cure for 24 hours before touching them again.
Step 5: Framing and Attaching the Boards
Once the posts were solid, I added the horizontal rails. One near the top, one near the bottom. I used 2x4s and screwed them directly into the posts. 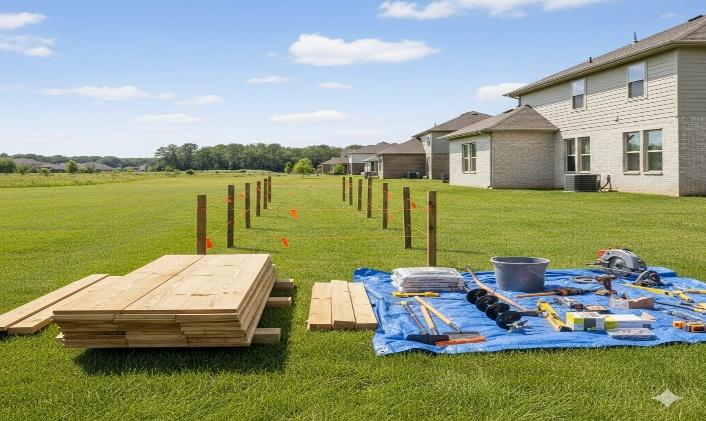
Then came the vertical boards. I used spacers to keep the gaps even and pre-drilled every hole to avoid splitting the wood.
I didn’t rush. Every few boards, I stepped back to check the alignment. It’s easy to get tunnel vision and end up with a crooked fence.
Step 6: Staining and Sealing—Don’t Skip This
I waited a few days before staining. Let the wood breathe and settle. Then I used a roller for the big areas and a brush for the edges. 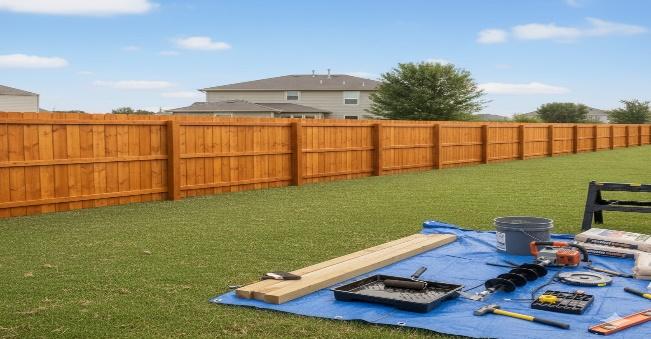
I chose a cedar-toned stain—warm, natural, and not too dark. It made the fence look finished and helped protect it from rain and sun.
How to Measure for Kitchen Flooring
Step 7: Add a Gate (Even If You Didn’t Plan One)
Originally, I wasn’t planning to add a gate. But halfway through the build, I realized I needed access to the alley behind the house—for garden tools, trash bins, or just convenience. 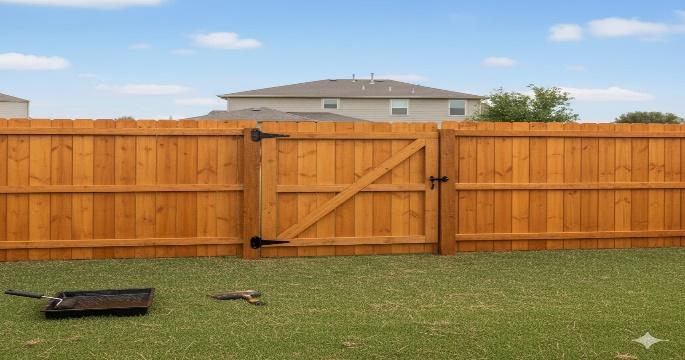
So I built a simple gate using leftover 2x4s and fence boards. I added basic hinges and a latch, and it blended right in with the rest of the fence.
It’s not fancy, but it’s functional. And honestly, I use it more than I expected.
Step 8: Finishing Touches That Make It Feel Like Yours
Once the fence was up, it felt solid—but a little cold. So I added a few personal touches to soften the look and make it feel like part of the garden. 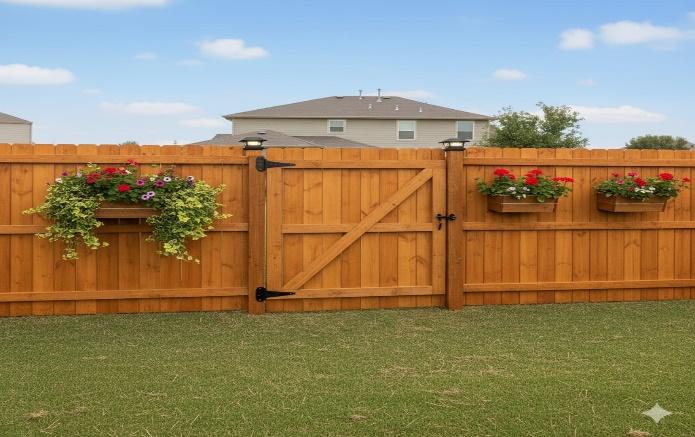
I hung solar lanterns on the posts, added a couple of herb planters, and even mounted a small shelf for garden tools. These little details made the space feel intentional, not just practical.
Step 9: What I’d Do Differently Next Time
Not everything went smoothly. One post leaned slightly after the concrete dried. A few boards warped in the first week. And I ran out of screws halfway through.
If I were to do it again, I’d: 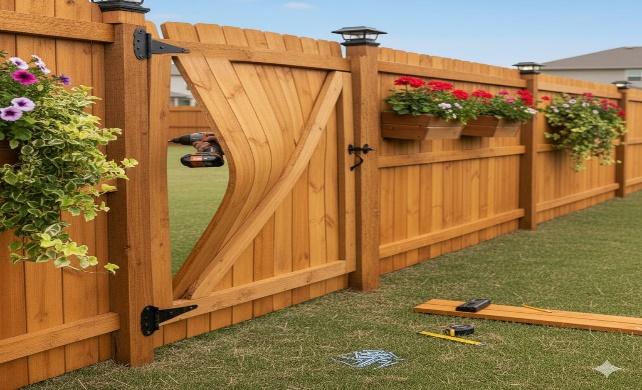
- Let the wood sit outside for a few days before installing
- Buy 20% more materials than I think I need
- Use a power auger instead of a manual digger
- Stain the boards before installation to save time
Mistakes happen. But they’re part of the process—and they teach you more than any tutorial ever could.
Final Thoughts
Building my own privacy fence wasn’t just about blocking the view—it was about reclaiming a space that felt exposed and unfinished. I didn’t have a contractor, a big budget, or even much experience. What I had was a need for comfort, a few basic tools, and the willingness to figure things out as I went.
Was it perfect? Not even close. I mismeasured a few posts, ran out of screws twice, and stained my shirt more than the wood. But every mistake taught me something. And now, when I sit outside with a cup of coffee, I feel like I’m in my own little corner of the world—not on display.
If you’re thinking about building your own fence, don’t wait for the “right time” or the “perfect plan.” Start small. Be flexible. And remember: the goal isn’t perfection—it’s privacy, ownership, and pride in something you built yourself.